Meet Choten my very first attempt at HABing. The payload consisting of a raspberry pi Zero, LoRa radio module, a GPS module and a cheap copy Pi camera.
Introduction
This blog post is one of a three part series detailing my experiences of building, launching and recovering a payload named Choten. The payload flew on a High Altitude Balloon reaching an altitude of 28.km up!
After stumbling across the UK HAS Wiki I decided I would lend my hand to tracking balloons. I had been helping tracking a few balloons and was itching to fly one of my own. Because I had little experience with electronics, I opted for a tracker that was tried and tested and relatively easy to build to find my feet.
While reading the UK HAS Wiki I had come across Dave Akerman’s blog a few times which contains a wealth of information for anyone looking to break into the hobby. On his blog I found a light weight Pi tracker with SSDV on his website which looked pretty straightforward and required very little soldering.
The Payload Build
Payload Shopping List
- Raspberry Pi Zero
- LoRa Radio Module (434Mhz)
- GPS Module ( U-blox Max 8)
- Pi Camera
- 3x AA Lithium Ultimate batteries
- Polystyrene food container
- Piezo electric buzzer
I bought a Pi Zero from The Pi Hut and was able to source the LoRa Radio Module and GPS from Uputronics. Once they arrived I set to work soldering it together. When I had finished soldering I double checked the wiring installed the OS and PITS (Pi In The Sky) software as per the blogs instructions on the SD card. I re-tuned my LoRa gateway to the frequency of the tracker and powered her up!
SUCCESS! Images were being uploaded on the SSDV page of habhub and packets were being received on the LoRa gateway. However the the longitude and latitude were all zeros. I assumed this was due to there being no GPS lock. I put the payload on the window sill so it had line of sight with the sky in the hope it would gain a lock.

After an hour I checked in and it was the same. I asked the UK HAS mailing list if anyone knew the cause of the issue and soon got a reply. I was advised to move the GPS away from the Pi because if it is too close it can interfere making it more difficult for the GPS to gain a lock. So I re-soldered the GPS moving it a couple inches away which worked a treat!
I was finally receiving all telemetry information! Once I had established it was working it was time to make a payload document. The payload document is a document that explains to habhub how to interpret your packet information. The payload document specifies the details of how your packet information is constructed which helps habhub to parse the telemetry data. Once my payload document was created I could see the payload CHOTEN on the map!

It was a good feeling to see it working and the payload showing up on the map. I had a working tracker, but now needed to research what was required to launch the payload. Luckily I didn’t have to look far, as another one of Dave’s blog posts entitled High Altitude Ballooning, From The Ground Up (and back again) explains in great detail everything you need to know.
I asked a question about launch sites during a conversation on the UK HAS mailing list and Dave was kind enough to let me use his permanent launch site. I took Dave up on the offer to use his launch site since I was very new to the hobby and thought it was a sensible idea to have someone experienced present to assist. I proposed a date and we were both free so I was all set (weather depending).
During this time Dave advised me to check the weather daily as well as a predictor he had set up. I used the calculators on Steve Randle’s Random Engineering website to figure out what size balloon and parachute I required. I settled on a 350g Hwoyee Latex balloon with a 22g Sperachute. a couple days leading up to the launch day the conditions looked on and Dave had secured a NOTAM.

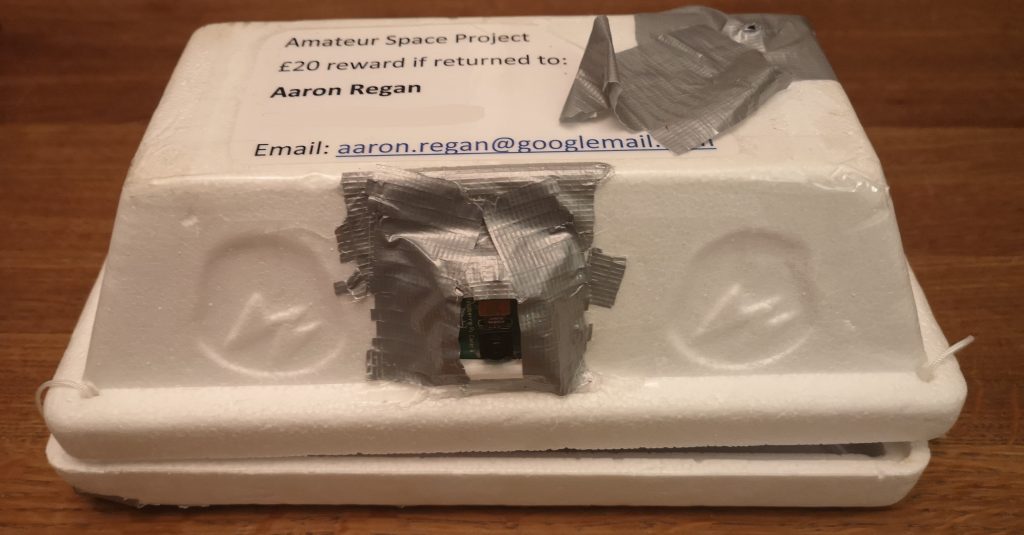
In the week leading up to the proposed launch day I tested the payload a handful of times. I mounted the Pi tracker securely onto the polystyrene food container, which was kindly donated to me from member of freecycle. I printed and laminated labels and stuck them to the inside and the outside of the payload ready for the big day!
Keep an eye out for the second part in the three part series about the launch day. Meanwhile feel free to drop a comment below or if want to get in contact drop me an email or find me on Twitter.