I’ve recently been experimenting with weight reduction. Having built and launched two payloads, whose flights ended very early, I have been able to learn more about how much weight can be removed before the payload becomes too flimsy to handle the conditions of flight.
After Kaizen 2 splashed down in the Mediterranean Sea, I began building my next picoHAB payload, ‘Bouken’. During Kaizen’s flight, I had spoken to a number of friends about the issues she suffered and we came to the conclusion that there must be an issue with radio frequency interference.
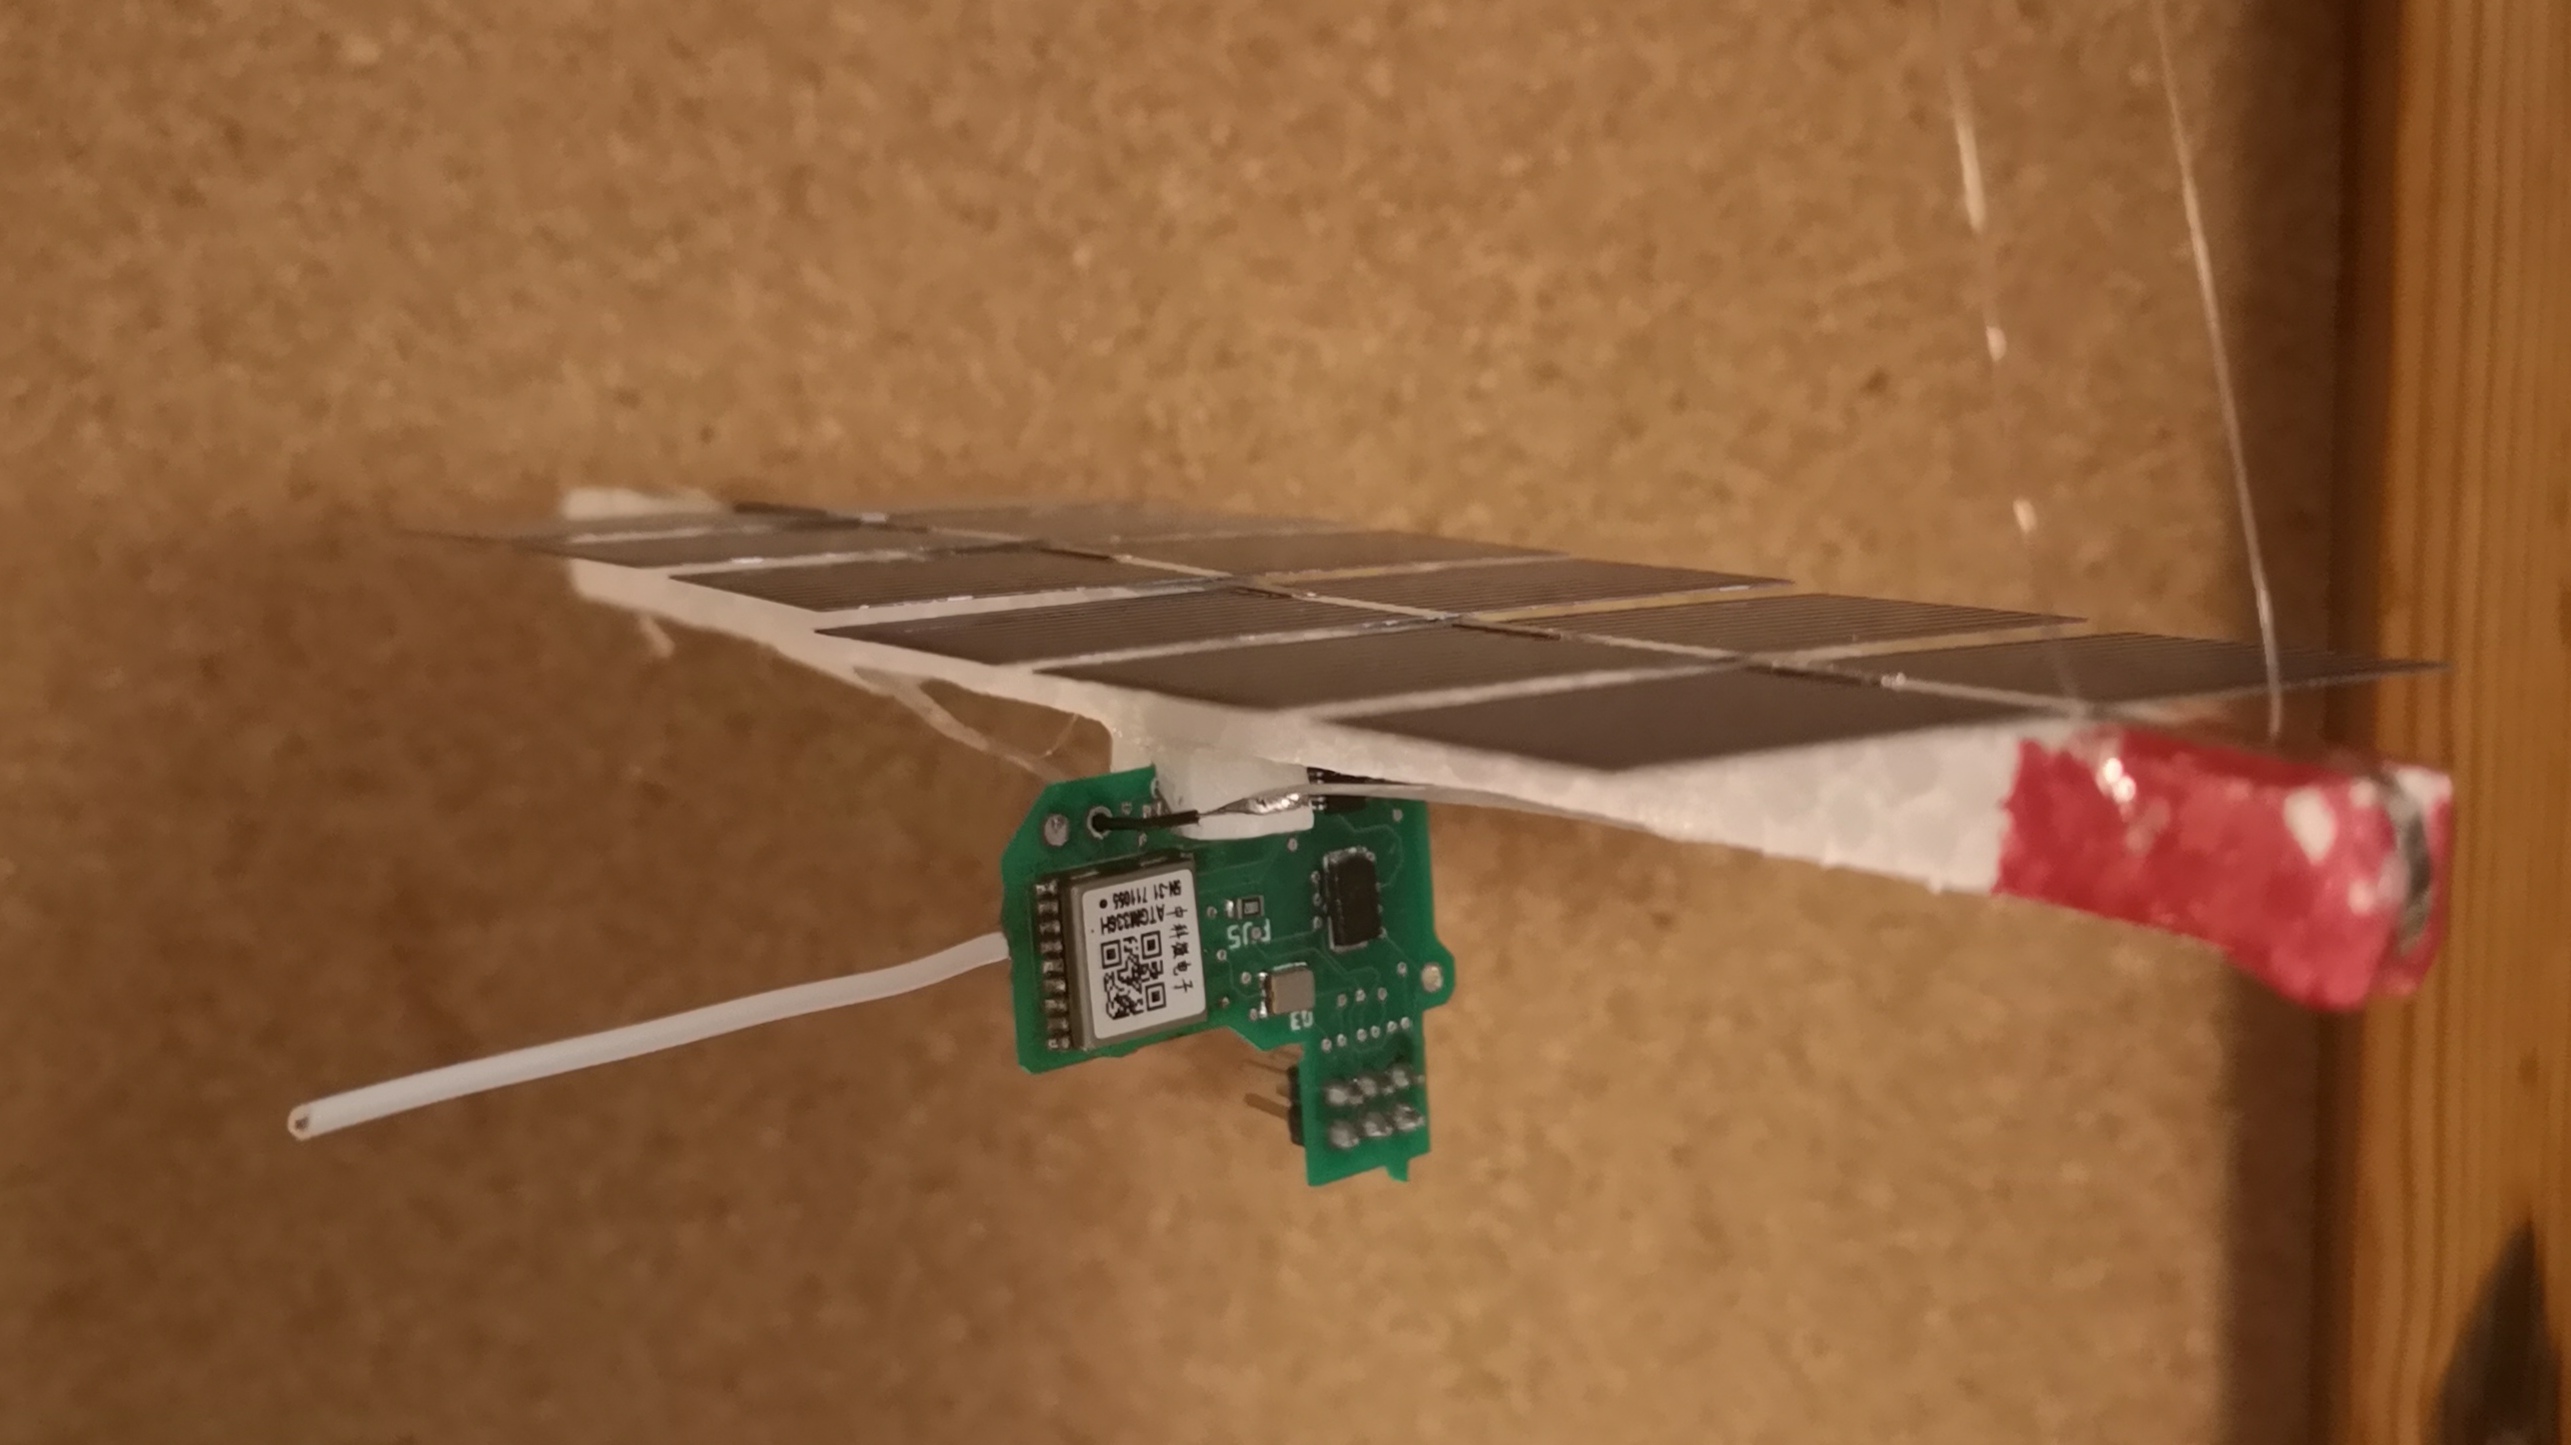
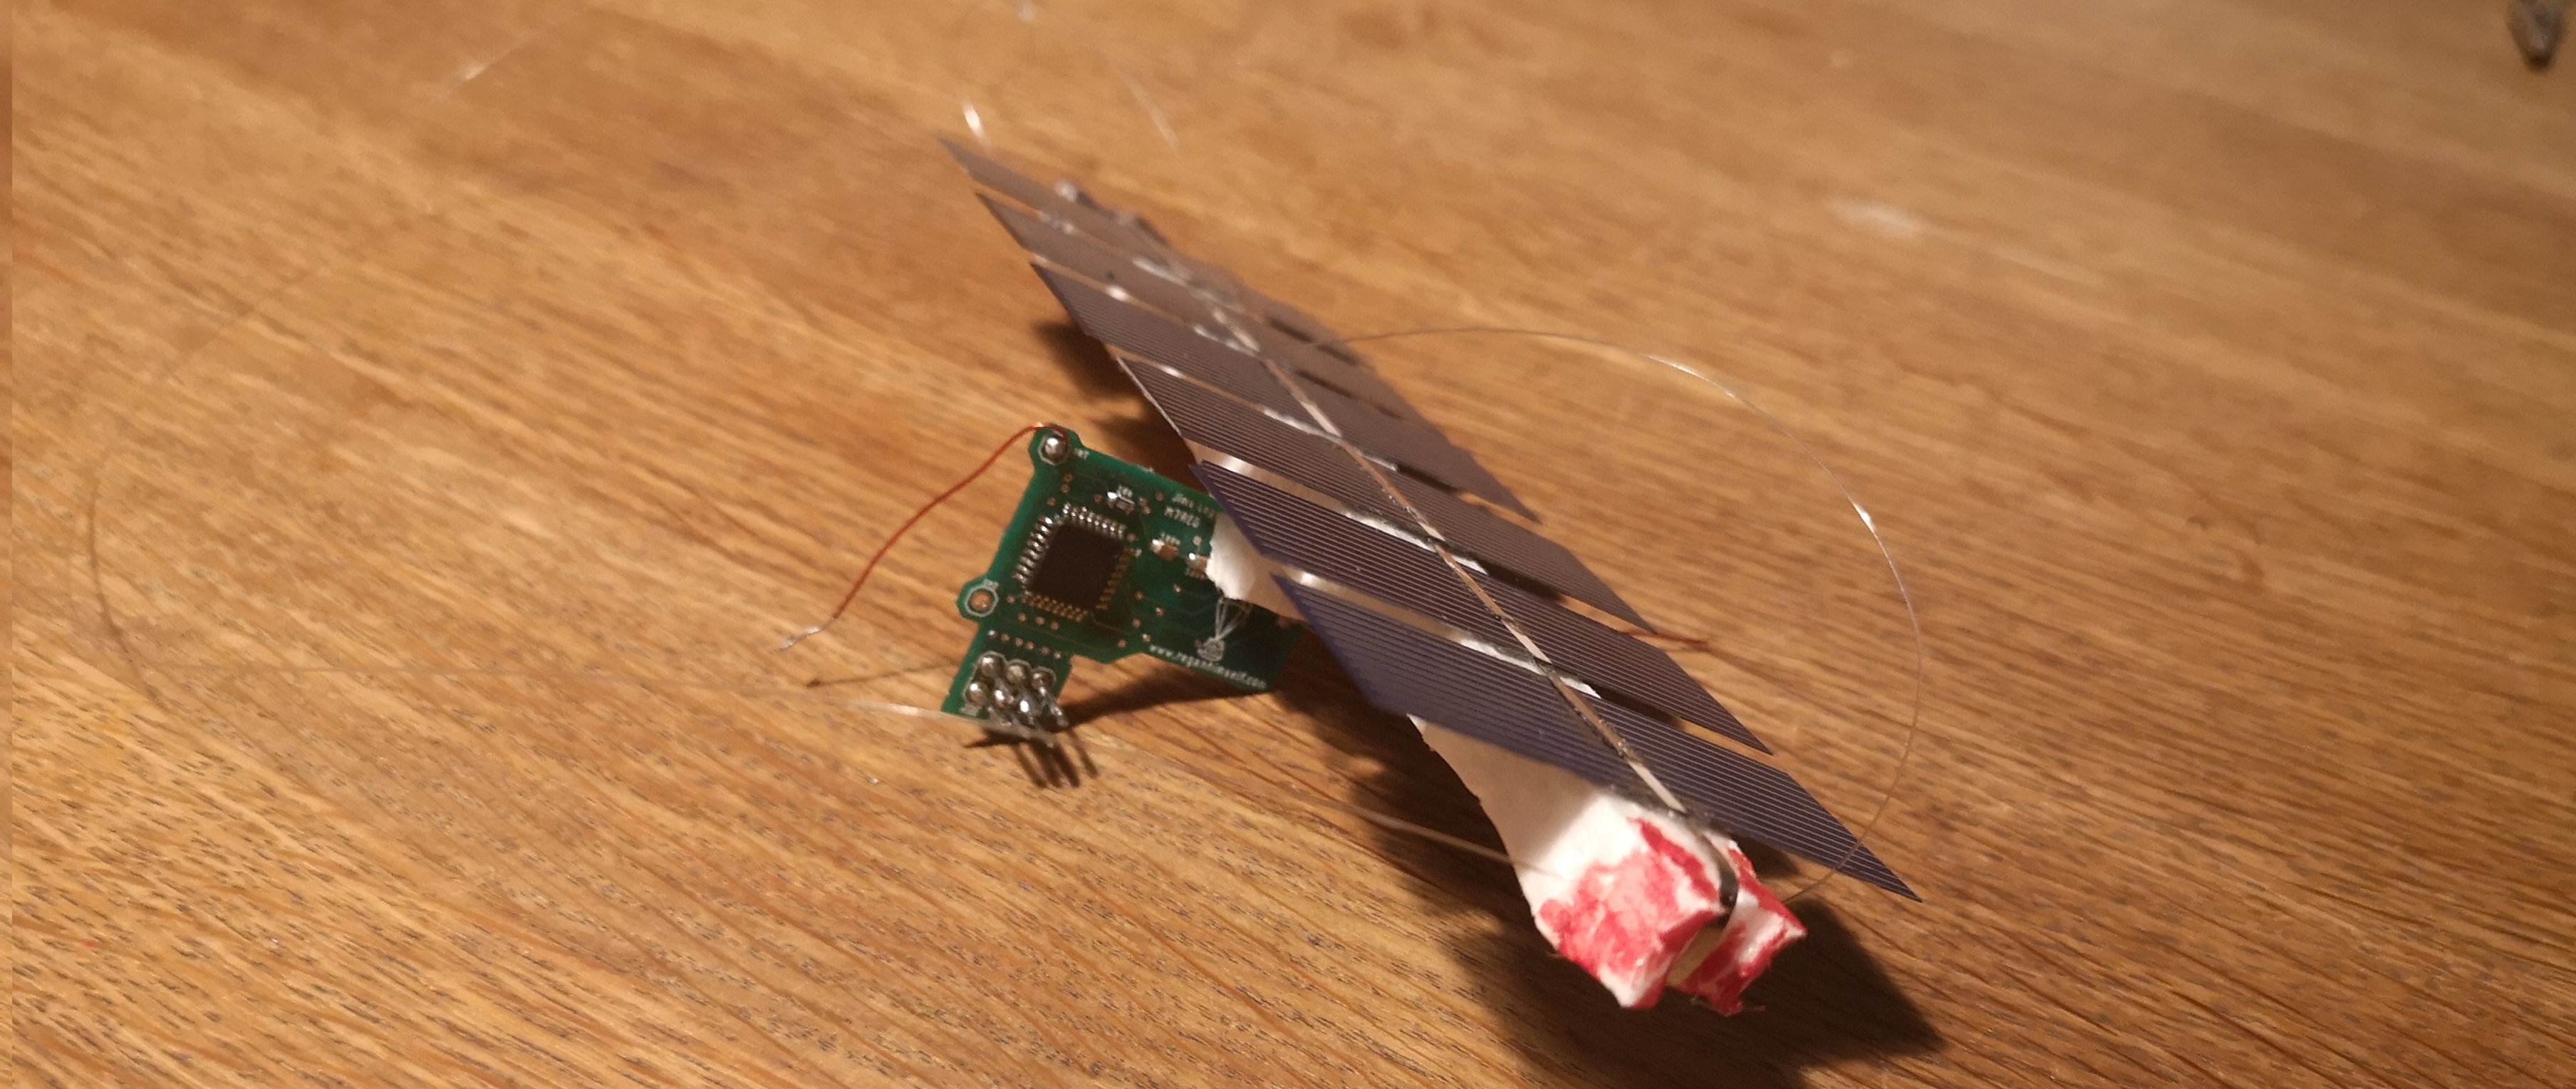
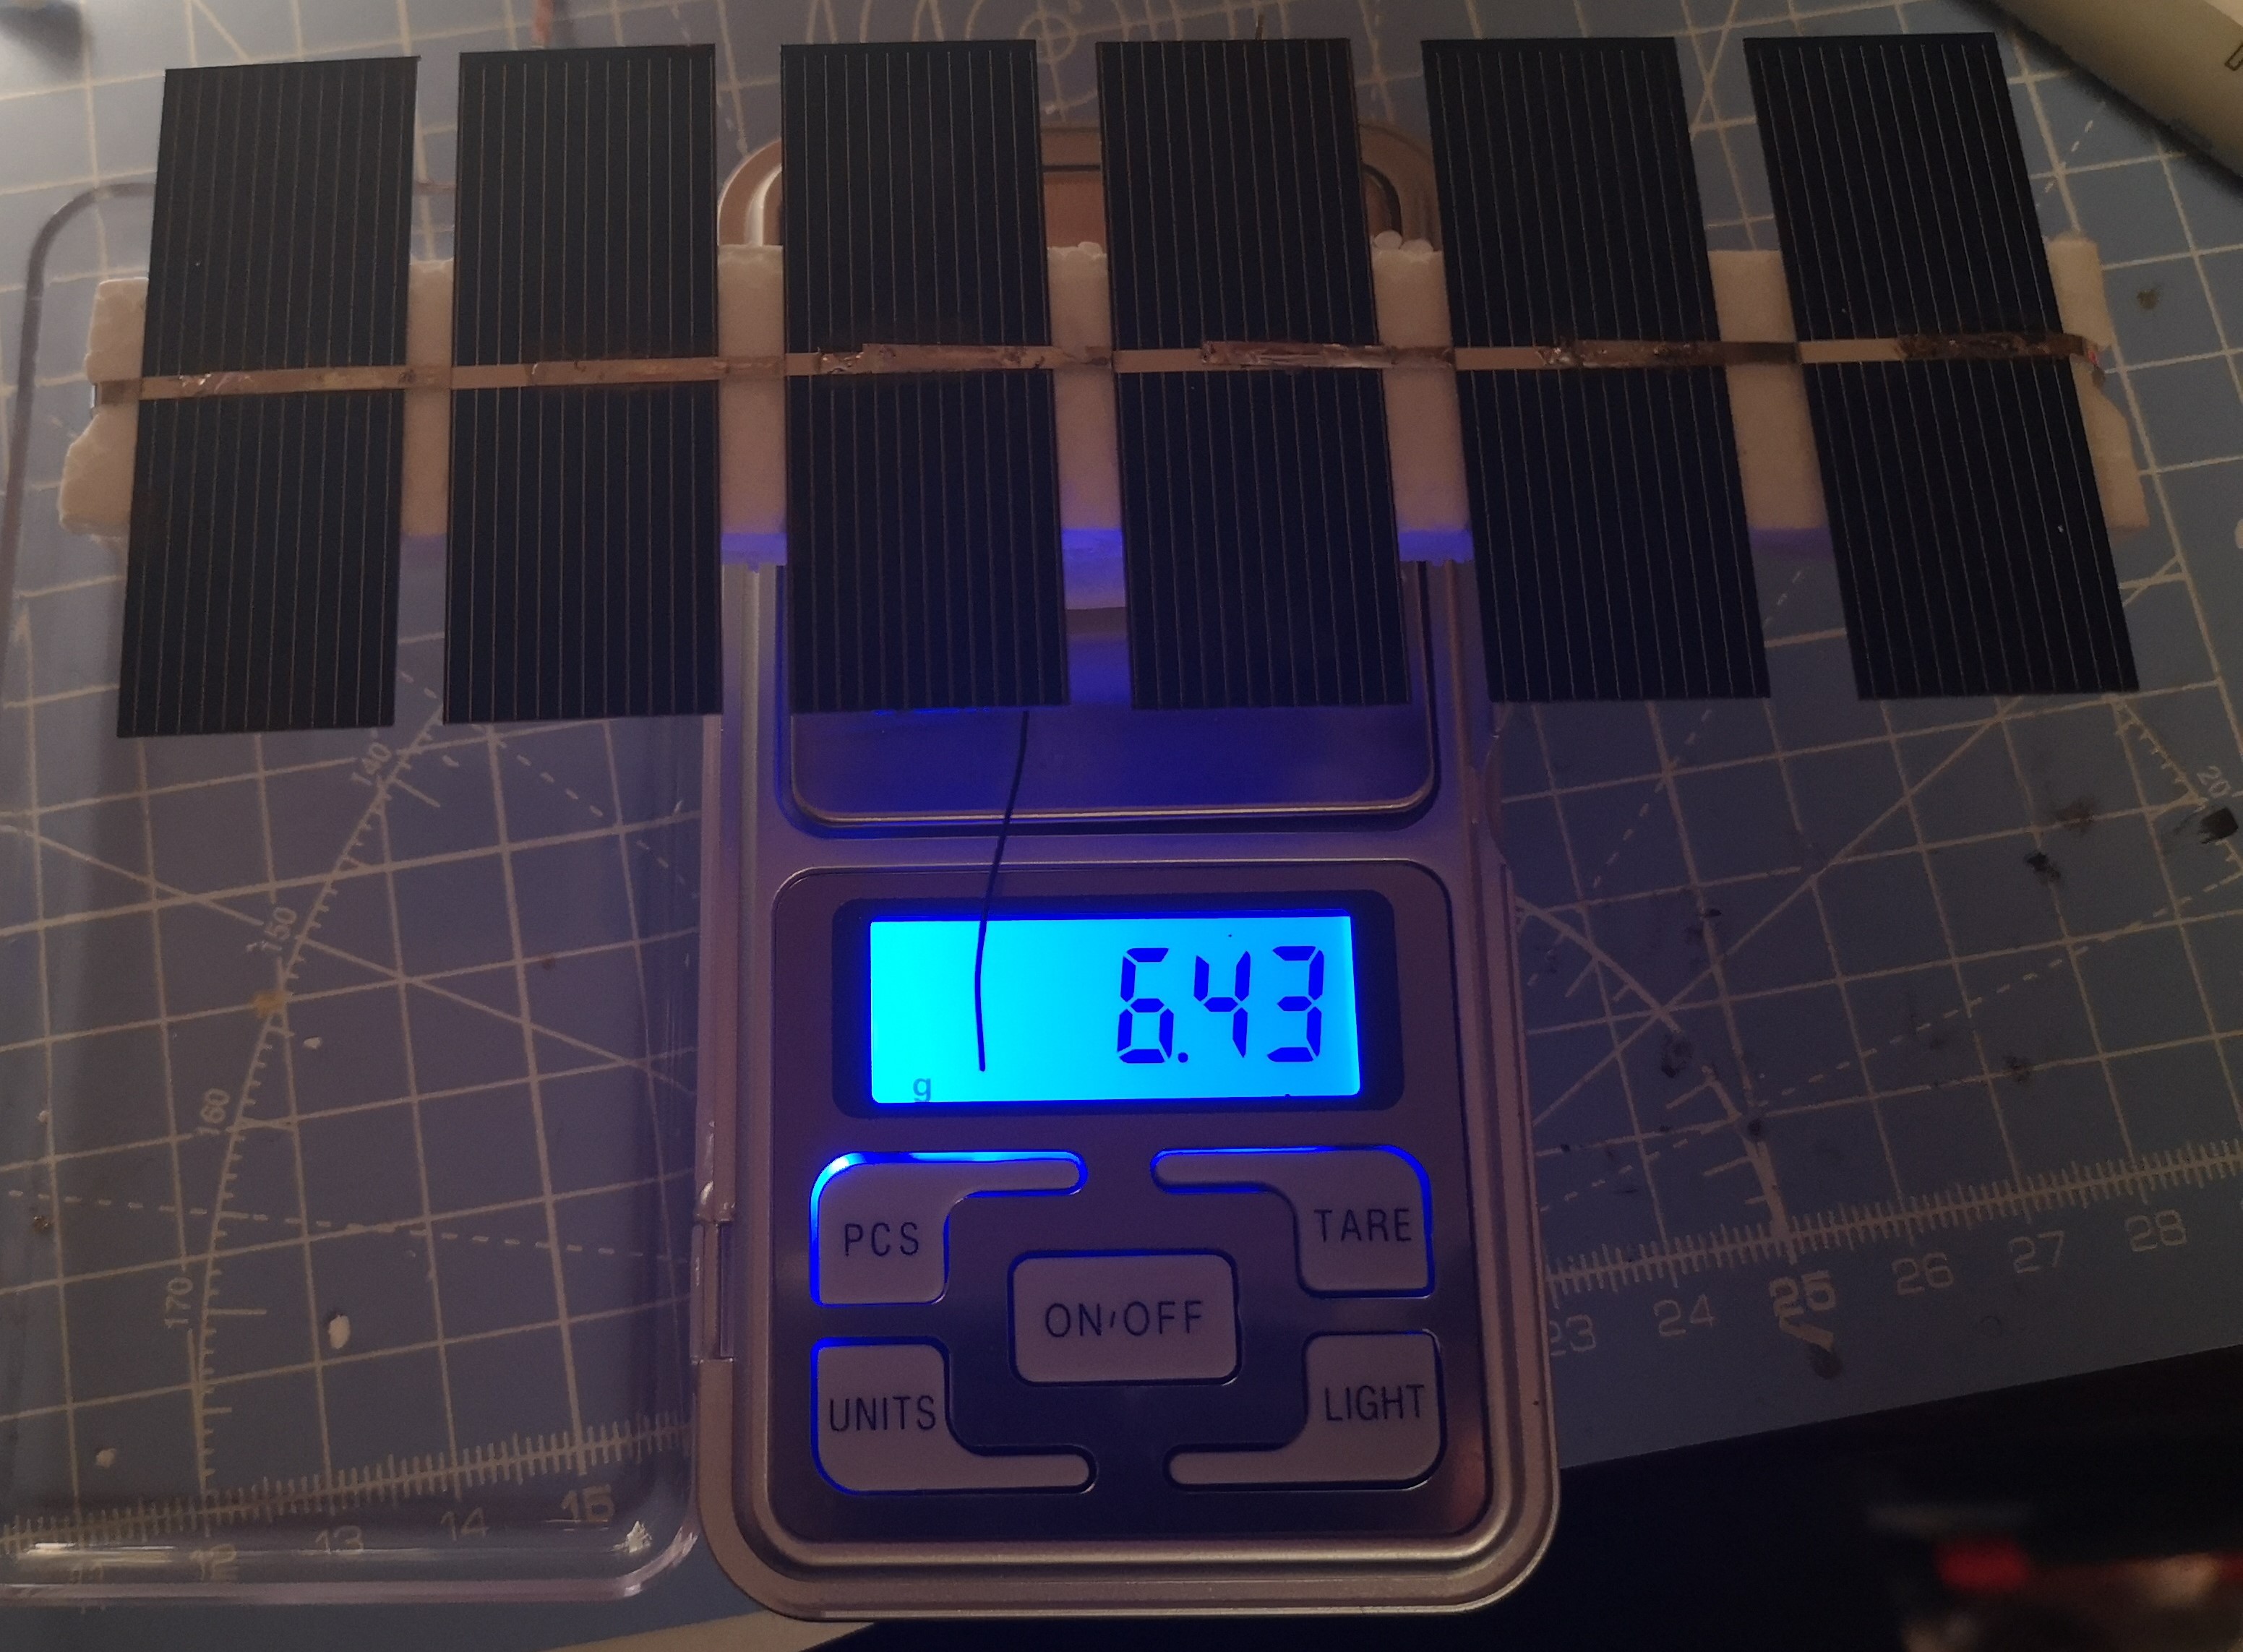
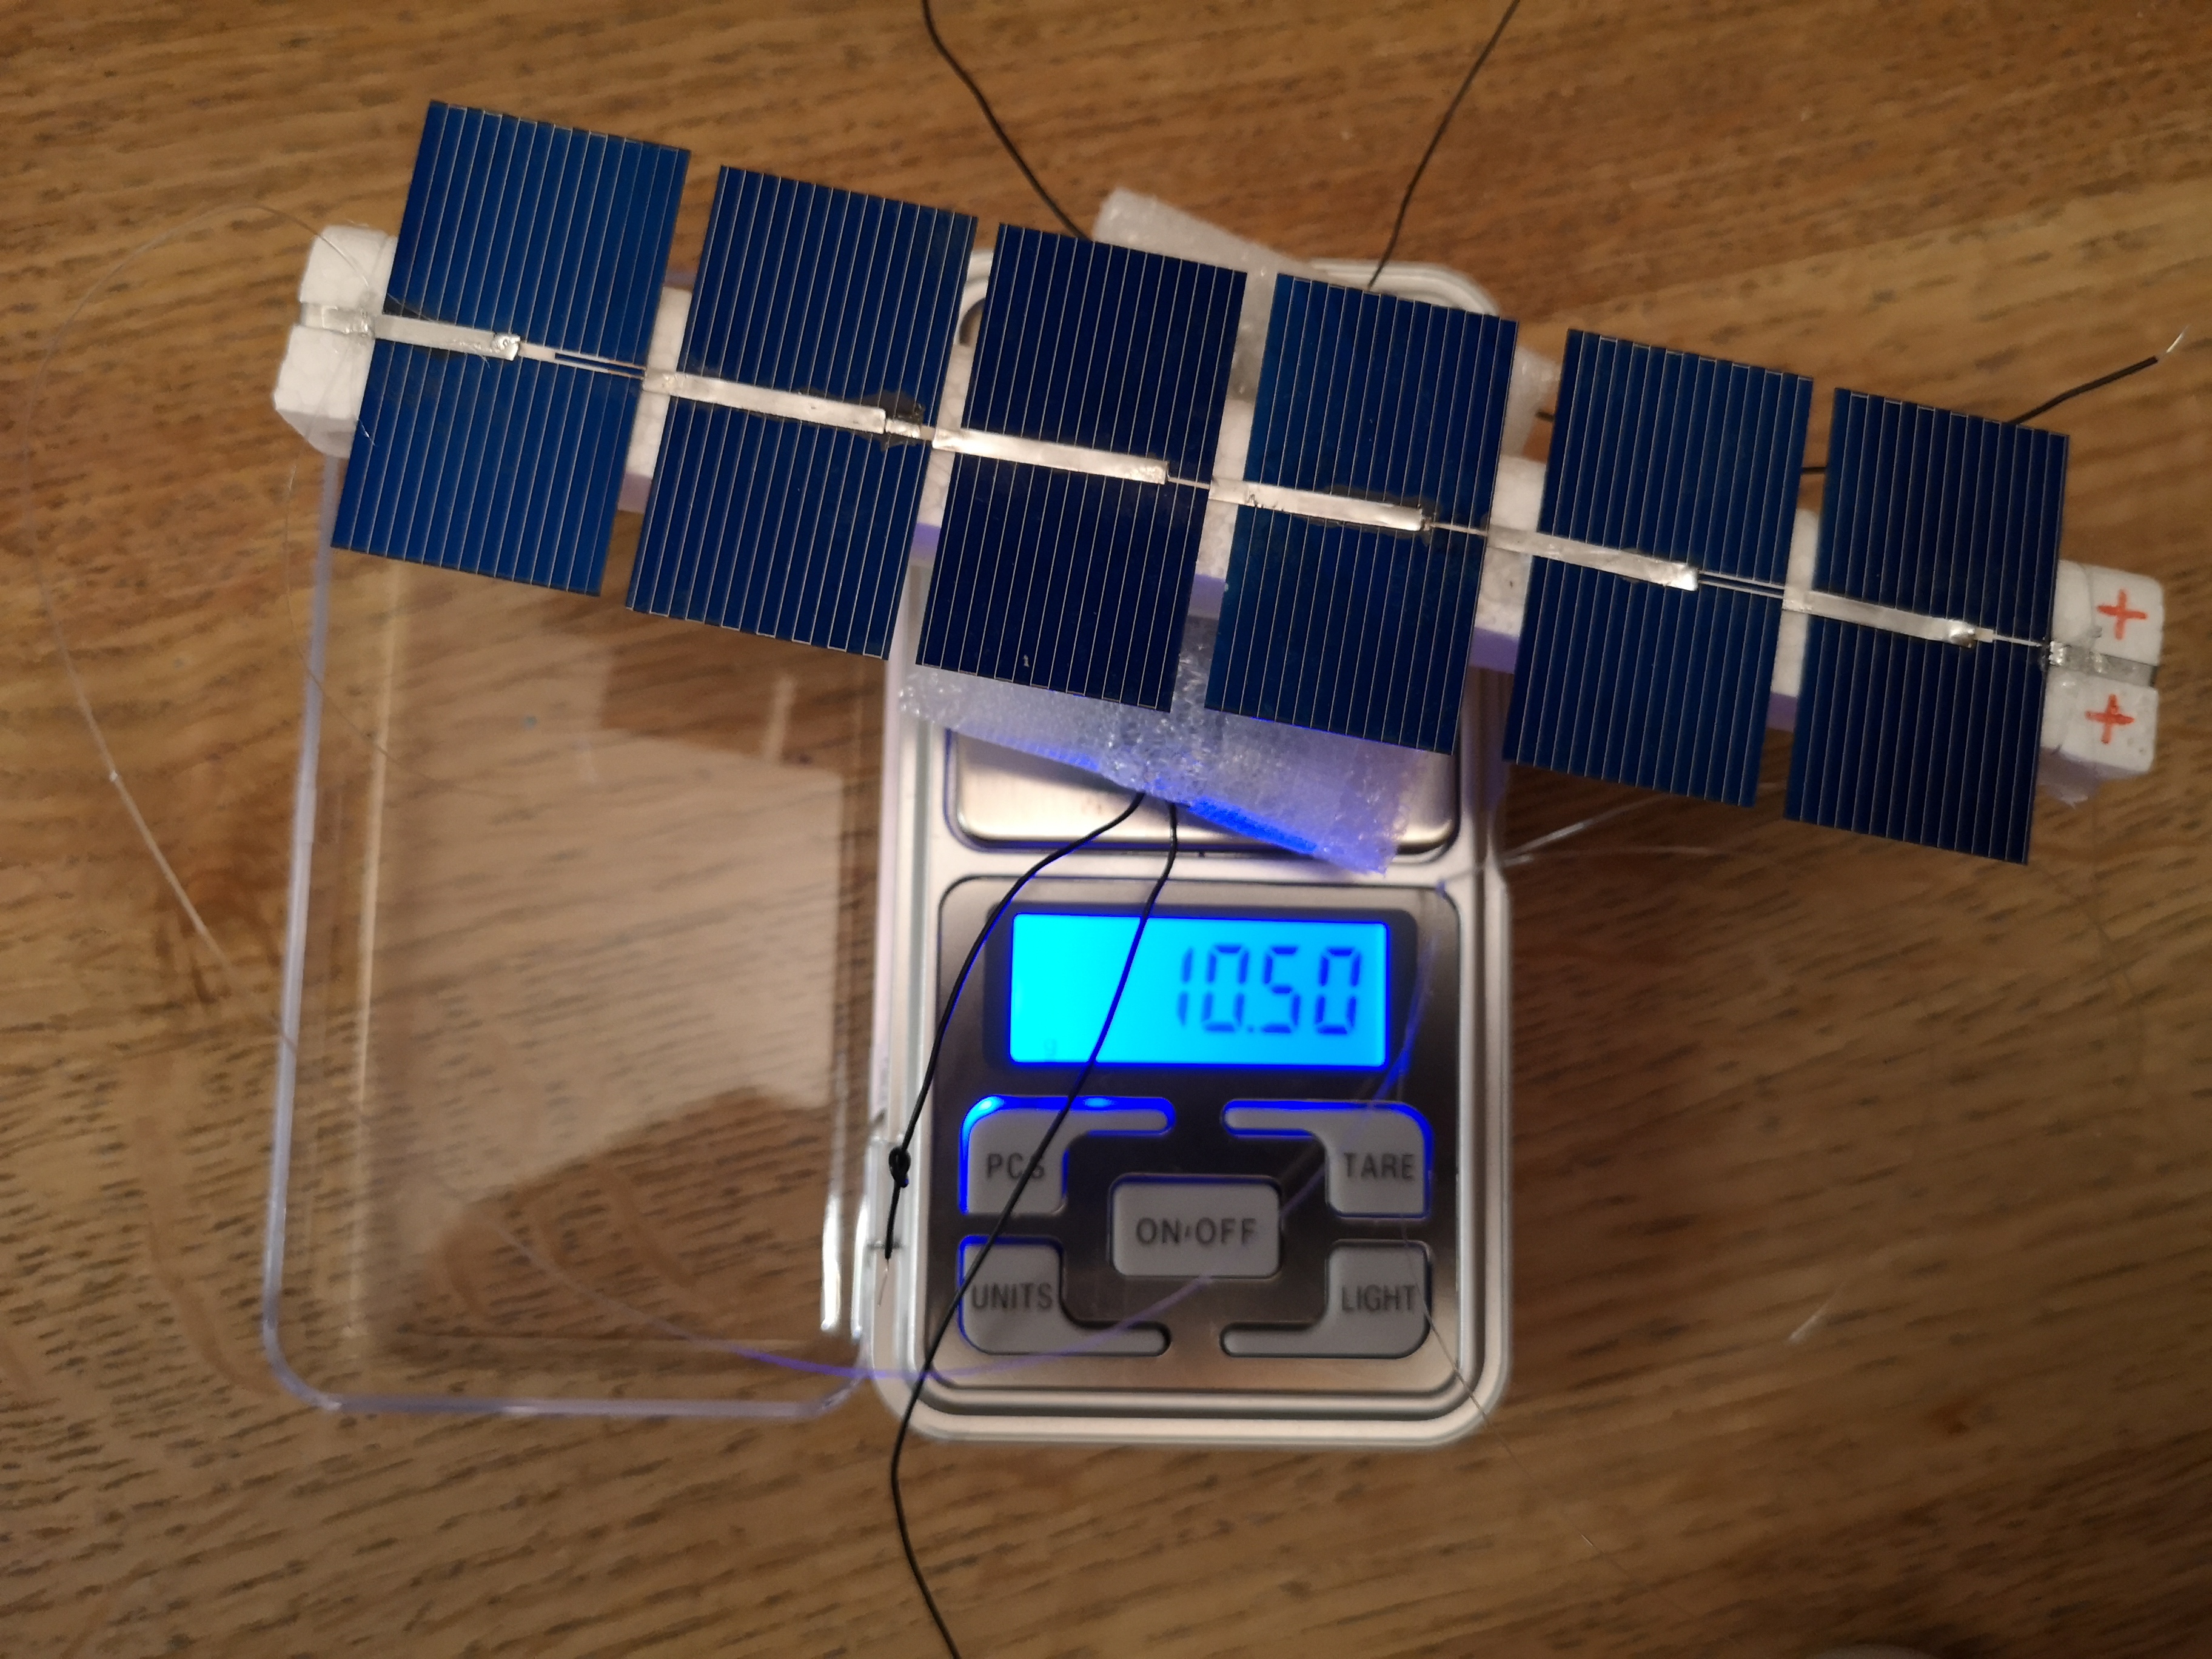
A wise man once told me that the true definition of insanity is someone doing the same thing over and over again and expecting different results. With this in mind I set out to change a few parameters, one of which was the weight of the payload, which meant I needed to design my own tracker board.
Kido 2 – My third attempt at circumnavigating the globe
Introduction
After the success of Tabi and the failure of my second attempt Kido, I spent a few days preparing a new payload for another shot at flying around the world. This would also give me an opportunity to test my newly developed launch checklist. I decided to retain the name and call this payload Kido 2.
After my first floating payload “Tabi” successfully travelled approximately 14,500 miles, I decided to give it another go. Tabi weighed in at around 11g, which is like a brick in comparison with most payloads that people float.
Building a working picoHAB payload is one challenge. Getting that payload prepped for it’s flight around the world is a completely new challenge!
With a fleet of pico trackers built and a few weeks of sunshine forecast it was time for me to get a tracker flight ready. So I picked a tracker off the shelf and began testing it to make sure it was calibrated and to make sure there were no apparent faults with it.
A couple days after I had successfully recovered my first HAB Choten, I emailed the UKHAS mailing list to say thank you to everyone who supported me by tracking the balloon. One of the members who was tracking my balloon told me of another that was floating near to the landing site of my balloon that had just achieved its fifth circuit around the world.
This peaked my interest and led me to researching how it was possible and that’s where I discovered the Picohab group full of habbers developing payloads that weigh less then a £2 coin (12g).
This post is the final part of a three part series detailing my experiences of building, launching and recovering a payload named Choten. The payload flew on a High Altitude Balloon reaching an altitude of 28.km up!
The night before the launch day I installed a car battery I bought from a local scrap yard and hooked up a cheap cigarette lighter and USB adapter which was used to power my LoRa gateway which comprised of a Rasberry pi 3 and a LoRa hat.
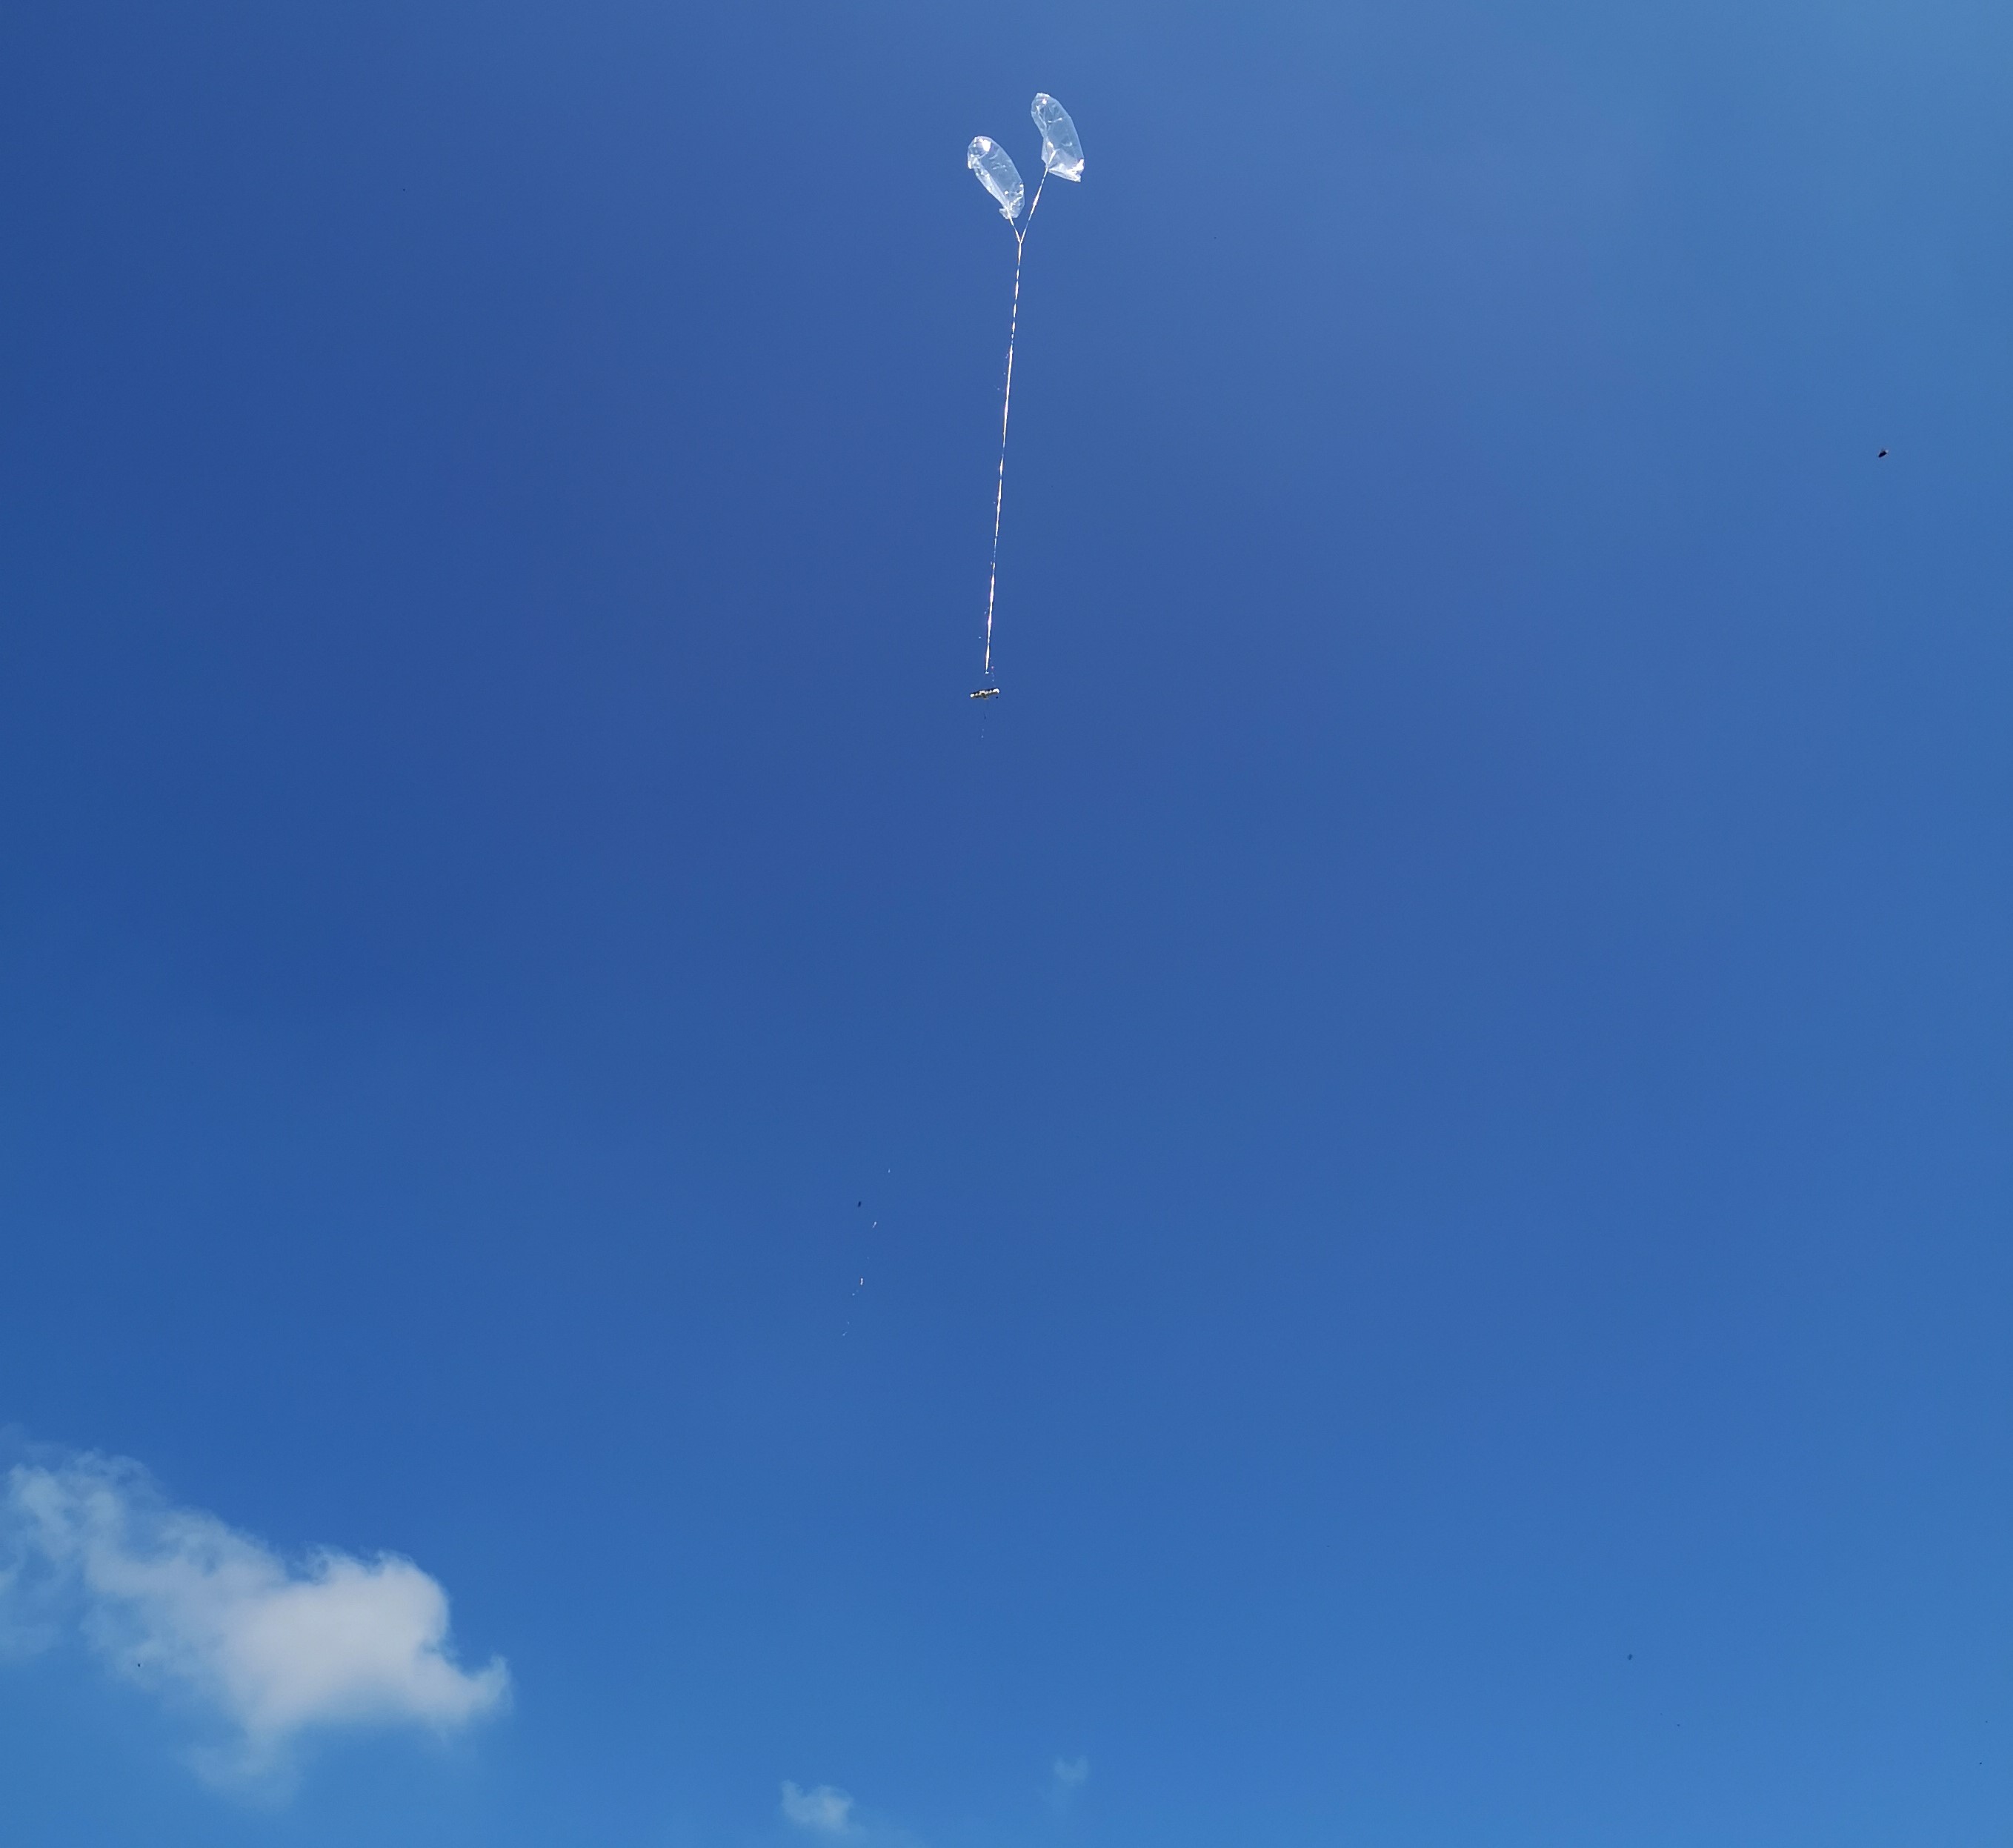
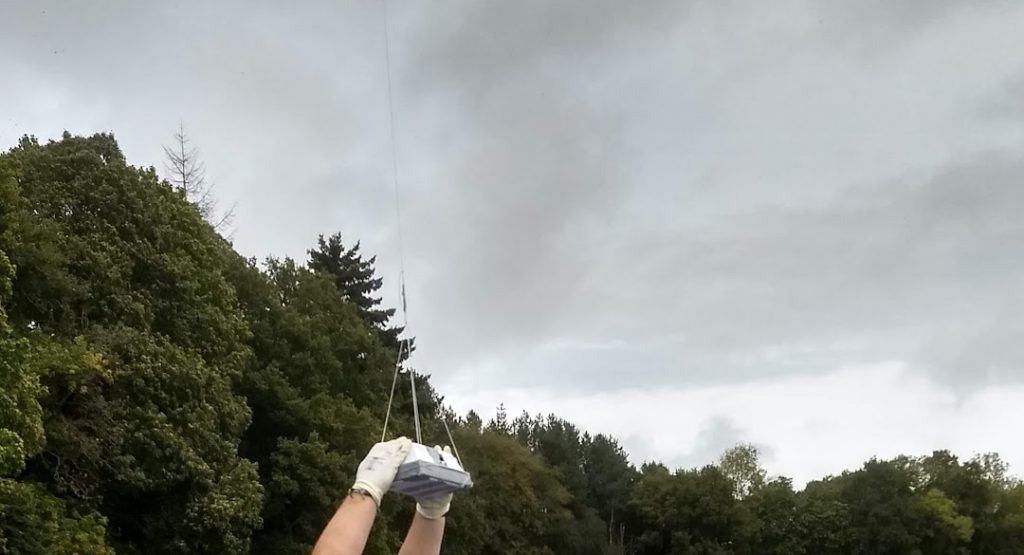
Time to let go… In the hope to get it back in one piece!
Introduction
This blog post is number of a three part series detailing my experiences of building, launching and recovering a payload named Choten. The payload flew on a High Altitude Balloon reaching an altitude of 28.km up!
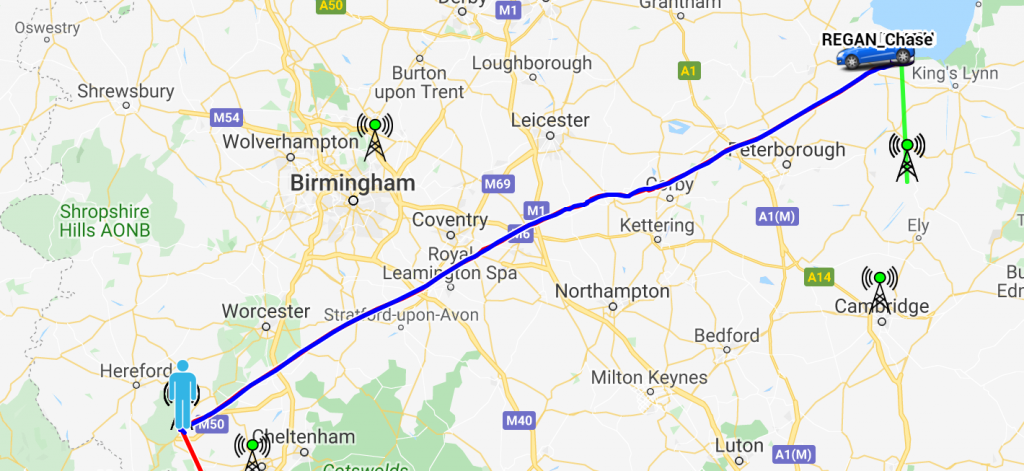
The proposed launch day soon came around. looking at the conditions, according to Dave it was possible to launch however it was going to be a challenge. My father and a fellow amateur radio friend Mike joined my “chase” team and we set of for Ross on Wye.
When we arrived at the launch site Dave (M0RPI) warmly welcomed us inside. We ran flight predictions for the payload for that day, inputting the balloon, chute and payload weights. Dave was kind enough to loan me a back up tracker which weighed a modest 40g all inclusive!
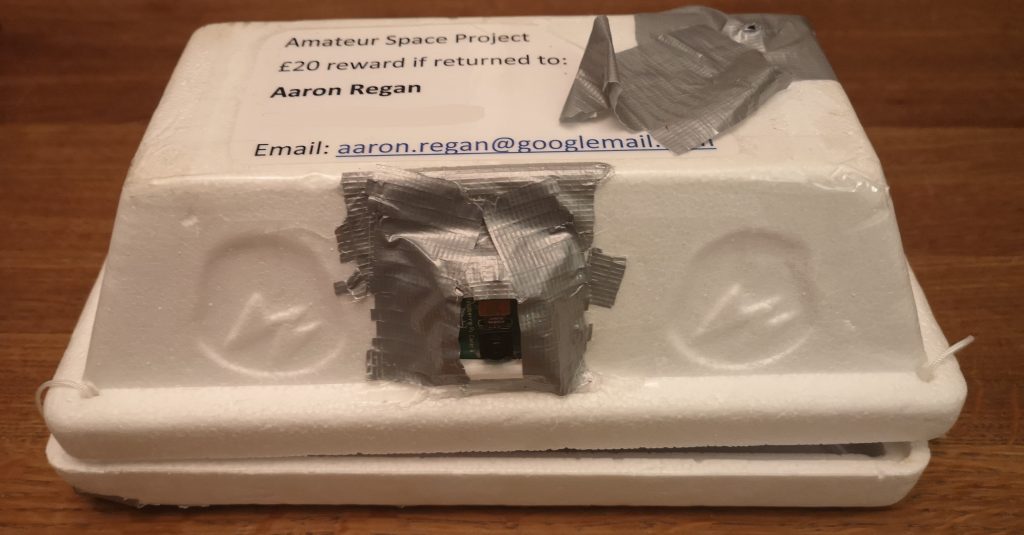
Meet Choten my very first attempt at HABing. The payload consisting of a raspberry pi Zero, LoRa radio module, a GPS module and a cheap copy Pi camera.
Introduction
This blog post is one of a three part series detailing my experiences of building, launching and recovering a payload named Choten. The payload flew on a High Altitude Balloon reaching an altitude of 28.km up!
After stumbling across the UK HAS Wiki I decided I would lend my hand to tracking balloons. I had been helping tracking a few balloons and was itching to fly one of my own. Because I had little experience with electronics, I opted for a tracker that was tried and tested and relatively easy to build to find my feet.
While reading the UK HAS Wiki I had come across Dave Akerman’s blog a few times which contains a wealth of information for anyone looking to break into the hobby. On his blog I found a light weight Pi tracker with SSDV on his website which looked pretty straightforward and required very little soldering.