Introduction
Building a working picoHAB payload is one challenge. Getting that payload prepped for it’s flight around the world is a completely new challenge!
With a fleet of pico trackers built and a few weeks of sunshine forecast it was time for me to get a tracker flight ready. So I picked a tracker off the shelf and began testing it to make sure it was calibrated and to make sure there were no apparent faults with it.
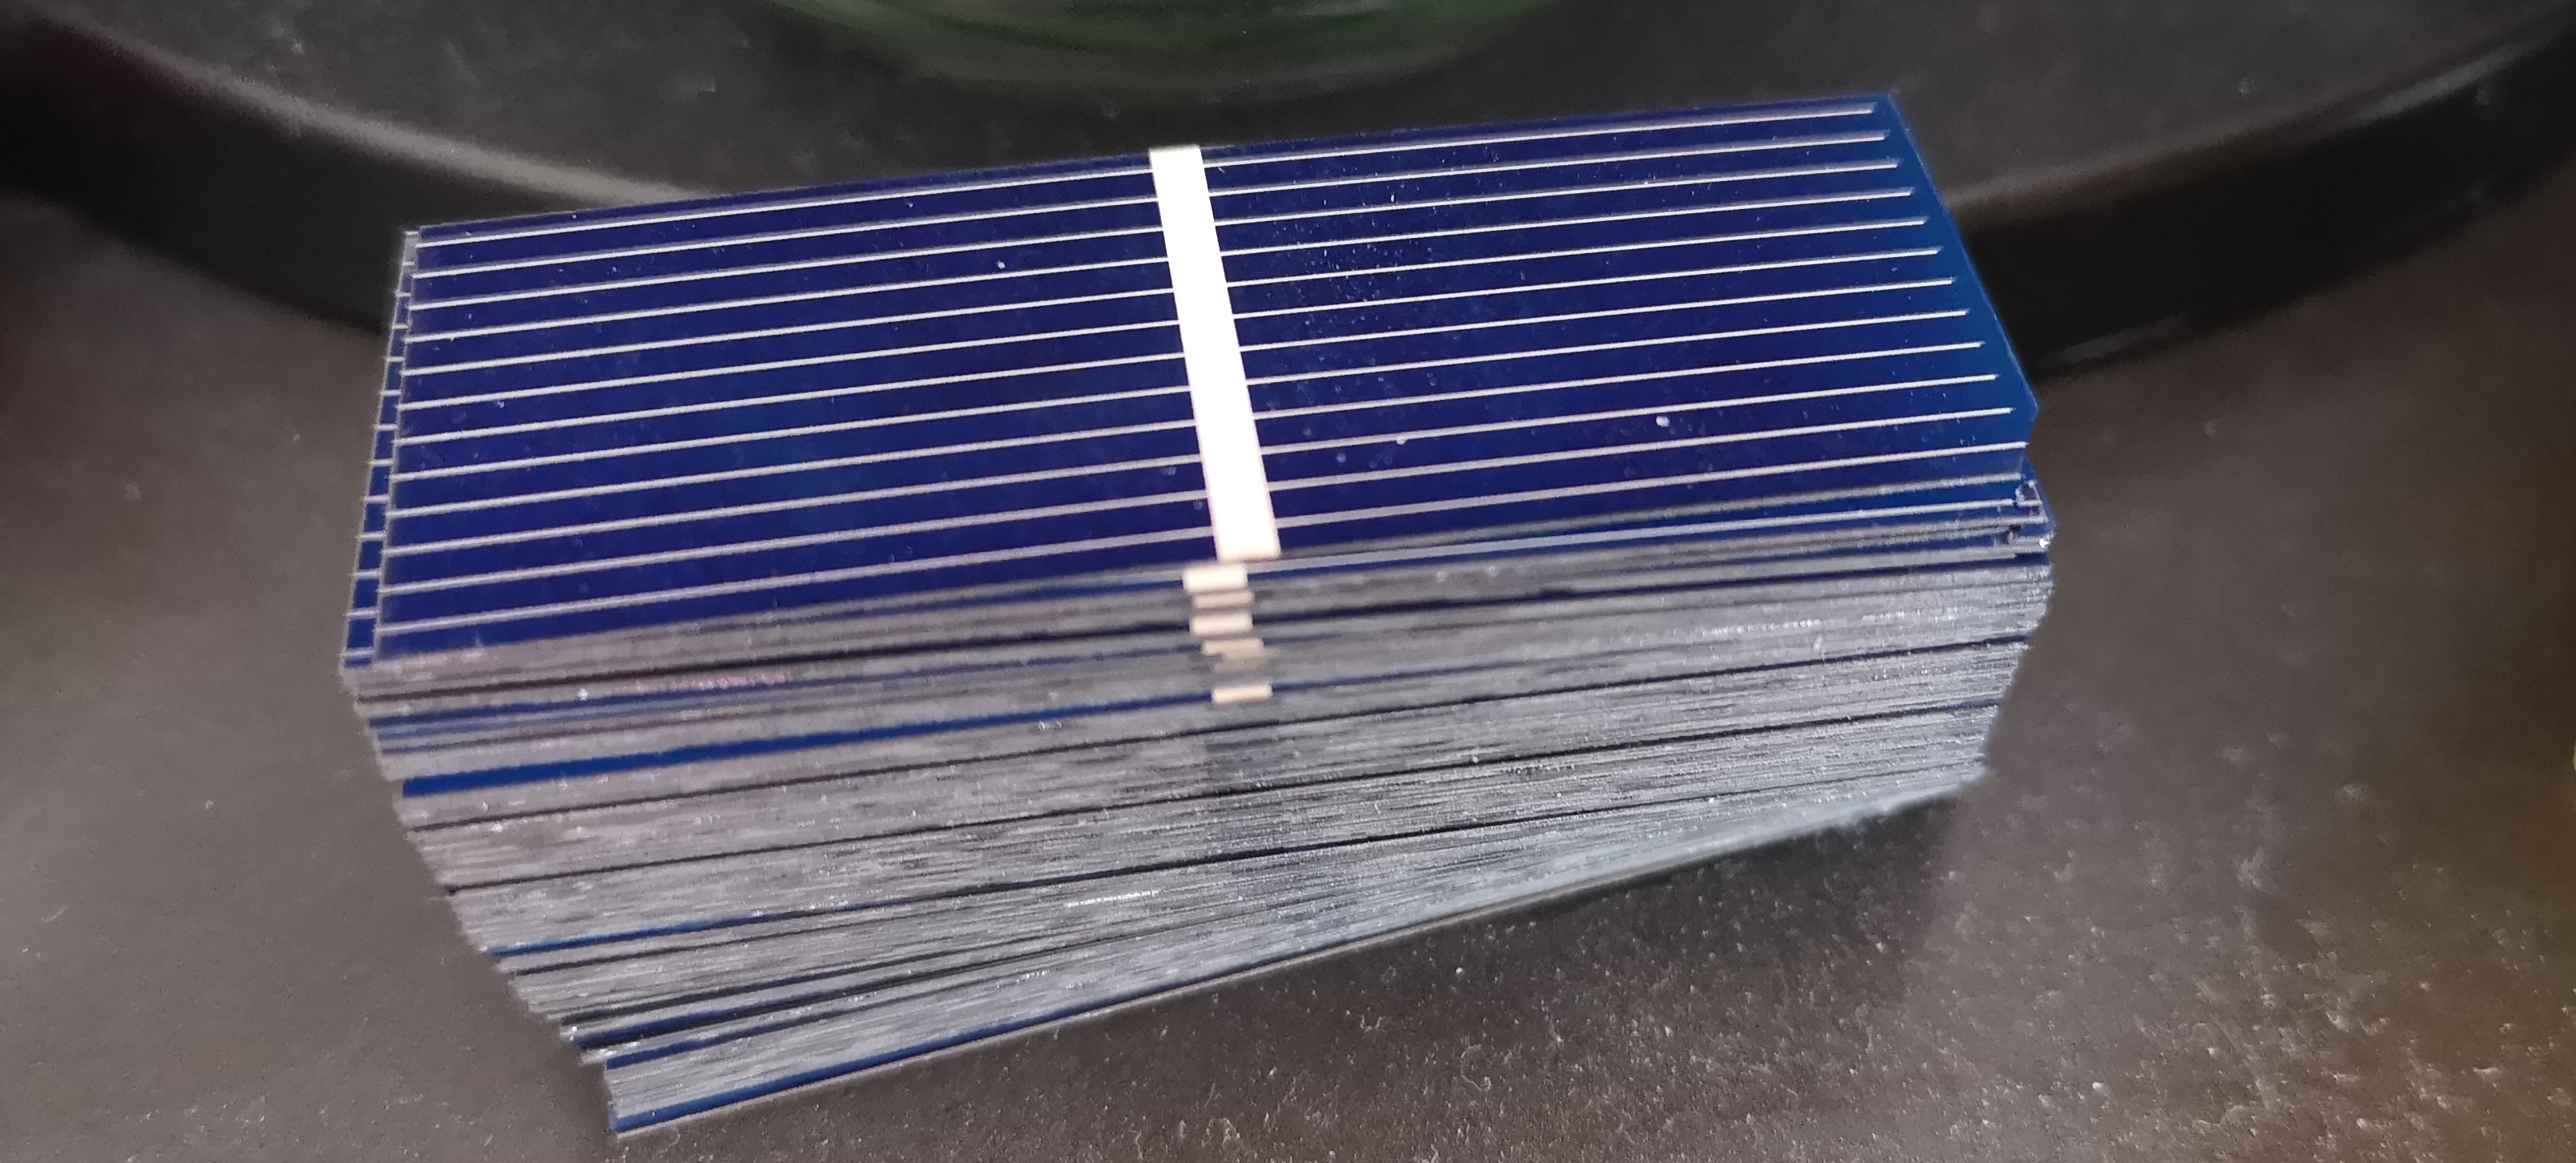
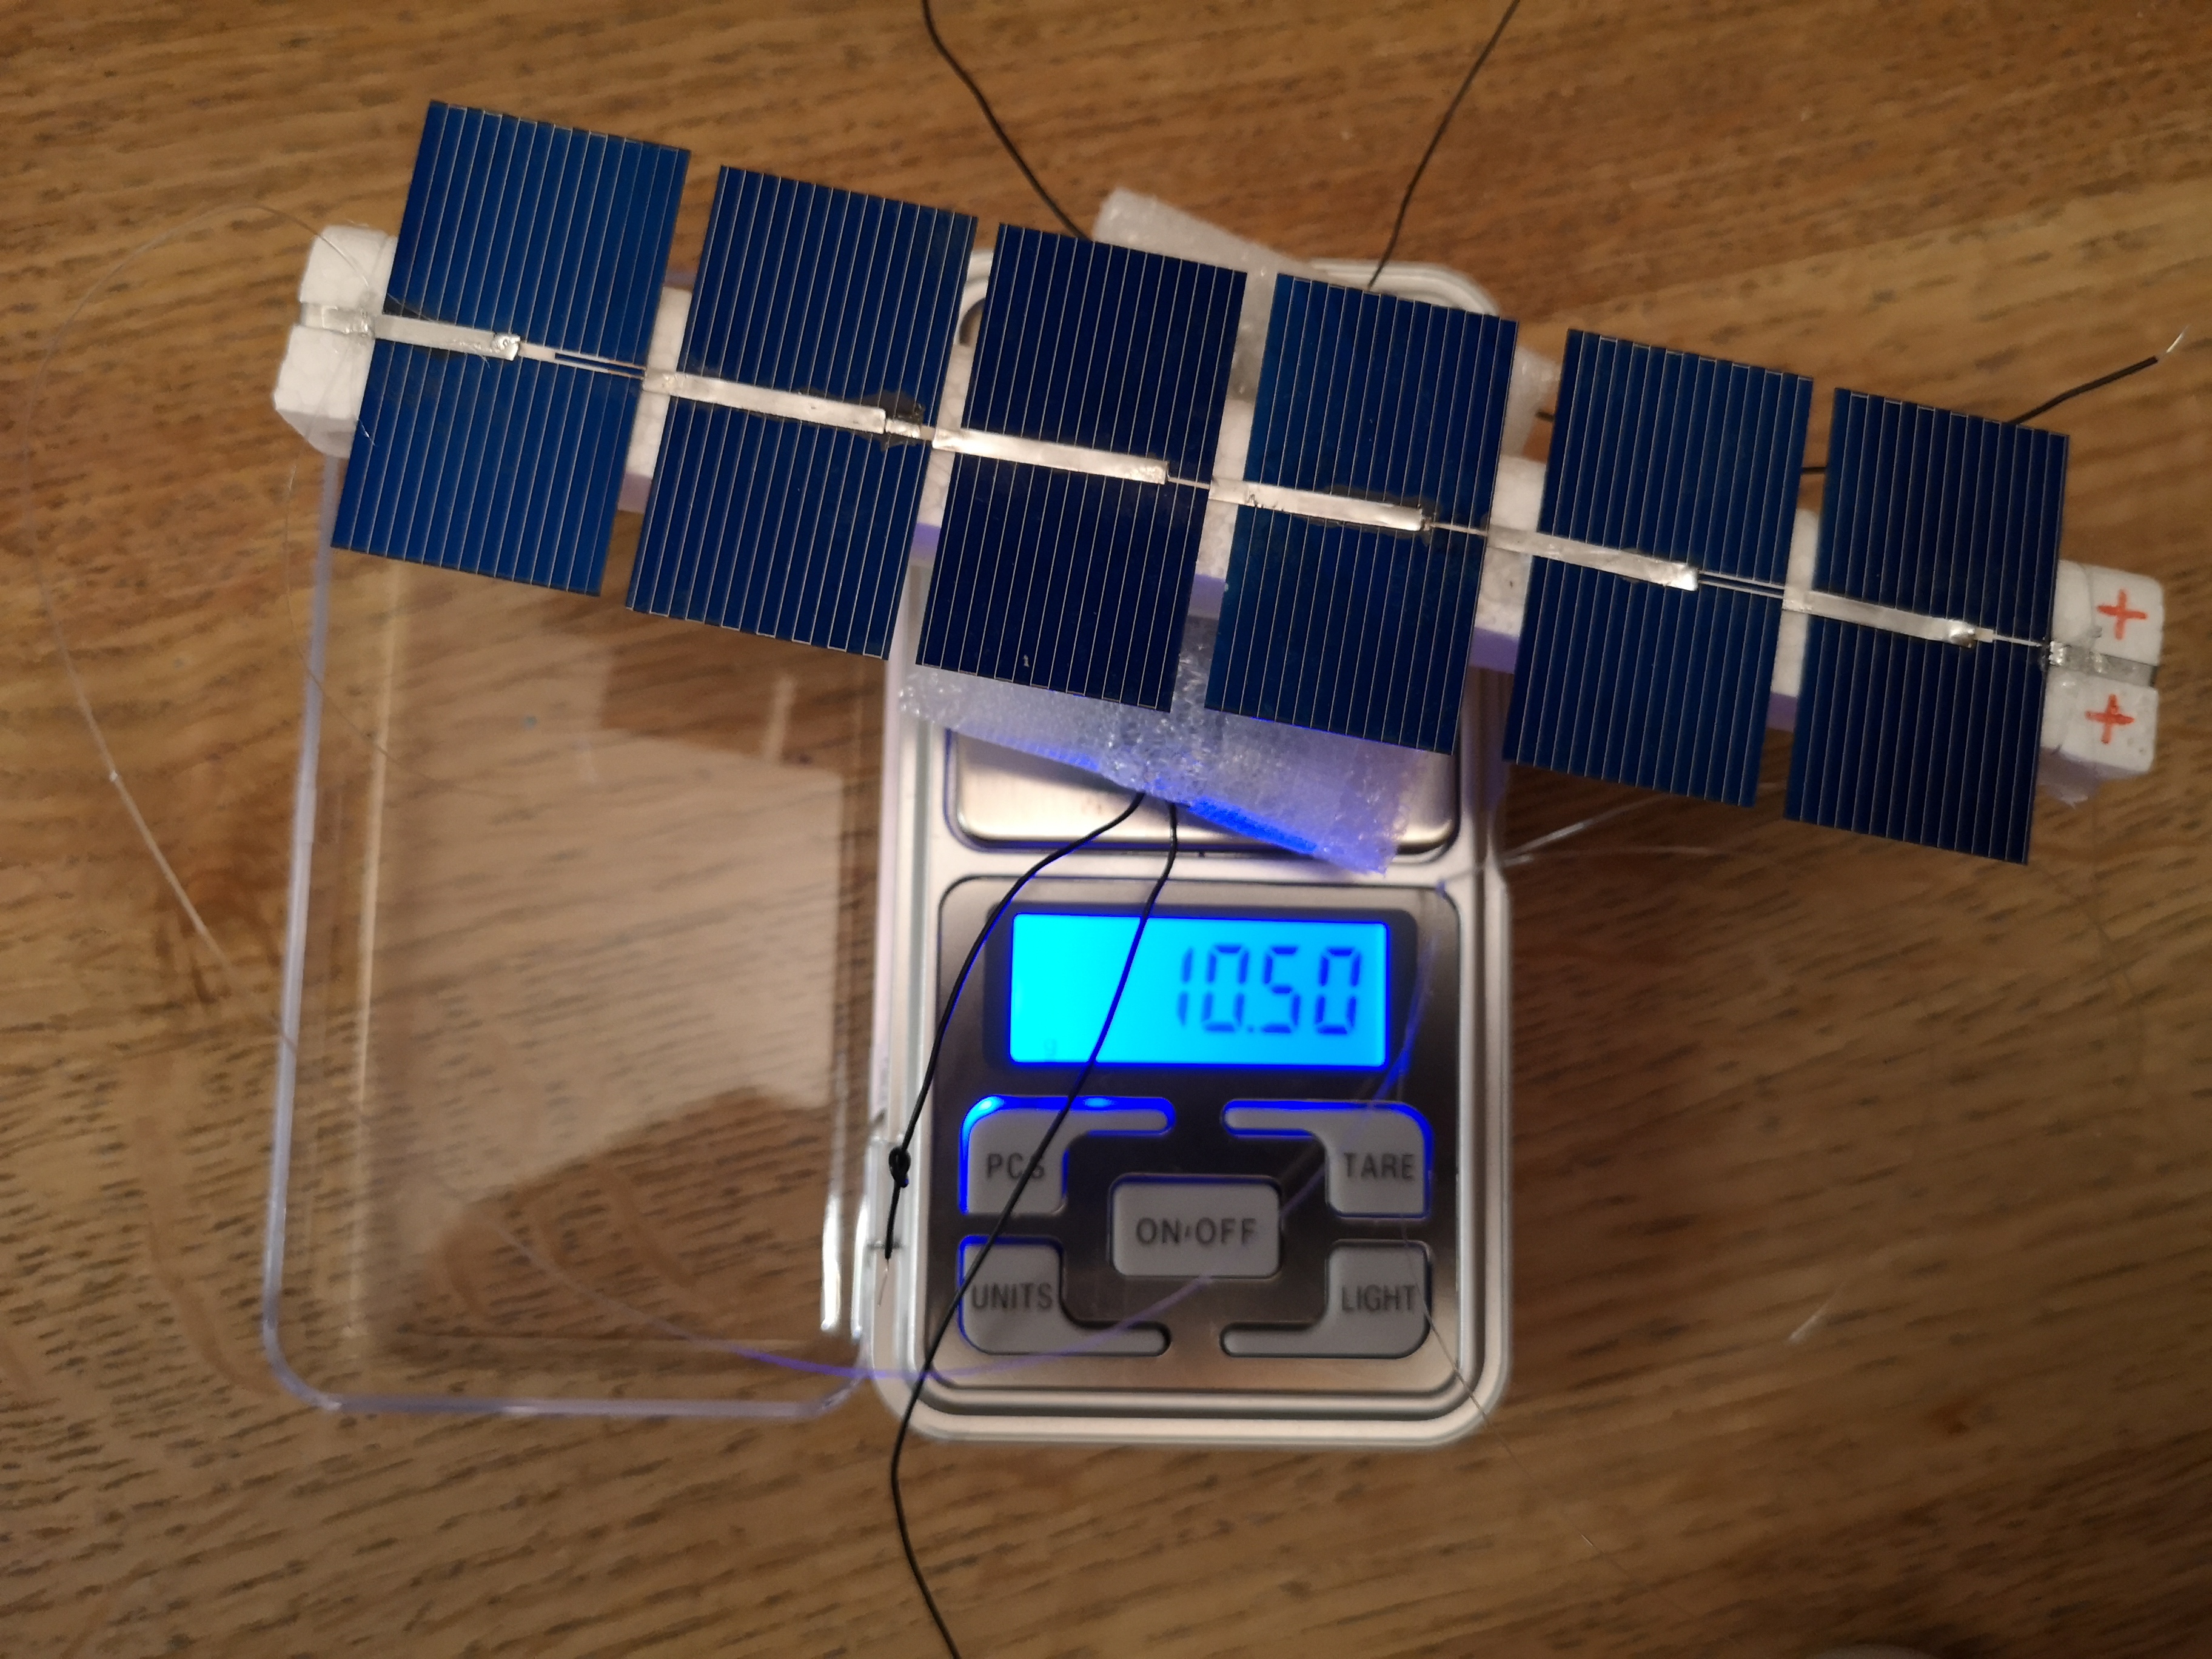
My first task was to build a solar array which would power the tracker during its journey. I had ordered some solar panels over the winter months so I had these in stock ready in the project box. The payload does not have a voltage regulator so the array would have to be made from six solar cells.
From my research I found many different ways people connect the solar panels together. For example using guitar string, magnet wire or tabbing wire. I decided to have a go at using magnet wire due to it being light and that I had plenty in stock due to it being used for the antenna of the tracker.
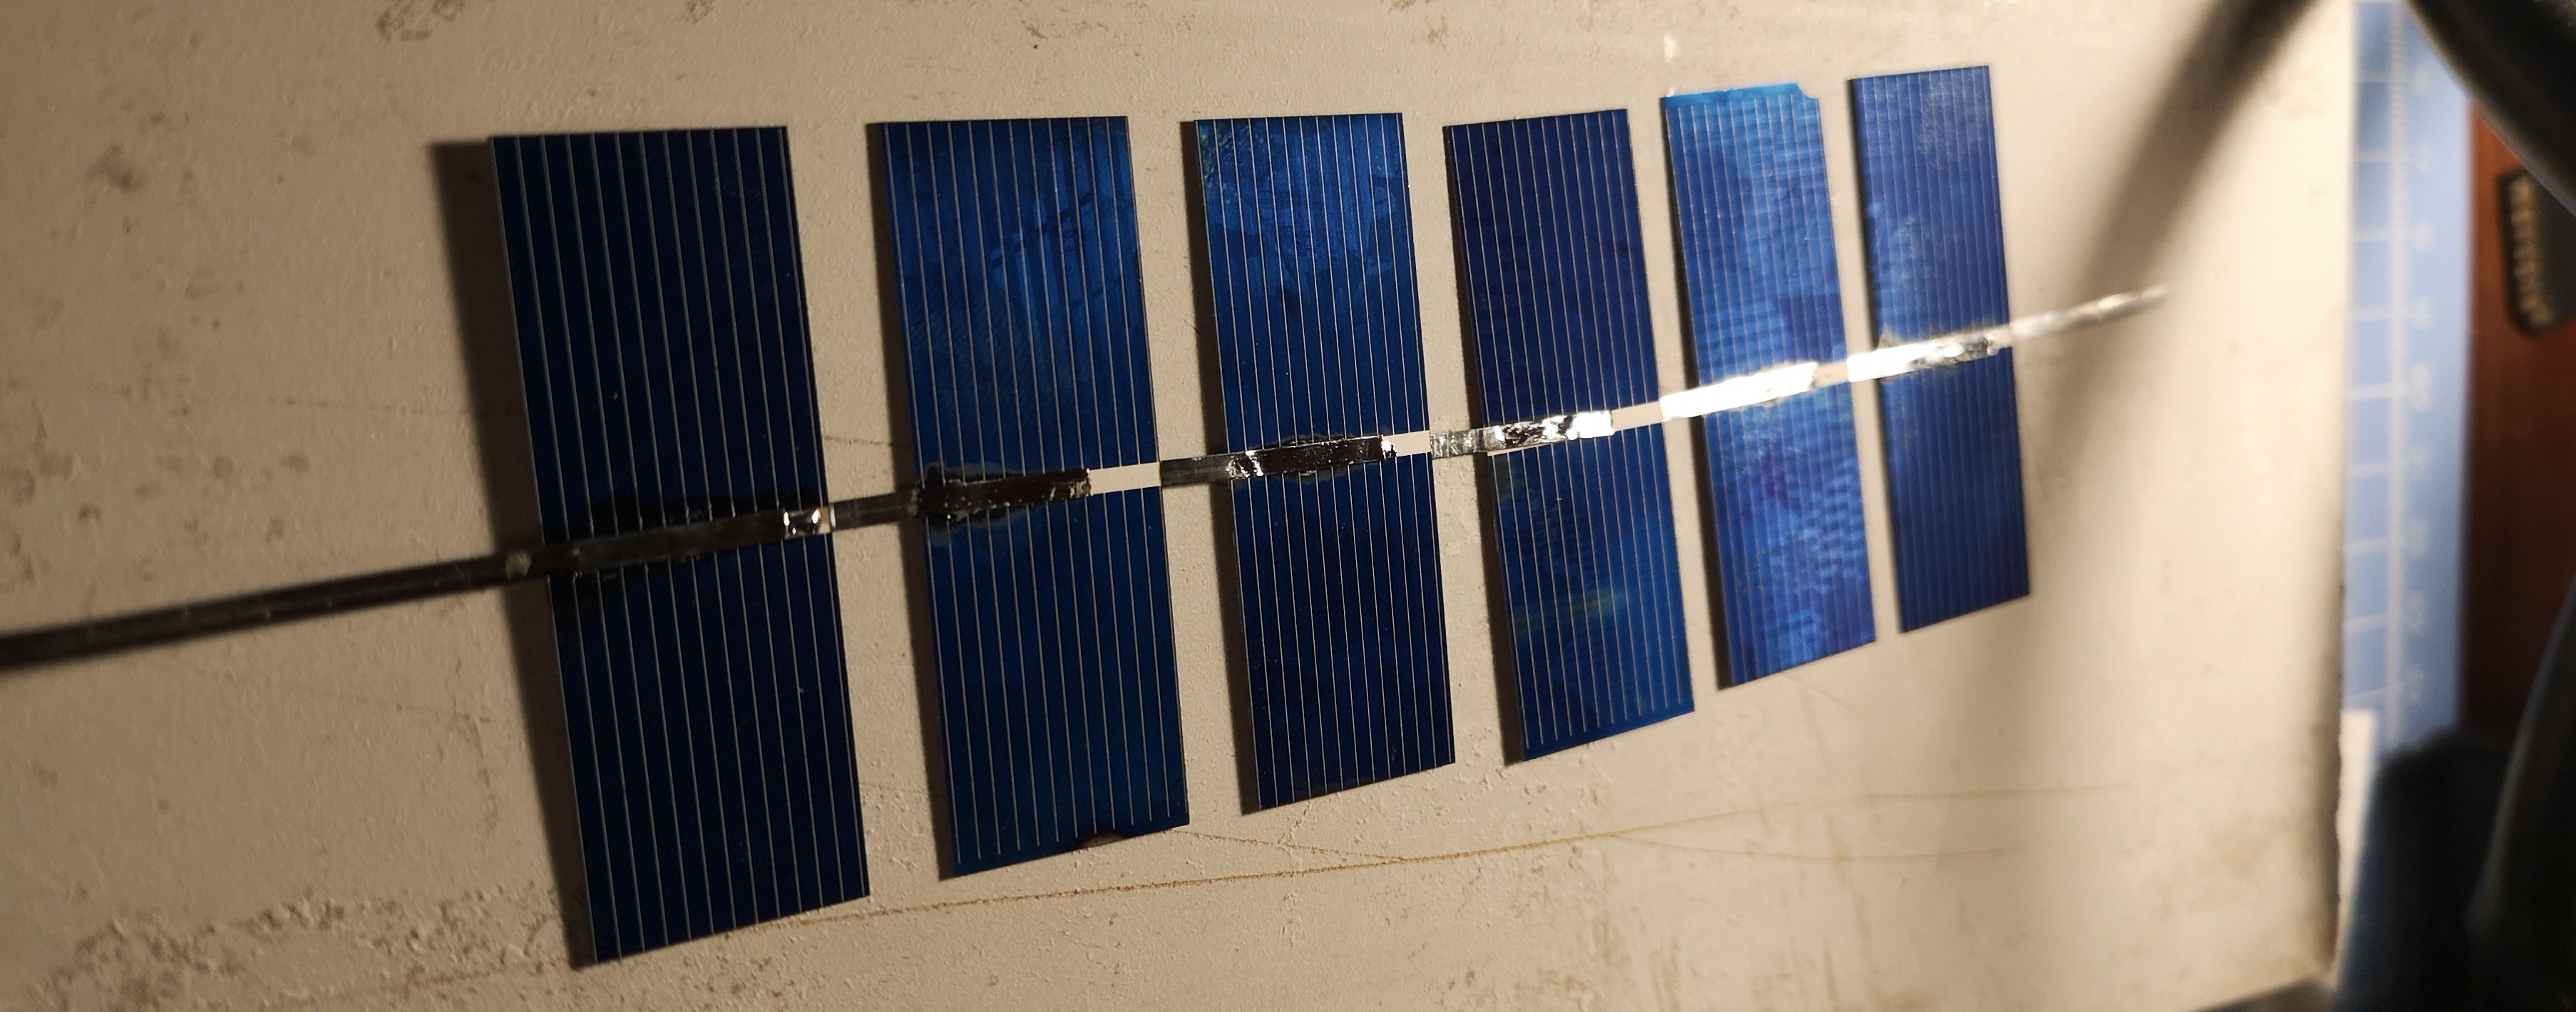
After breaking around six cells and almost burning a hole in my mat I gave up. I ordered myself some tabbing wire, which turned out to work so much better. It was a little bit fiddly but I found I was able to achieve a good connection and it gave the solar array some strength.
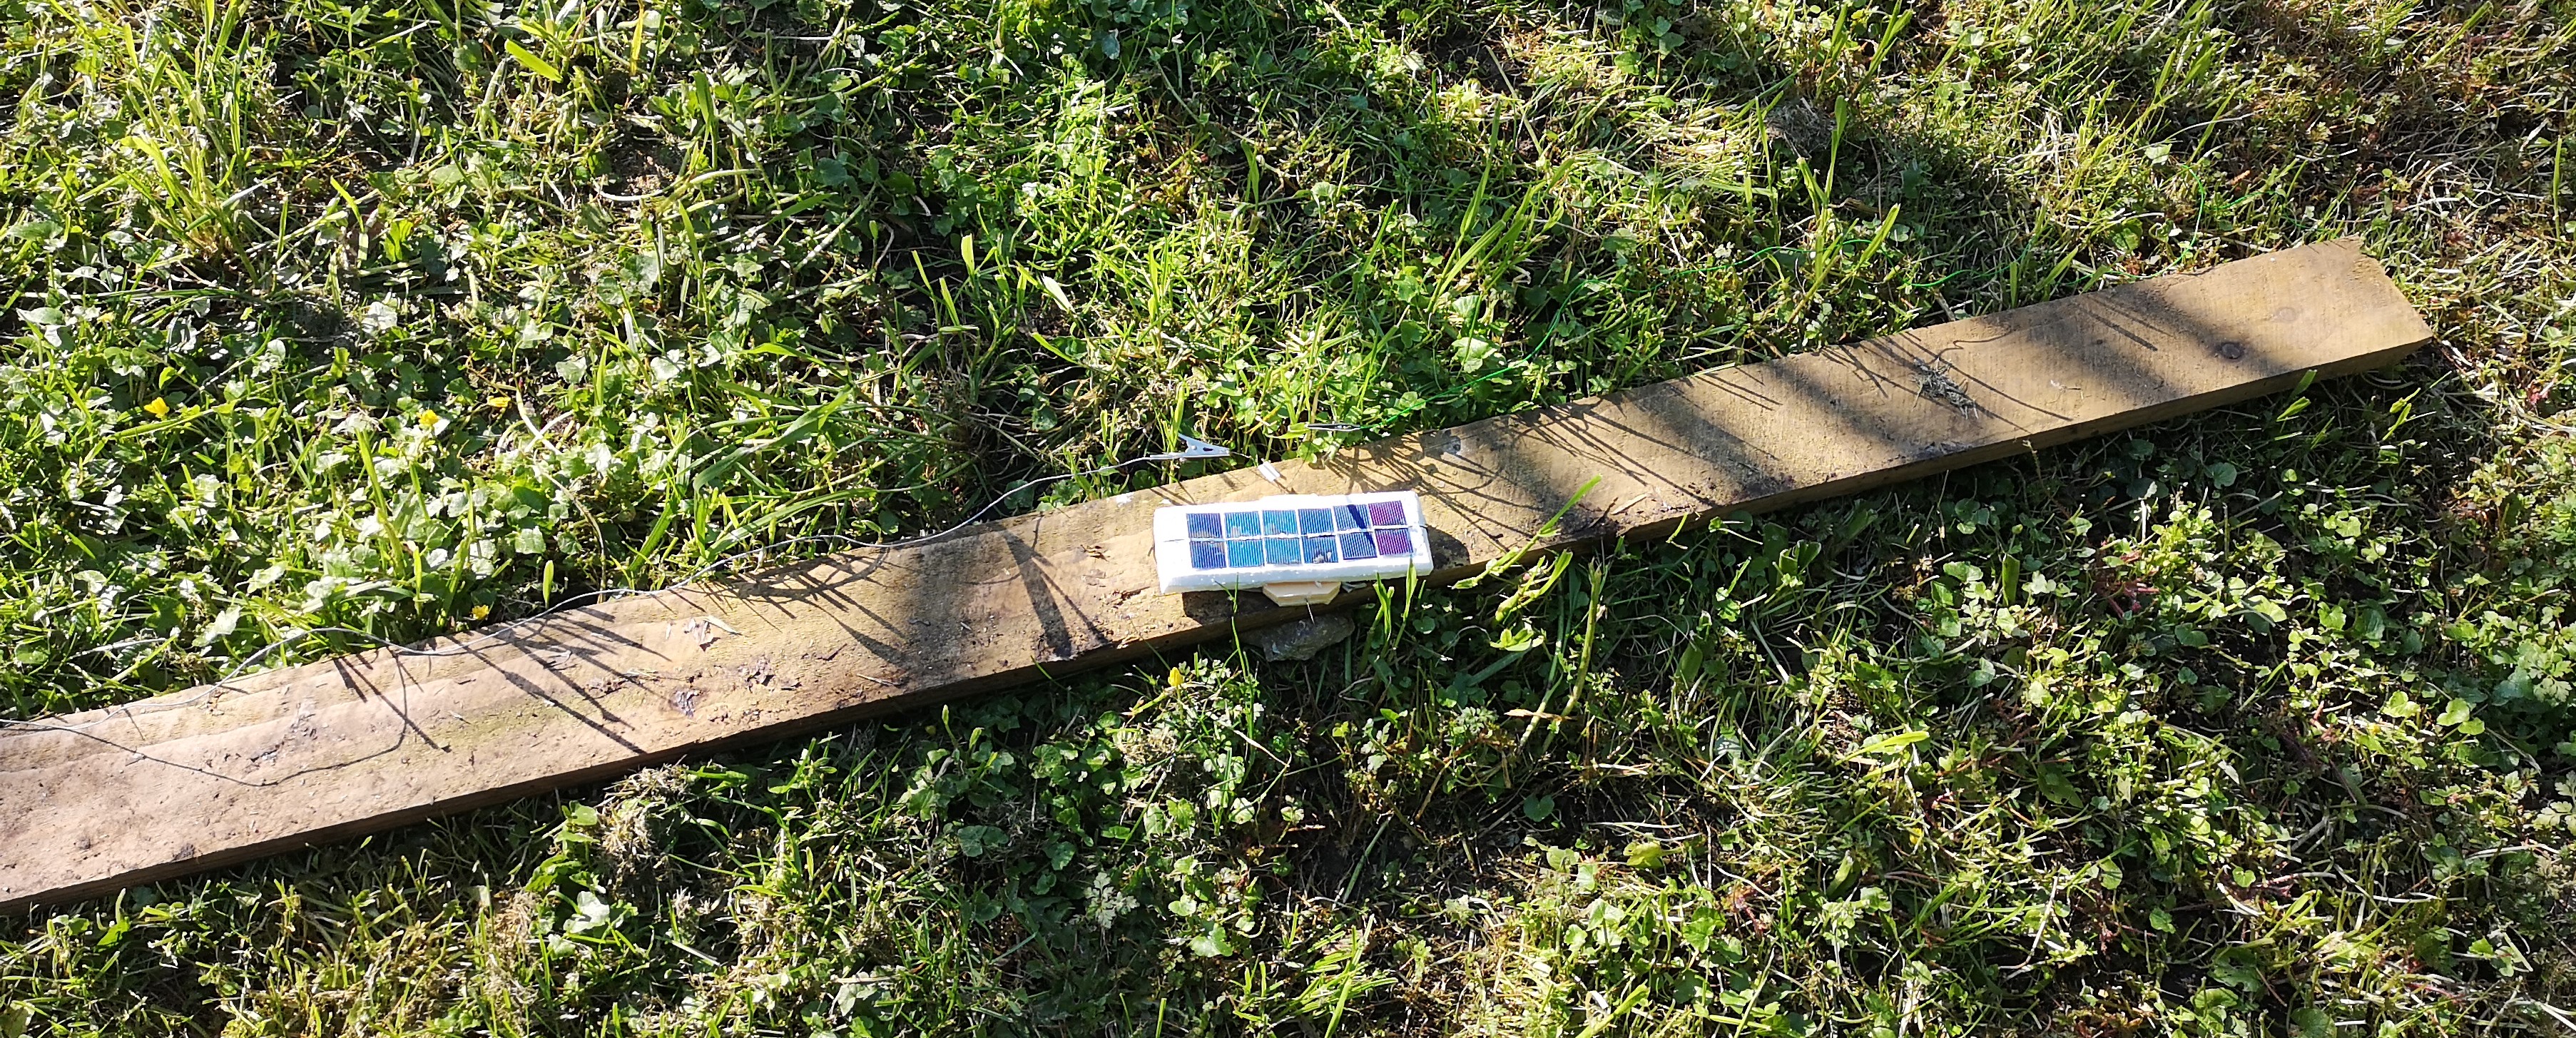
With the array built and tested in the garden on a sunny day I experimented with different materials I could use as a boom for the solar cells. I first tried a wooden drink mixing stick but that turned out to be a little heavy so then I found some polystyrene that I was able to cut into a very small block which seemed pretty sturdy. To glue the cells onto the boom I used the POV glue as I had learned some time ago that normal everyday superglue in fact melts polystyrene!

With the payload tested and the solar array checked it was time to stick it all together and see if I could receive a transmission from it stood alone in the garden. I soldered the wires from the tracker to the array and put it in the garden pointing the solar cells at the direct sunlight.
A couple hours had passed so I checked in on it and there was not one received transmission. After a little bit of head scratching I figured out that the solar cells I had ordered were too weak and would not produce enough current to power the tracker!
After a week waiting on the post the new batch of solar cells showed up. I knocked up an array and was able to test it in the garden with no troubles at all. I didn’t even need to put the payload in direct sunlight for it to start happily transmitting away.
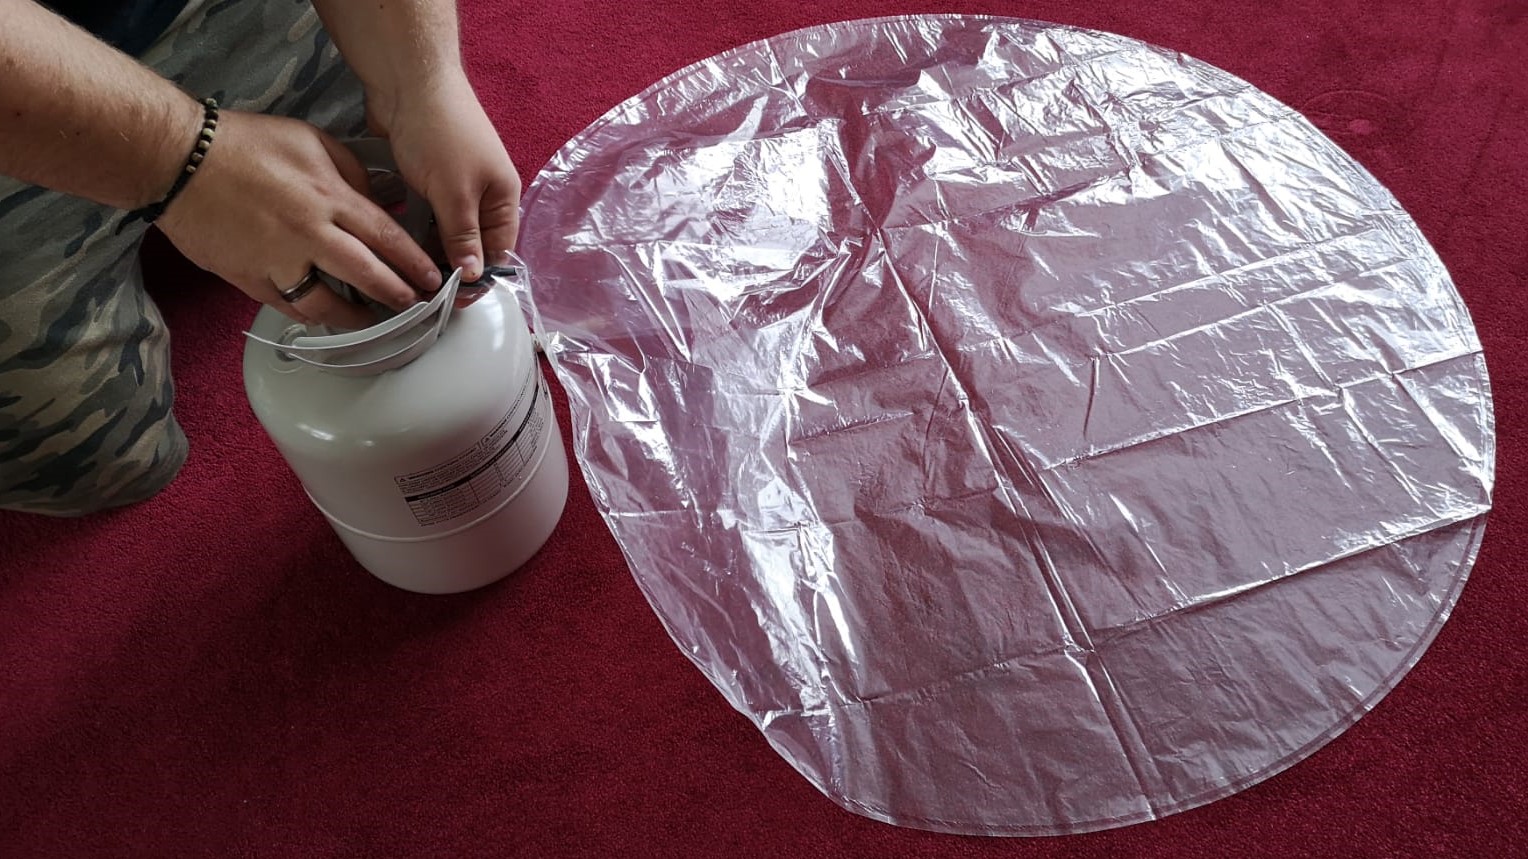
I decided to prepare the balloons for launch. I rolled out the balloons onto the carpet ready to fill them with enough gas to give me five grams of free lift. When I turned the nozzle of the gas cylinder and pressed down nothing happened. I reread the instructions and tried again this time being a little more heavy handed – still nothing. I had received an empty or faulty helium canister!
Thankfully Patryama were very apologetic and kind to refund me the money for the gas along with the postage. I placed another order with them for another canister, which came through the post a few days later and I immediately opened and checked!
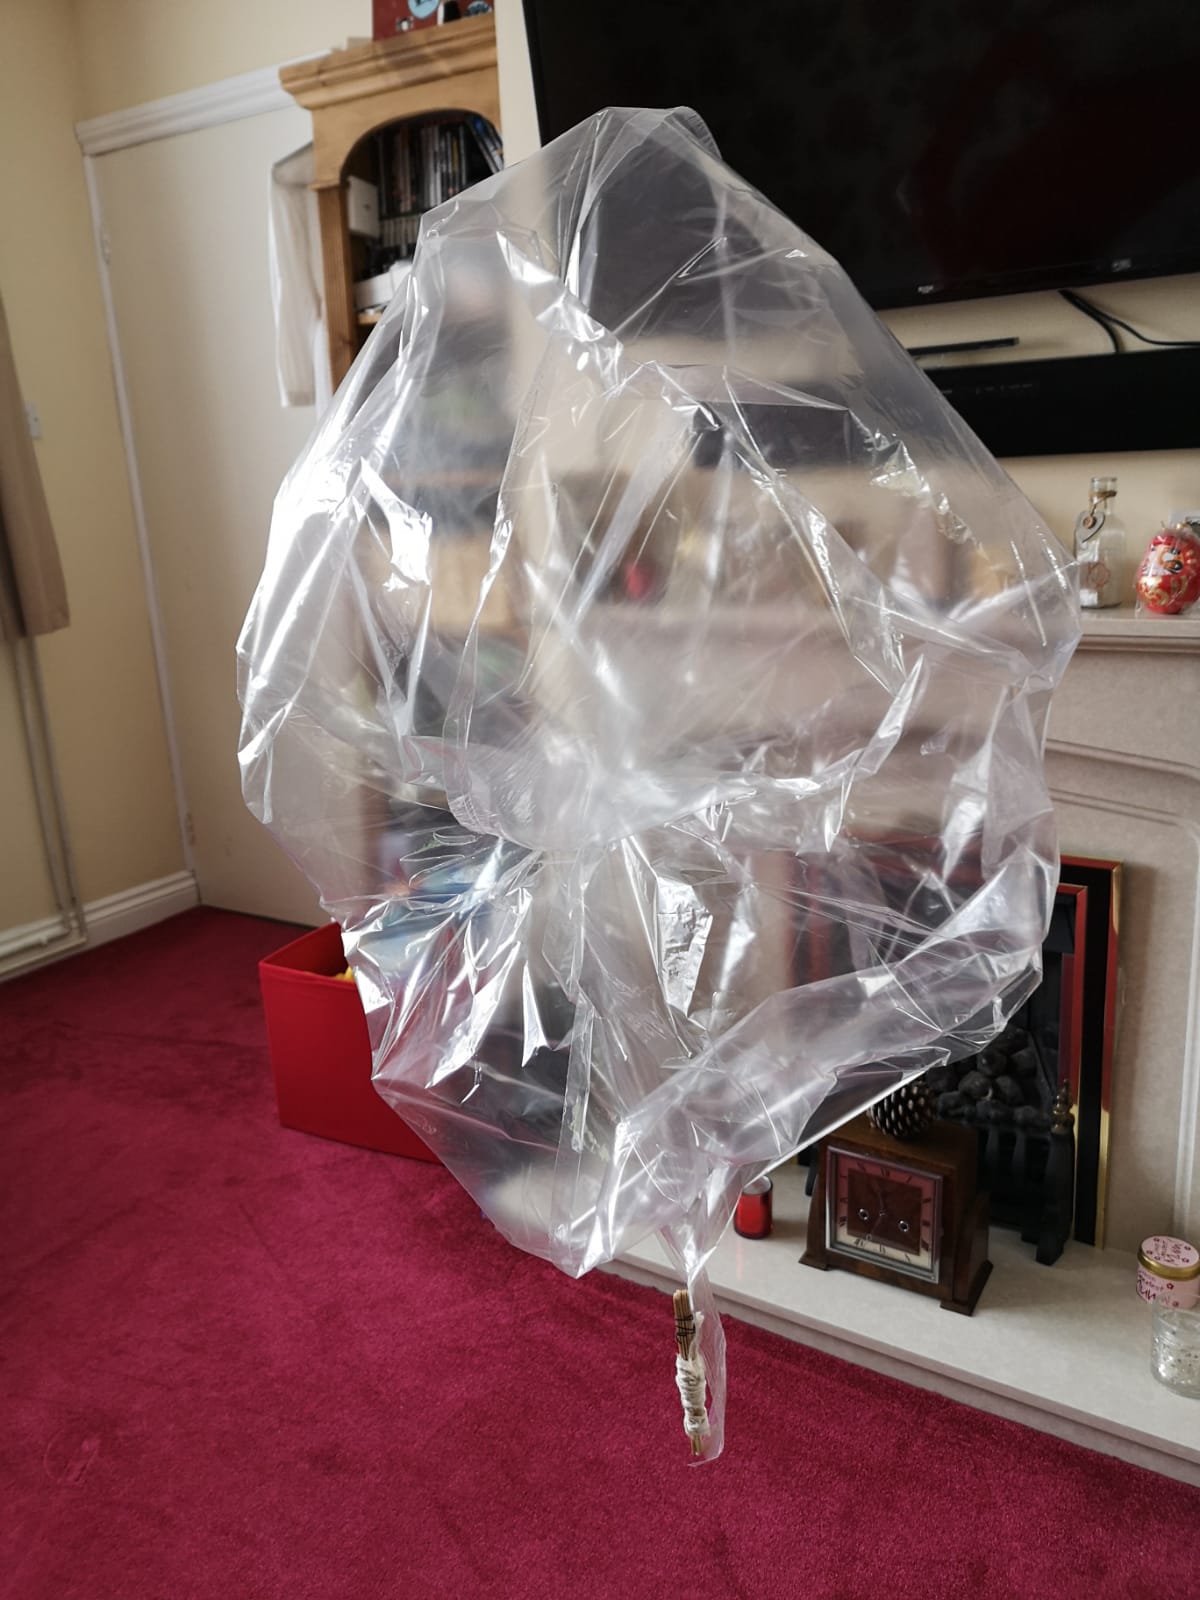
Now finally with a working payload, solar array and gas in the tank all I needed to do was wait for a clear day with very little wind. Thankfully I did not have to wait long. I got up very early so that I was able to prep the balloons well in advance of the launch. I filled two 36 inch party balloons so that they had five grams of free lift between them.
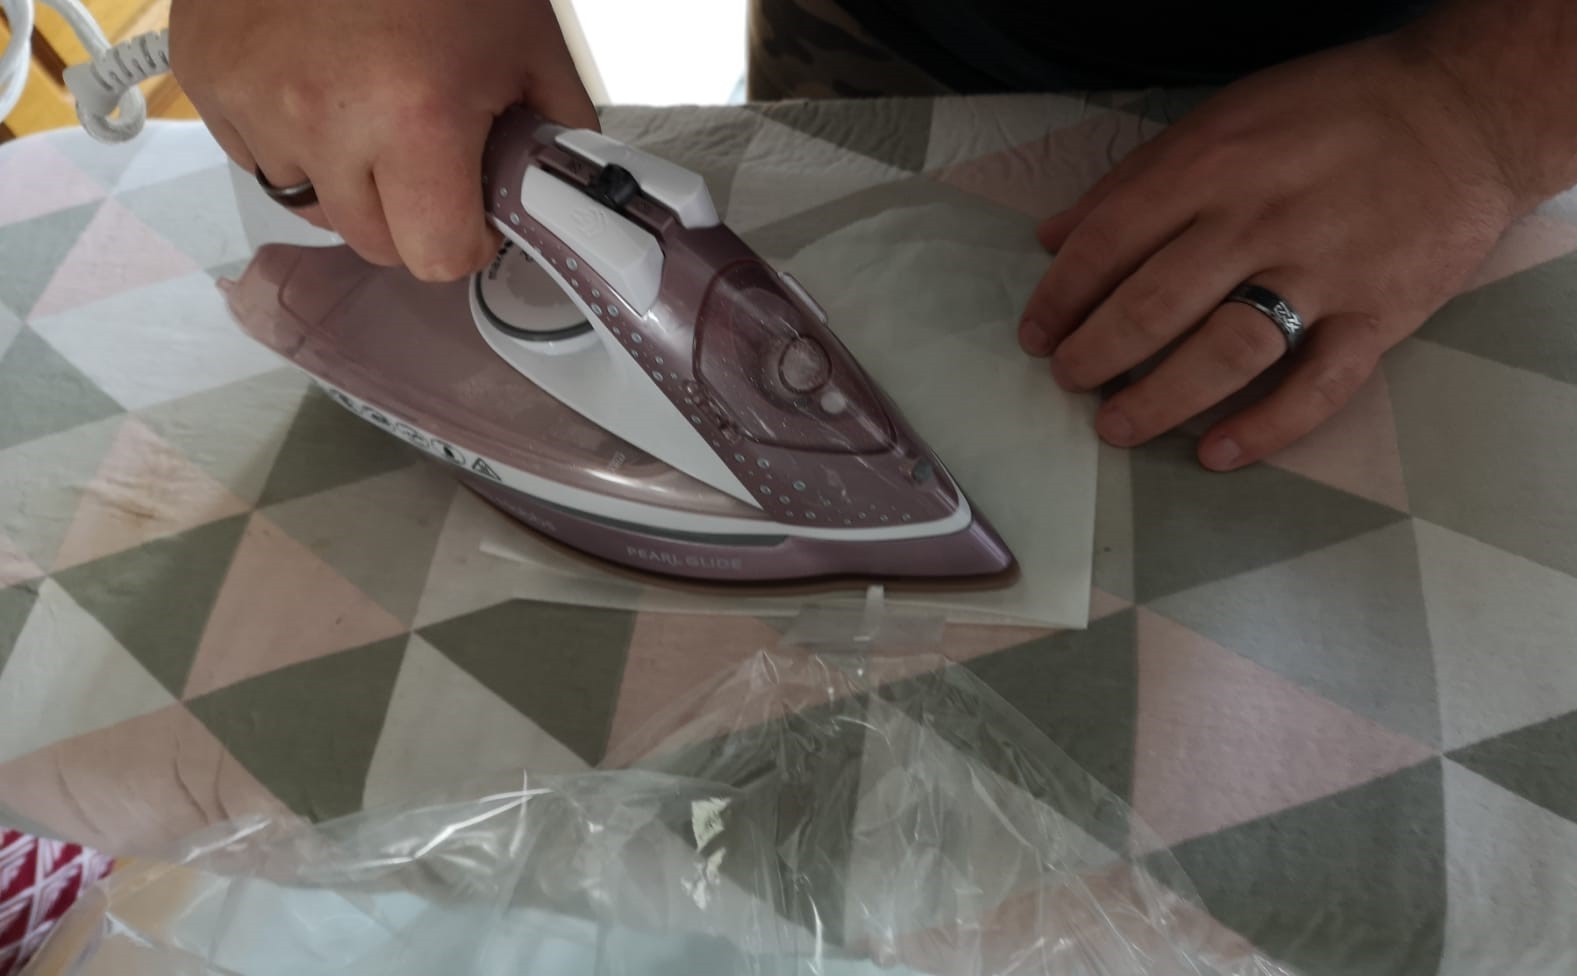
Once the balloons were filled I sealed them by using a clothes iron on the hottest setting it had. I was not 100% confident that there was a good enough seal on the balloon so I spread a little bit of super glue on the nozzle and ironed over them again. I tied the balloons together using plastic ribbon since I had loads of it available and it was strong.
With the balloons tied up I took a few tins from the pantry and used them as weights to pin the balloons down in the field behind my garden. I attached a length of ribbon long enough to attach the balloons to the payload and support the positive leg of the antenna and left the ground leg to just hang by itself. Once it was all tied together and taped up it was time to release it into the wild.
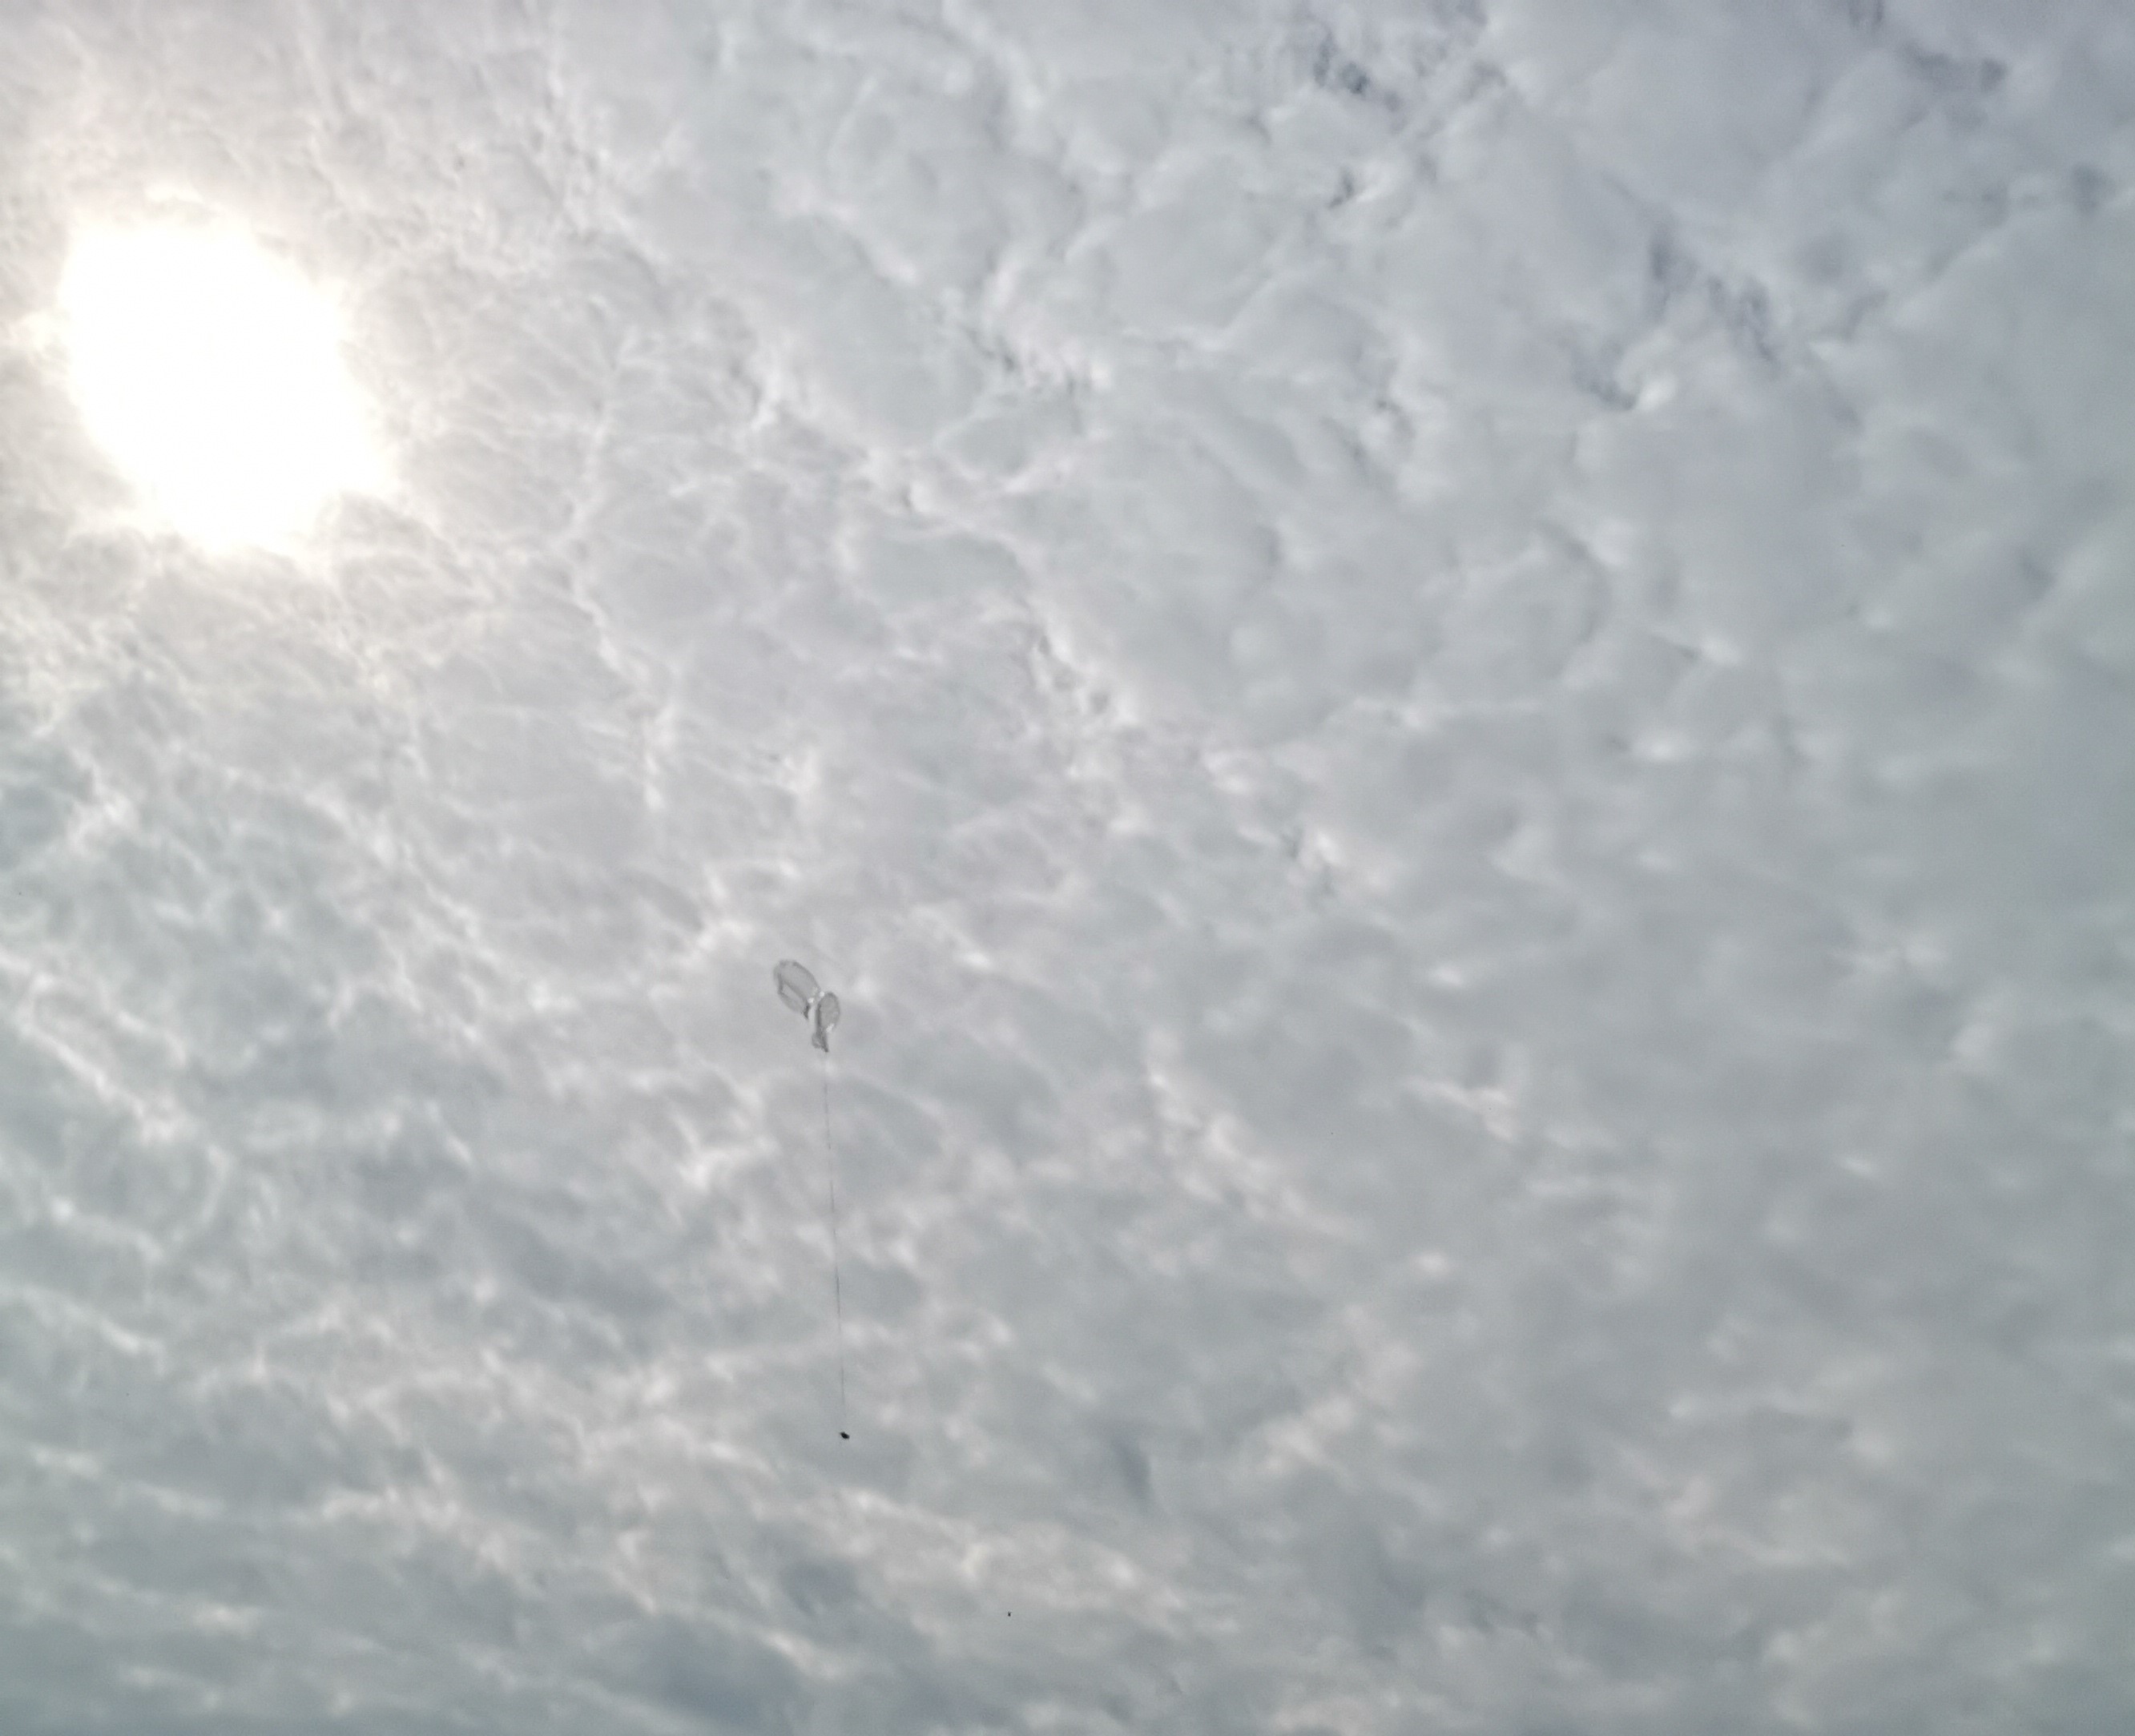
I picked up the can that was holding the balloons down to let them lift, then picked up the can that weighted down the payload. I held onto the fishing line that was attaching the payload to the ribbon and started to walk back into the direction of the wind. When it stopped blowing I walked back on myself slowly as the balloons lifted up in the air at which point I let go letting the ground leg of the antenna unravel in my hand!
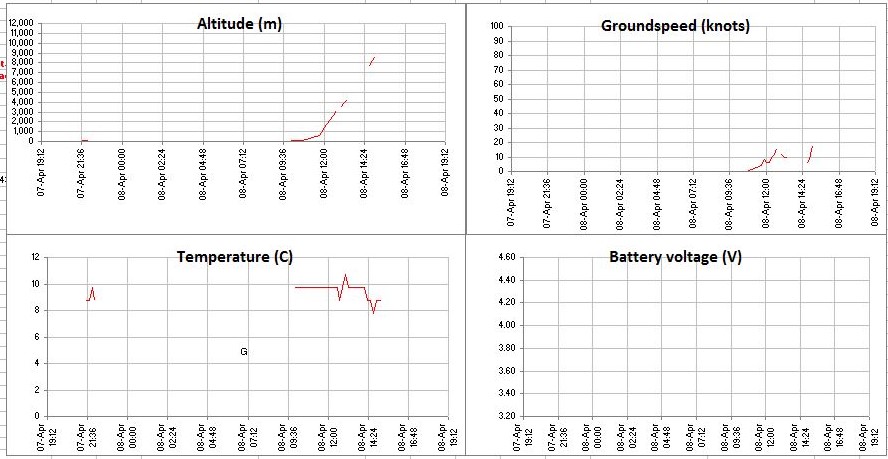
I rushed back inside to see if it was still transmitting and to check its altitude. After about an hour, the payload lost GPS connection and therefore stopped transmitting its location and altitude. About 40 mins later it was able to obtain a lock again and I was able to receive a few telemetry reports before it went to sleep for the night.
Unfortunately I was not able to determine its floating altitude before it went to sleep. Below is a map which should update throughout the payload’s journey. Or if you prefer, look out for the payload name Tabi on habhub.
So after overcoming a number of issues along the way and finally getting a picoHAB payload in the air I feel like I have learned loads of new things. Fingers crossed I get a notification in the morning to say that the payload has come alive over some distant land and if this does not work out then we all know the saying… If at first you don’t succeed fly and fly again!
I would like to thank Jim (N2NXZ) for his continued support through out the build and during the launch process. Along with everyone who has supported me on Ko-Fi. Without your help and donations none of this would have been possible.
Thank you for taking the time to read my blog. If you are looking to collaborate on a project or just want to get in contact, feel free to drop a comment below, send me an email or find me on Twitter.
If you would like to contribute towards future payload builds and launches, please support me by buying me a coffee:
Great job on the build and launch. I hope to see more of these in the future.Good to see you enjoy and have taken interest in this hobby.
Thanks Jim. I hope to fly many more balloons with various different payloads in the future. Thanks for taking the time to read my blog! 🙂
Love Flightdeck, and your tracker/balloon looks great! Thanks for letting me ride along 🙂