
Introduction
A couple days after I had successfully recovered my first HAB Choten, I emailed the UKHAS mailing list to say thank you to everyone who supported me by tracking the balloon. One of the members who was tracking my balloon told me of another that was floating near to the landing site of my balloon that had just achieved its fifth circuit around the world.
This peaked my interest and led me to researching how it was possible and that’s where I discovered the Picohab group full of habbers developing payloads that weigh less then a £2 coin (12g).
Over the winter months I undertook some research to see what it all involved by reading about different people’s projects. The possibilities were endless so I decided to set out my own requirements for a pico HAB tracker these were:
- KISS – Keep it simple stupid! After all I am a simple country boy. Keeping it simple will make it easy to build, diagnose faults and hopefully mean less to go wrong during a flight.
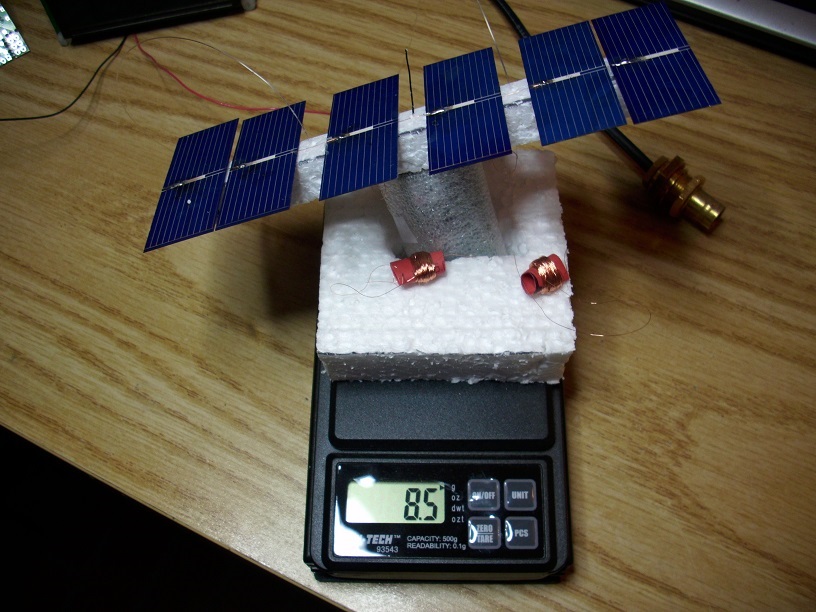
- Light-weight – From what I had researched there is more chance the tracker would make the long journey around the world if the tracker is light. For this reason I opted to use SMD components and have the tracker transmit only telemetry.
- Solar powered – Since there is no knowing how long it will stay up or how long it would take to orbit the world I decided to power it solely using solar panel. I know this would come at the expense of it “going dark” during the night time but would simplify the electronics cutting out the need for charging circuits, etc.
- Cheap – Keeping the costs down as much as possible as after all I won’t be seeing the trackers I launch ever again.
- Coverage – Something that is going to give me worldwide coverage even when the pico tracker is flying over vast oceans. I do want to be able to verify the tracker is alive and be able to see its flight
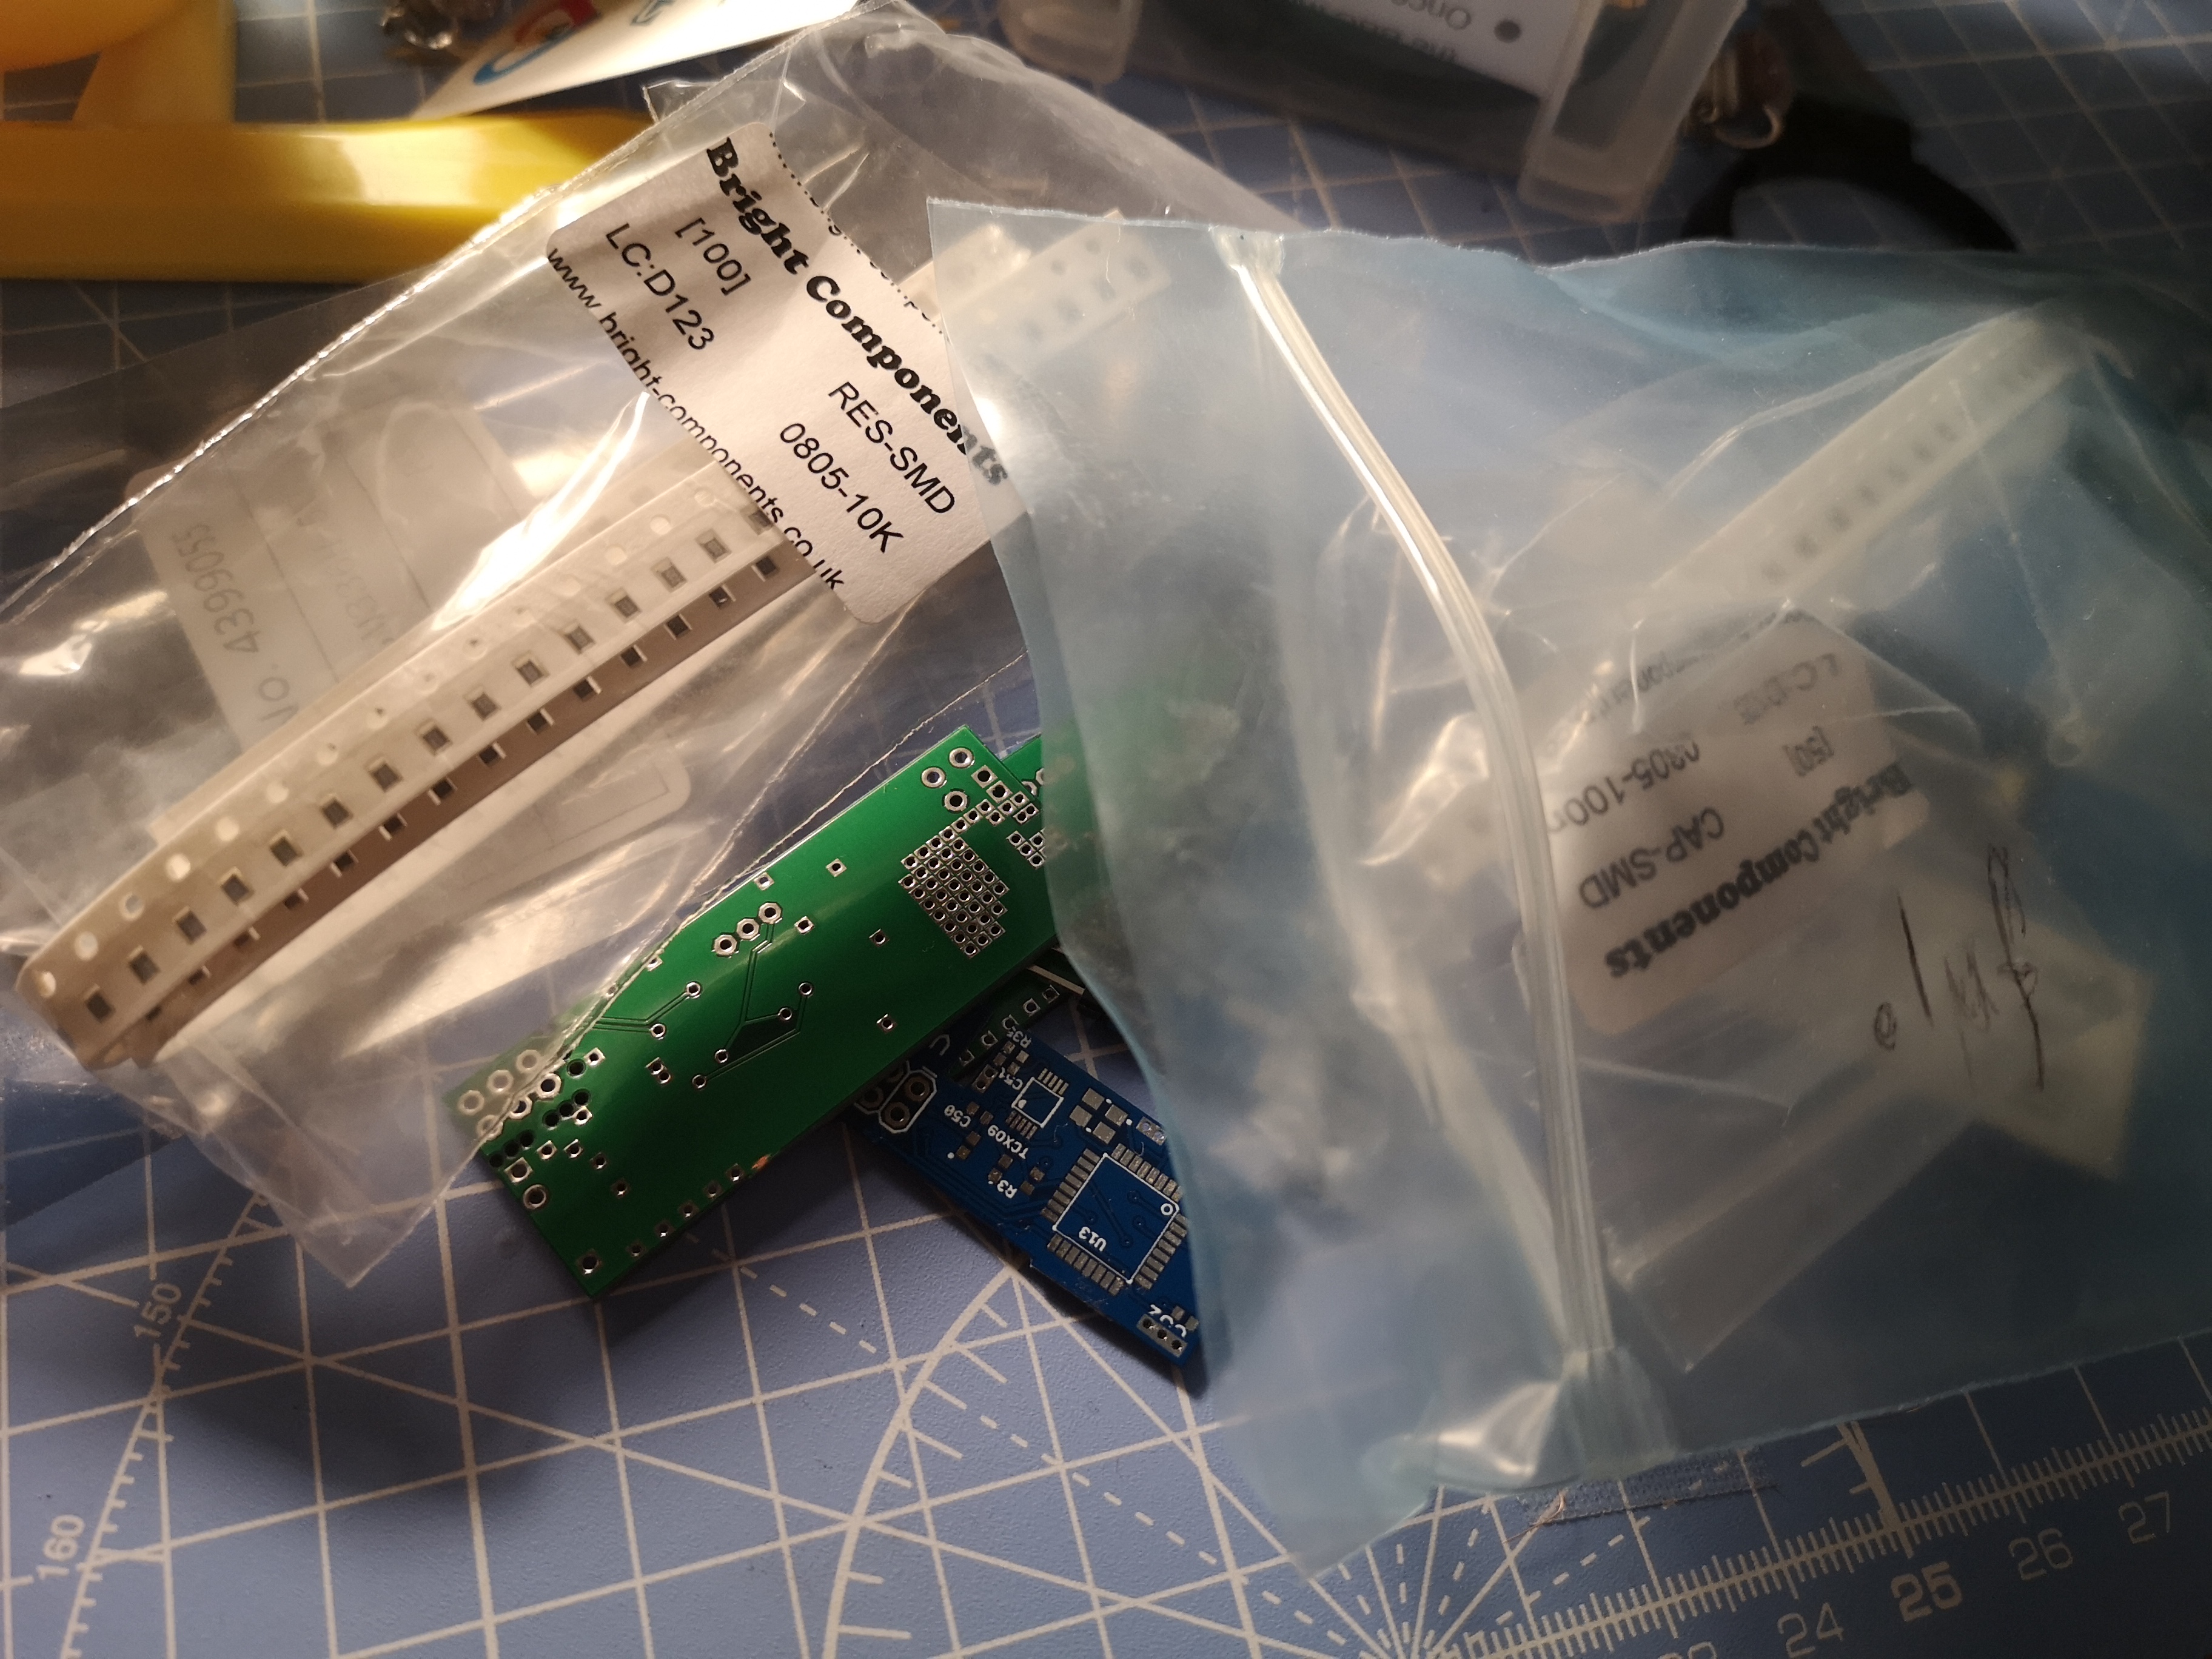
After talking to a friend I met on the Picohab forum, I settled on a payload build that was heavily based on the QRP labs U3S. I ordered the SMD parts from eBay, Aliexpress and Enrgtech. I asked Santa for a soldering station and I must have been good because he provided.
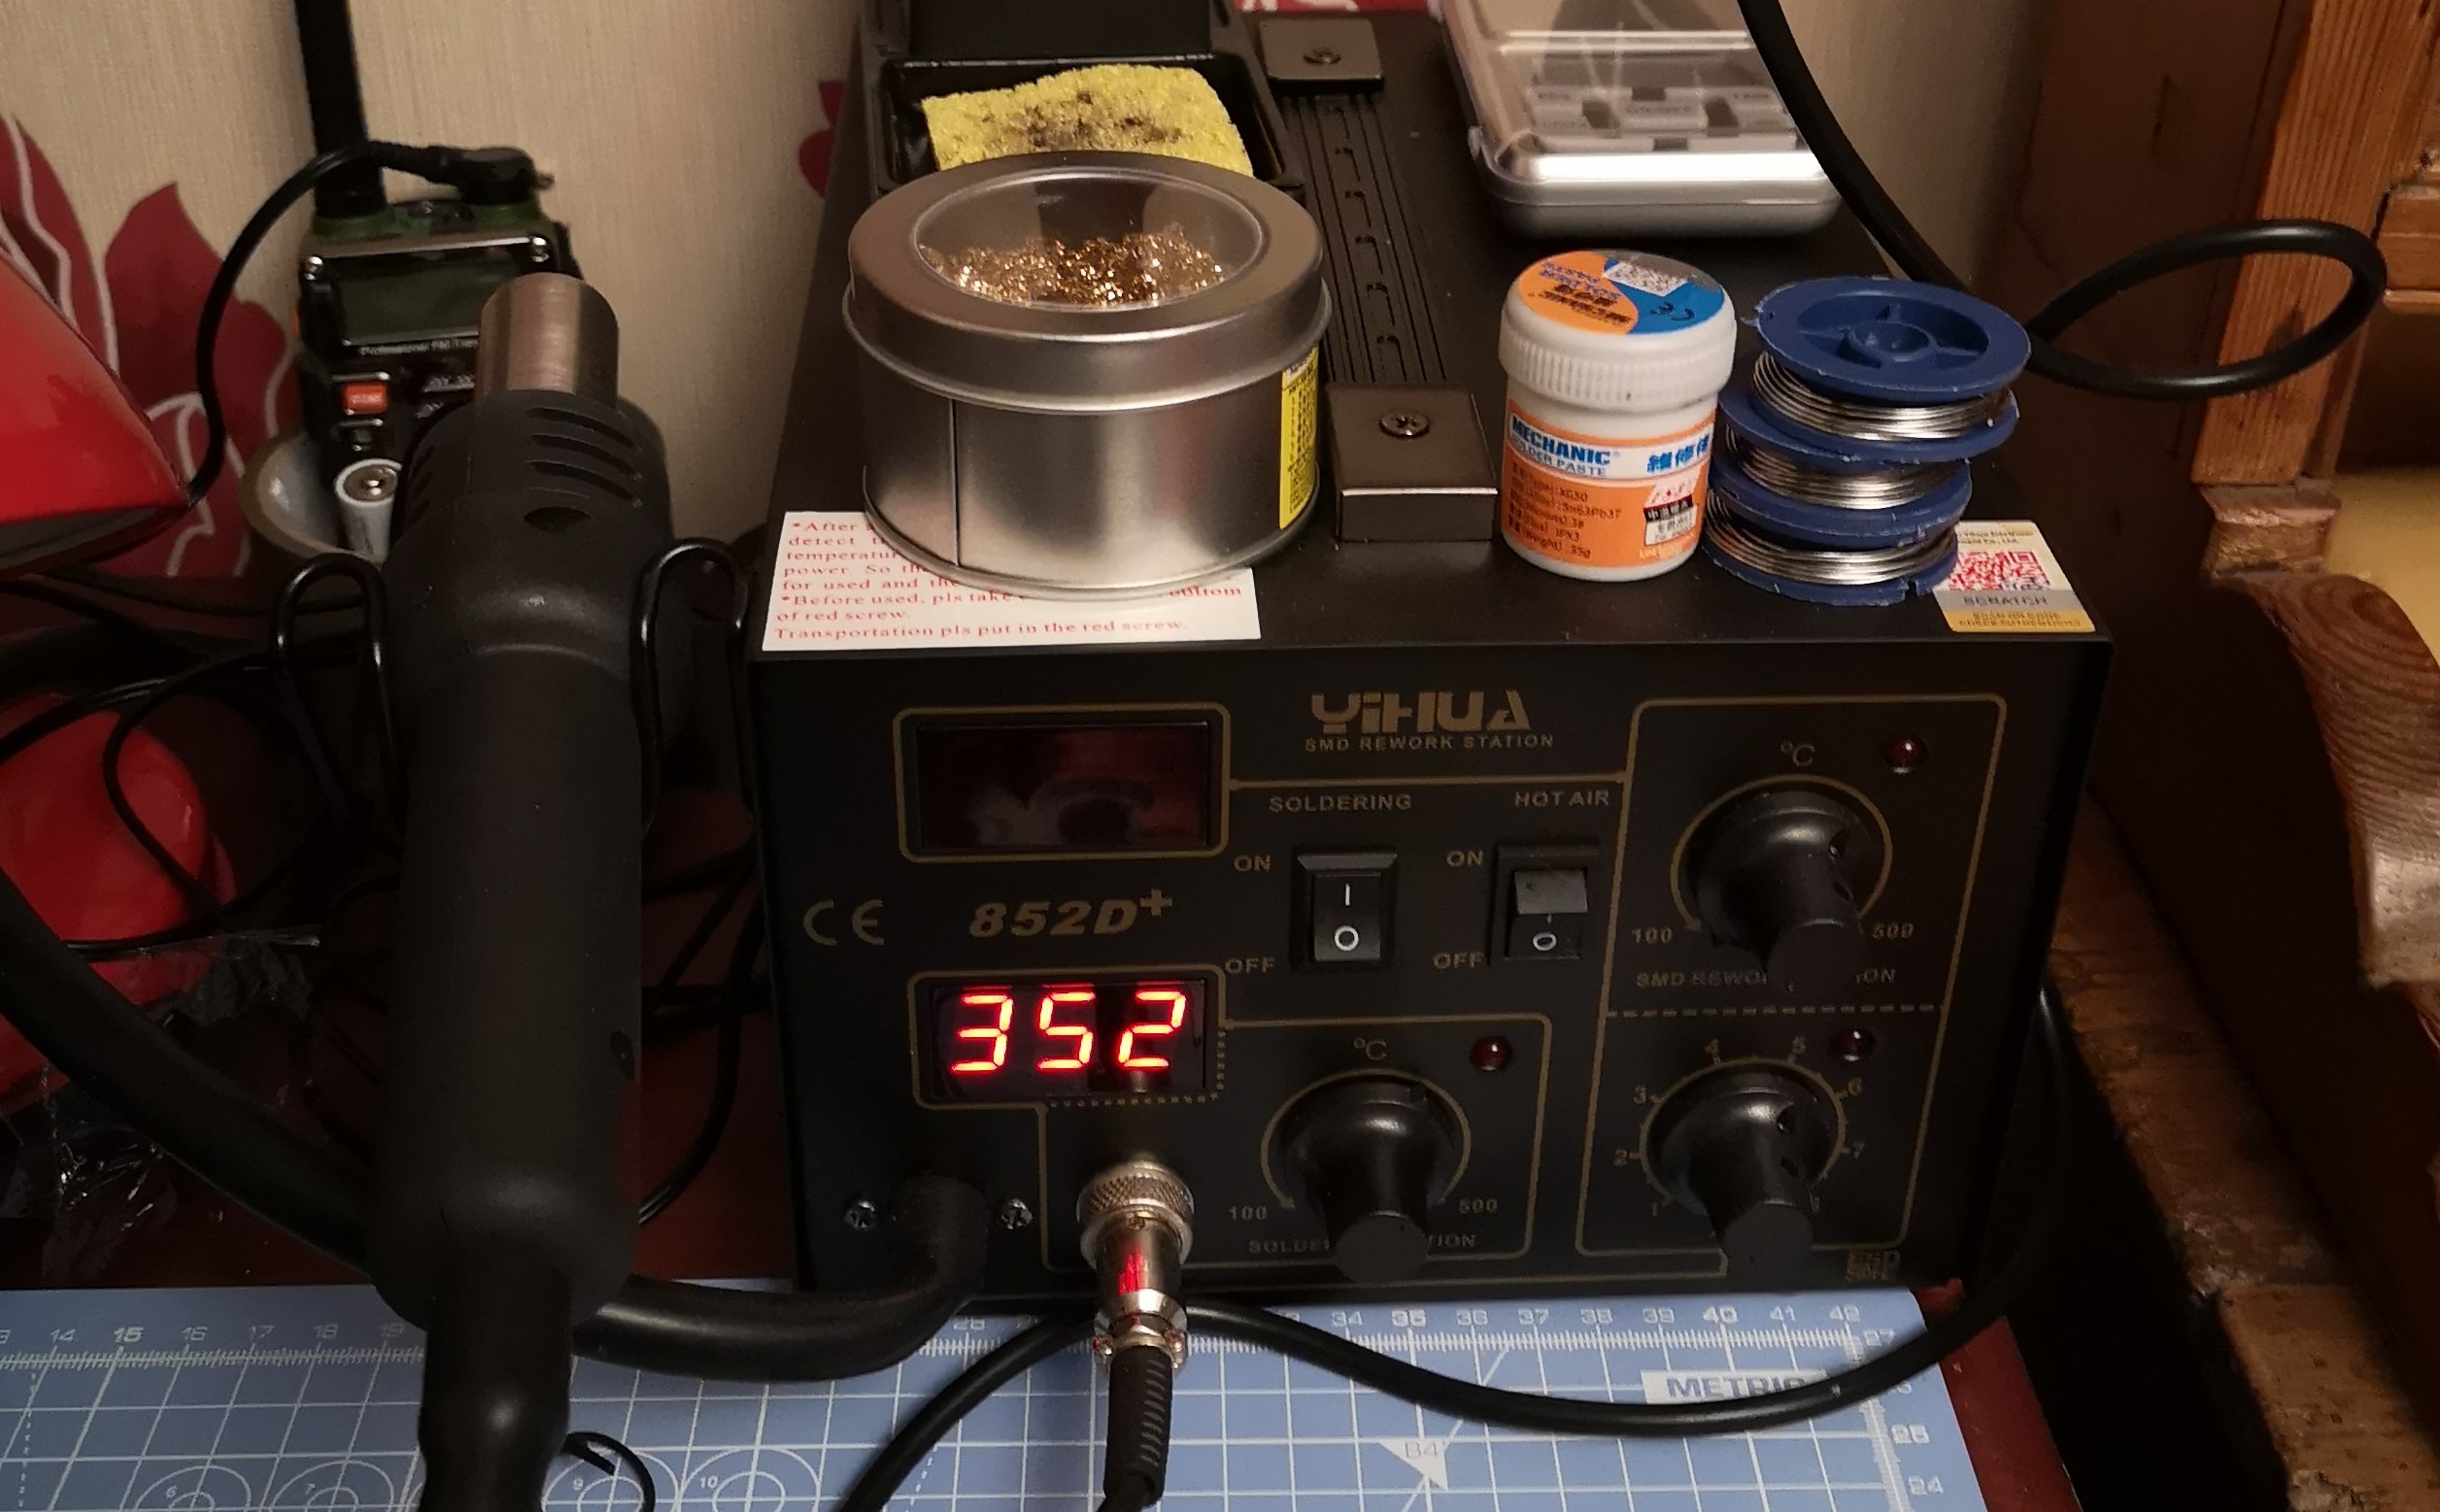
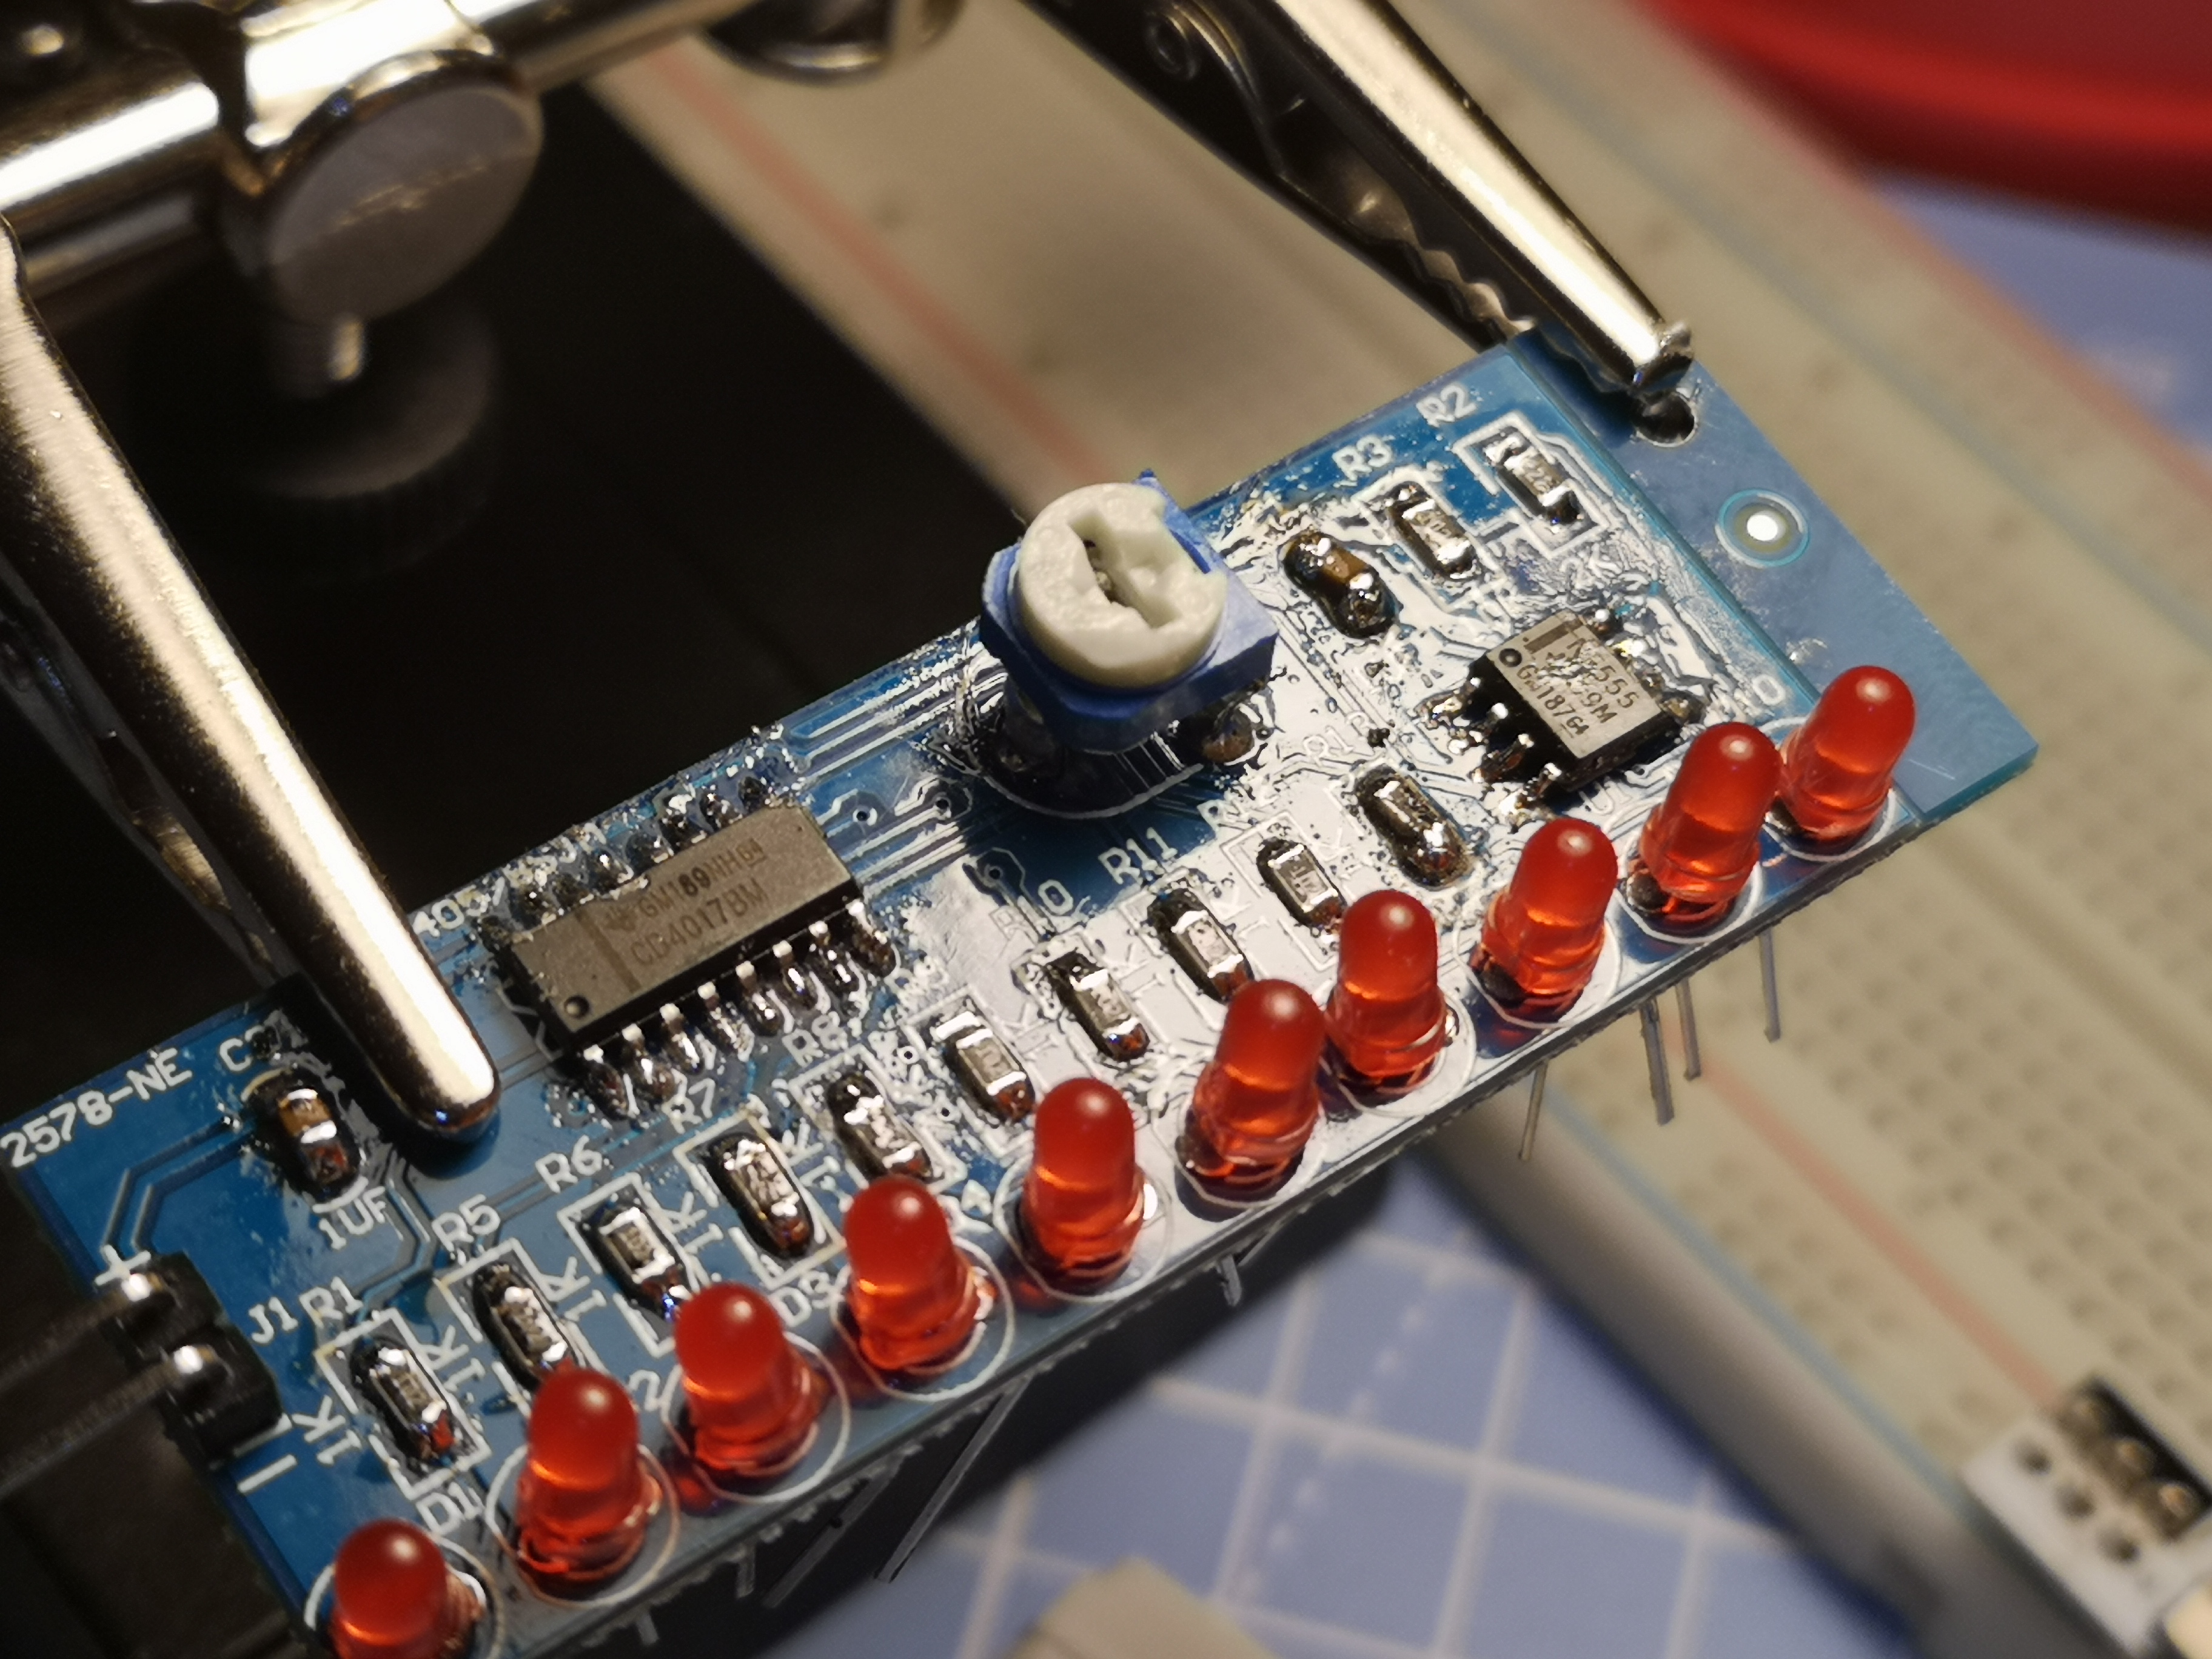
Being that I had never soldered anything so small I decided it would be a good idea to order some cheap practice kits. It was a good idea as I was both able to test out my new soldering station and see if my soldering skills were up to scratch for soldering something so small.
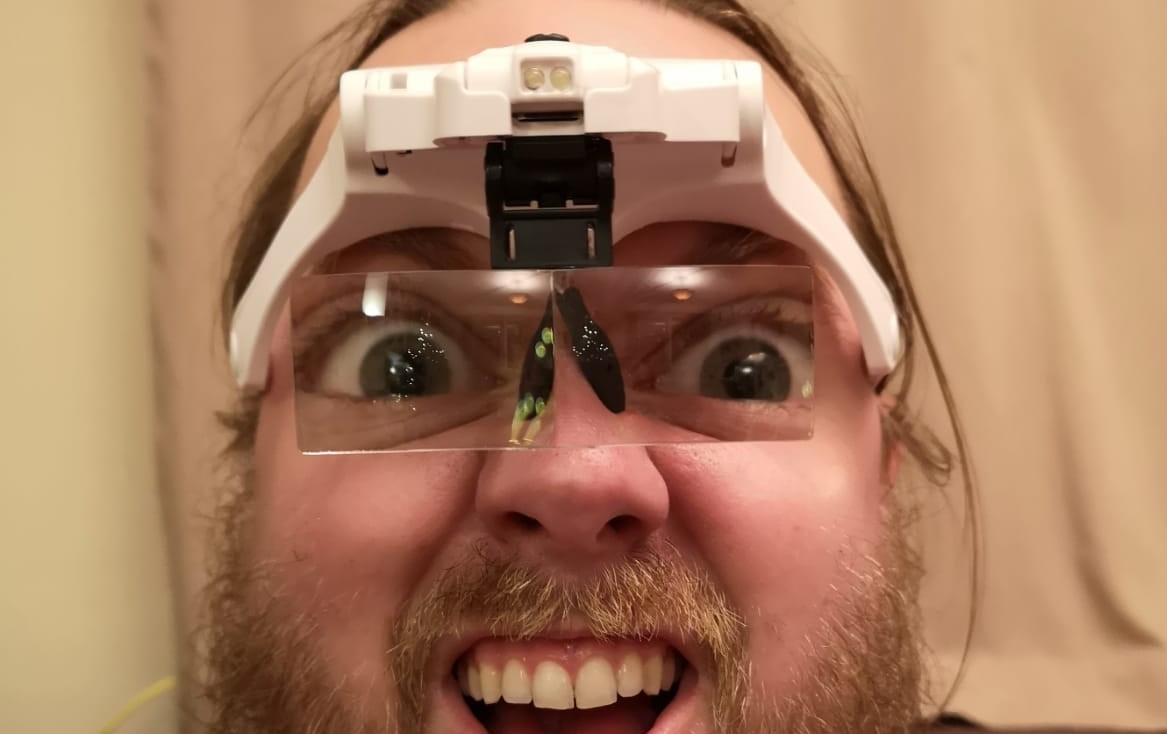
When I finally sat down to give it a go I then realized just how small the components were! Knowing that the pins on the microprocessor are even closer together lead to the decision to purchase a set of magnifying goggles.
I was able to get a custom board printed by Jlcpcb and I was impressed just how cheap they were, especially since how good quality they were and how quick they were delivered! Over the following weeks I got increasingly excited as various cheap components trickled though the post.
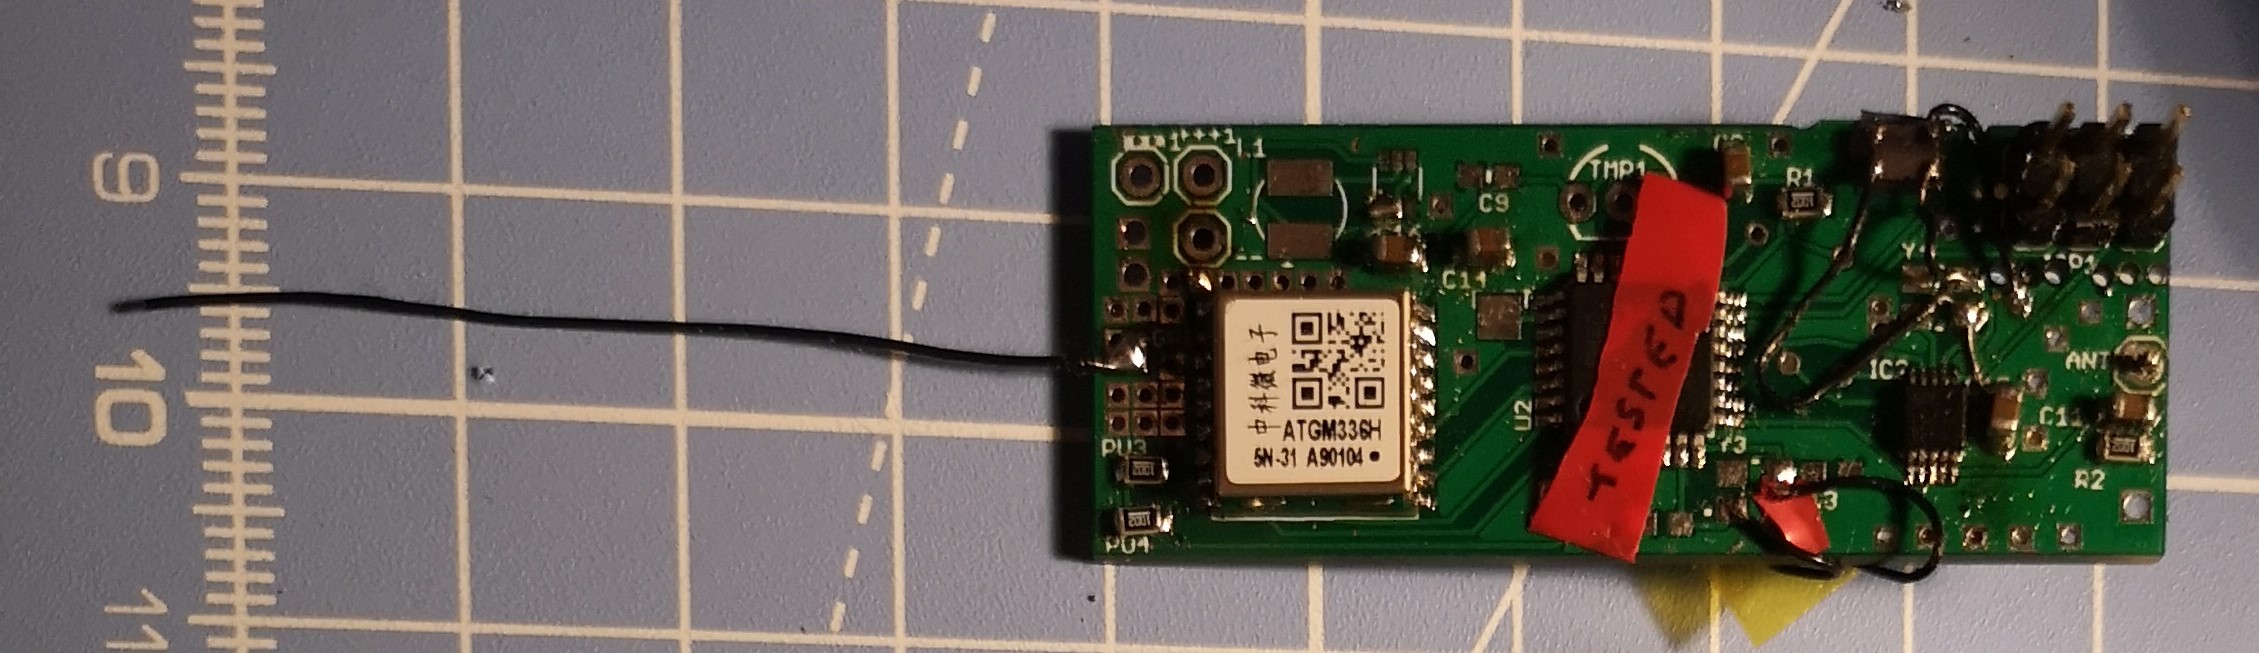
As suggested by my good friend Jim (N2NXZ) I built the pico tracker in stages so that I was able to troubleshoot issues as I went along. The first objective was to solder on the resistors and capacitors, followed by the microprocessor, which was a good test of my soldering skills.A good piece of advice was to glue it in place first before soldering.

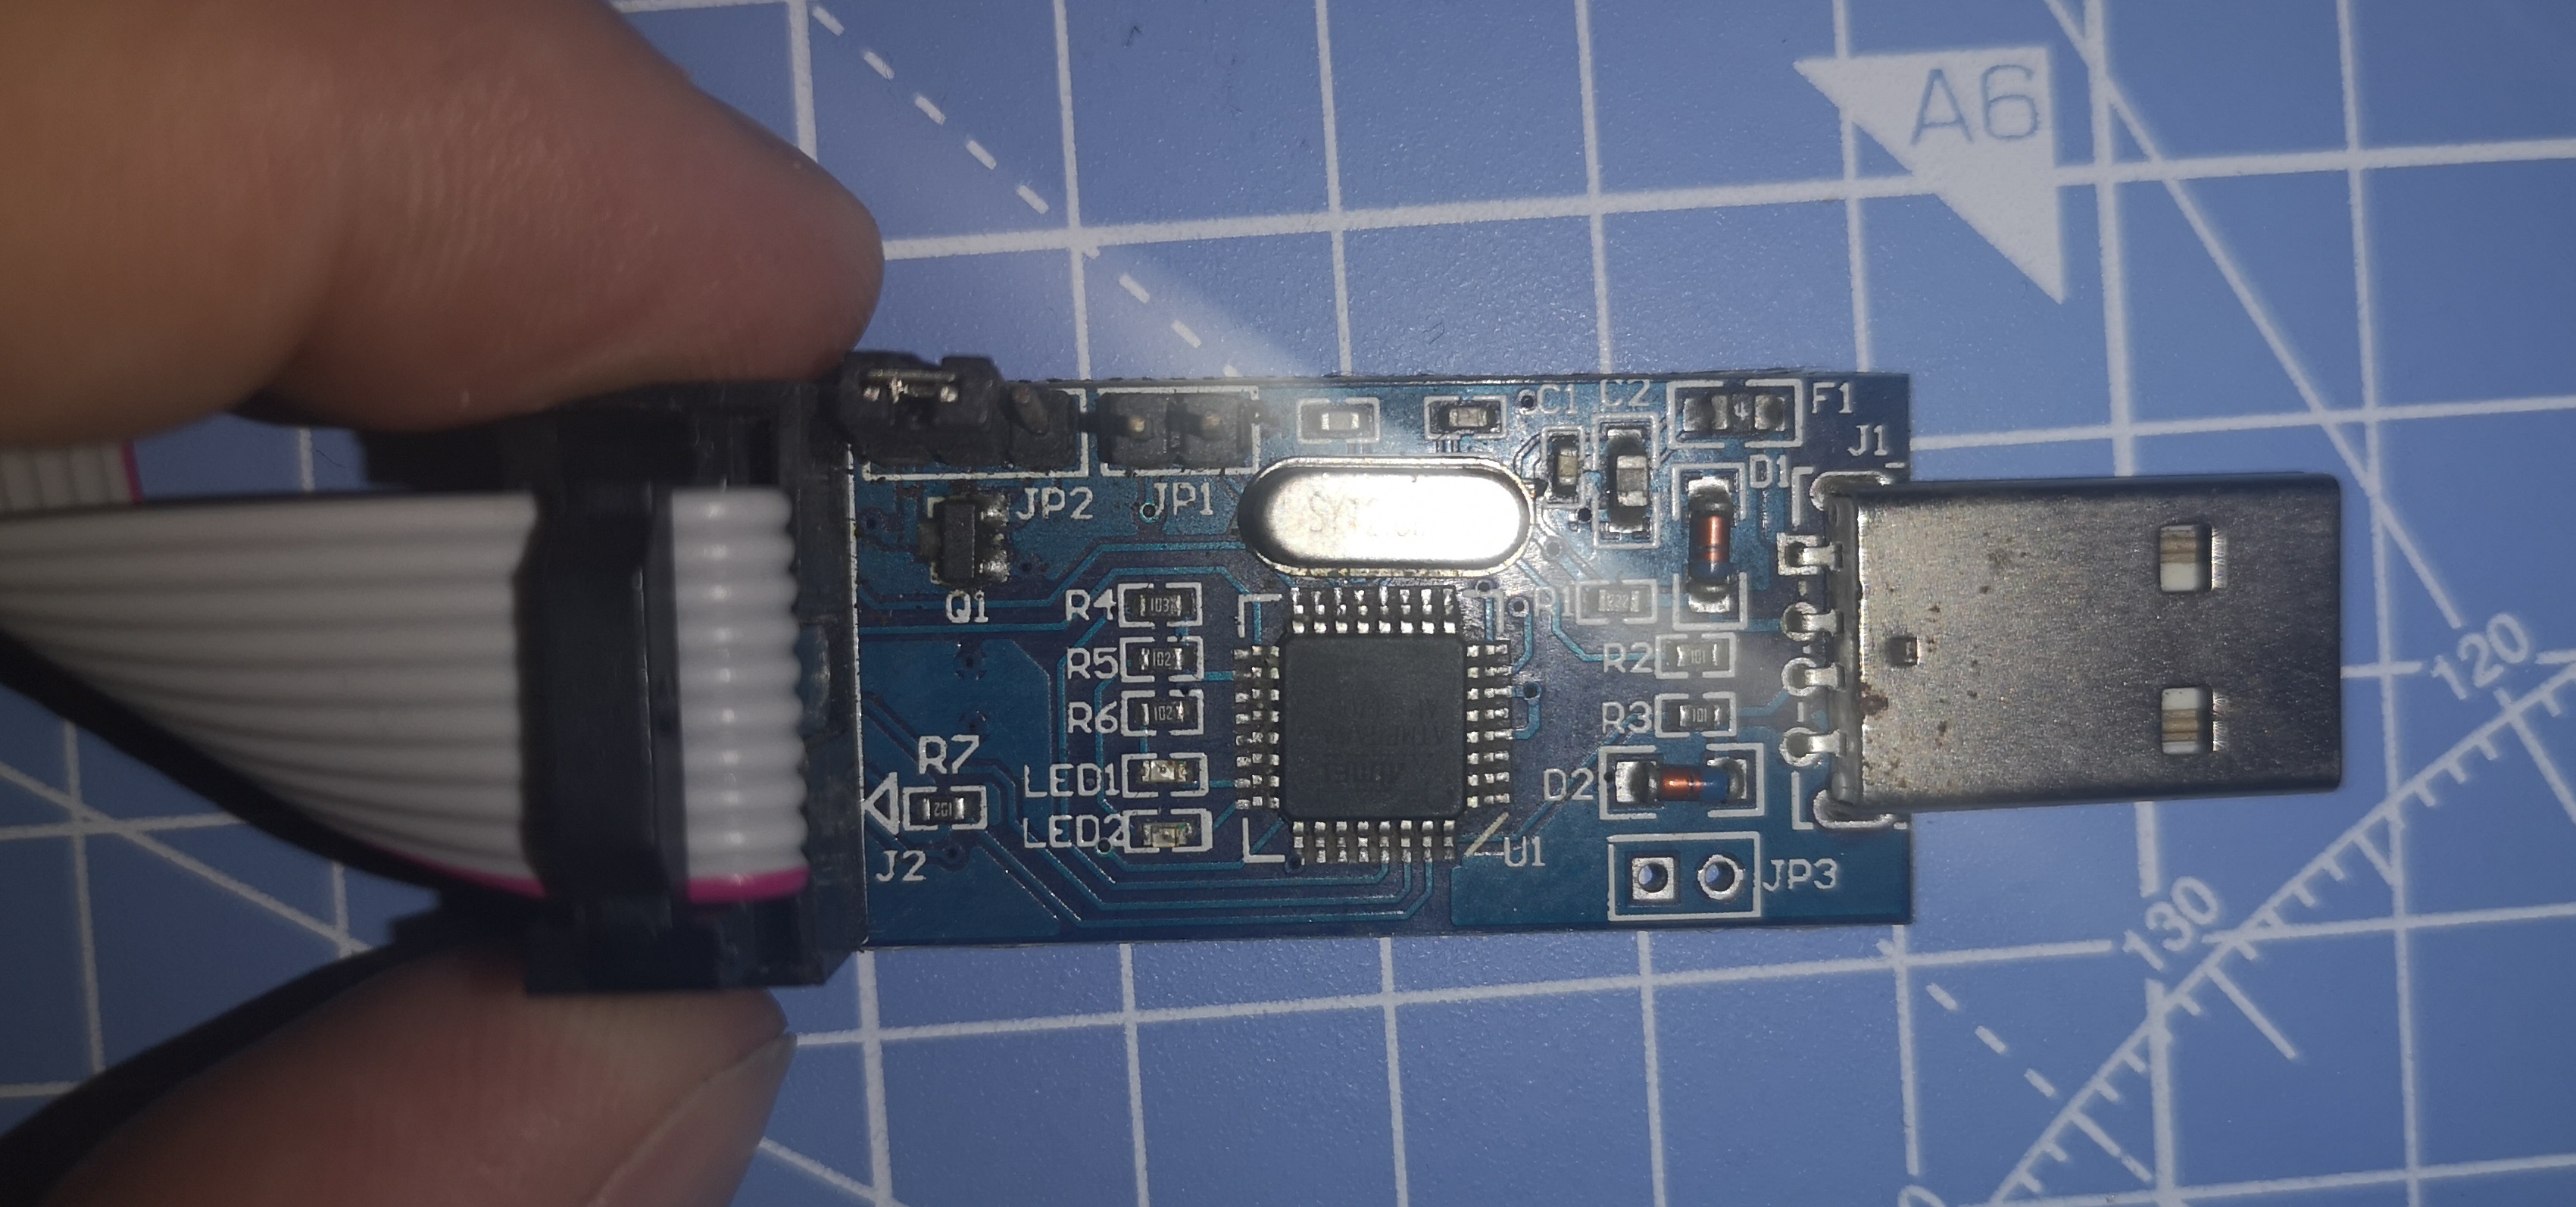
Once I had finished soldering it was next a case of programming the microprocessor and the Si5351. This was done using an AVR programmer I bought on Aliexpress. I downloaded avrdude, the only difficult bit here was locating the appropriate driver for the AVR programmer.
After successfully setting the fuses and flashing the microprocessor with CW firmware, it was then a case to move onto the crystals. After a few attempts I decided to superglue them on top down and then wire them where they were supposed to go as I found it very difficult to solder. I opted for a TCXO after speaking to a few friends to avoid signal drift. This decision required a little bit of jiggery pokery due to the pads on the board for the standard crystal being different.
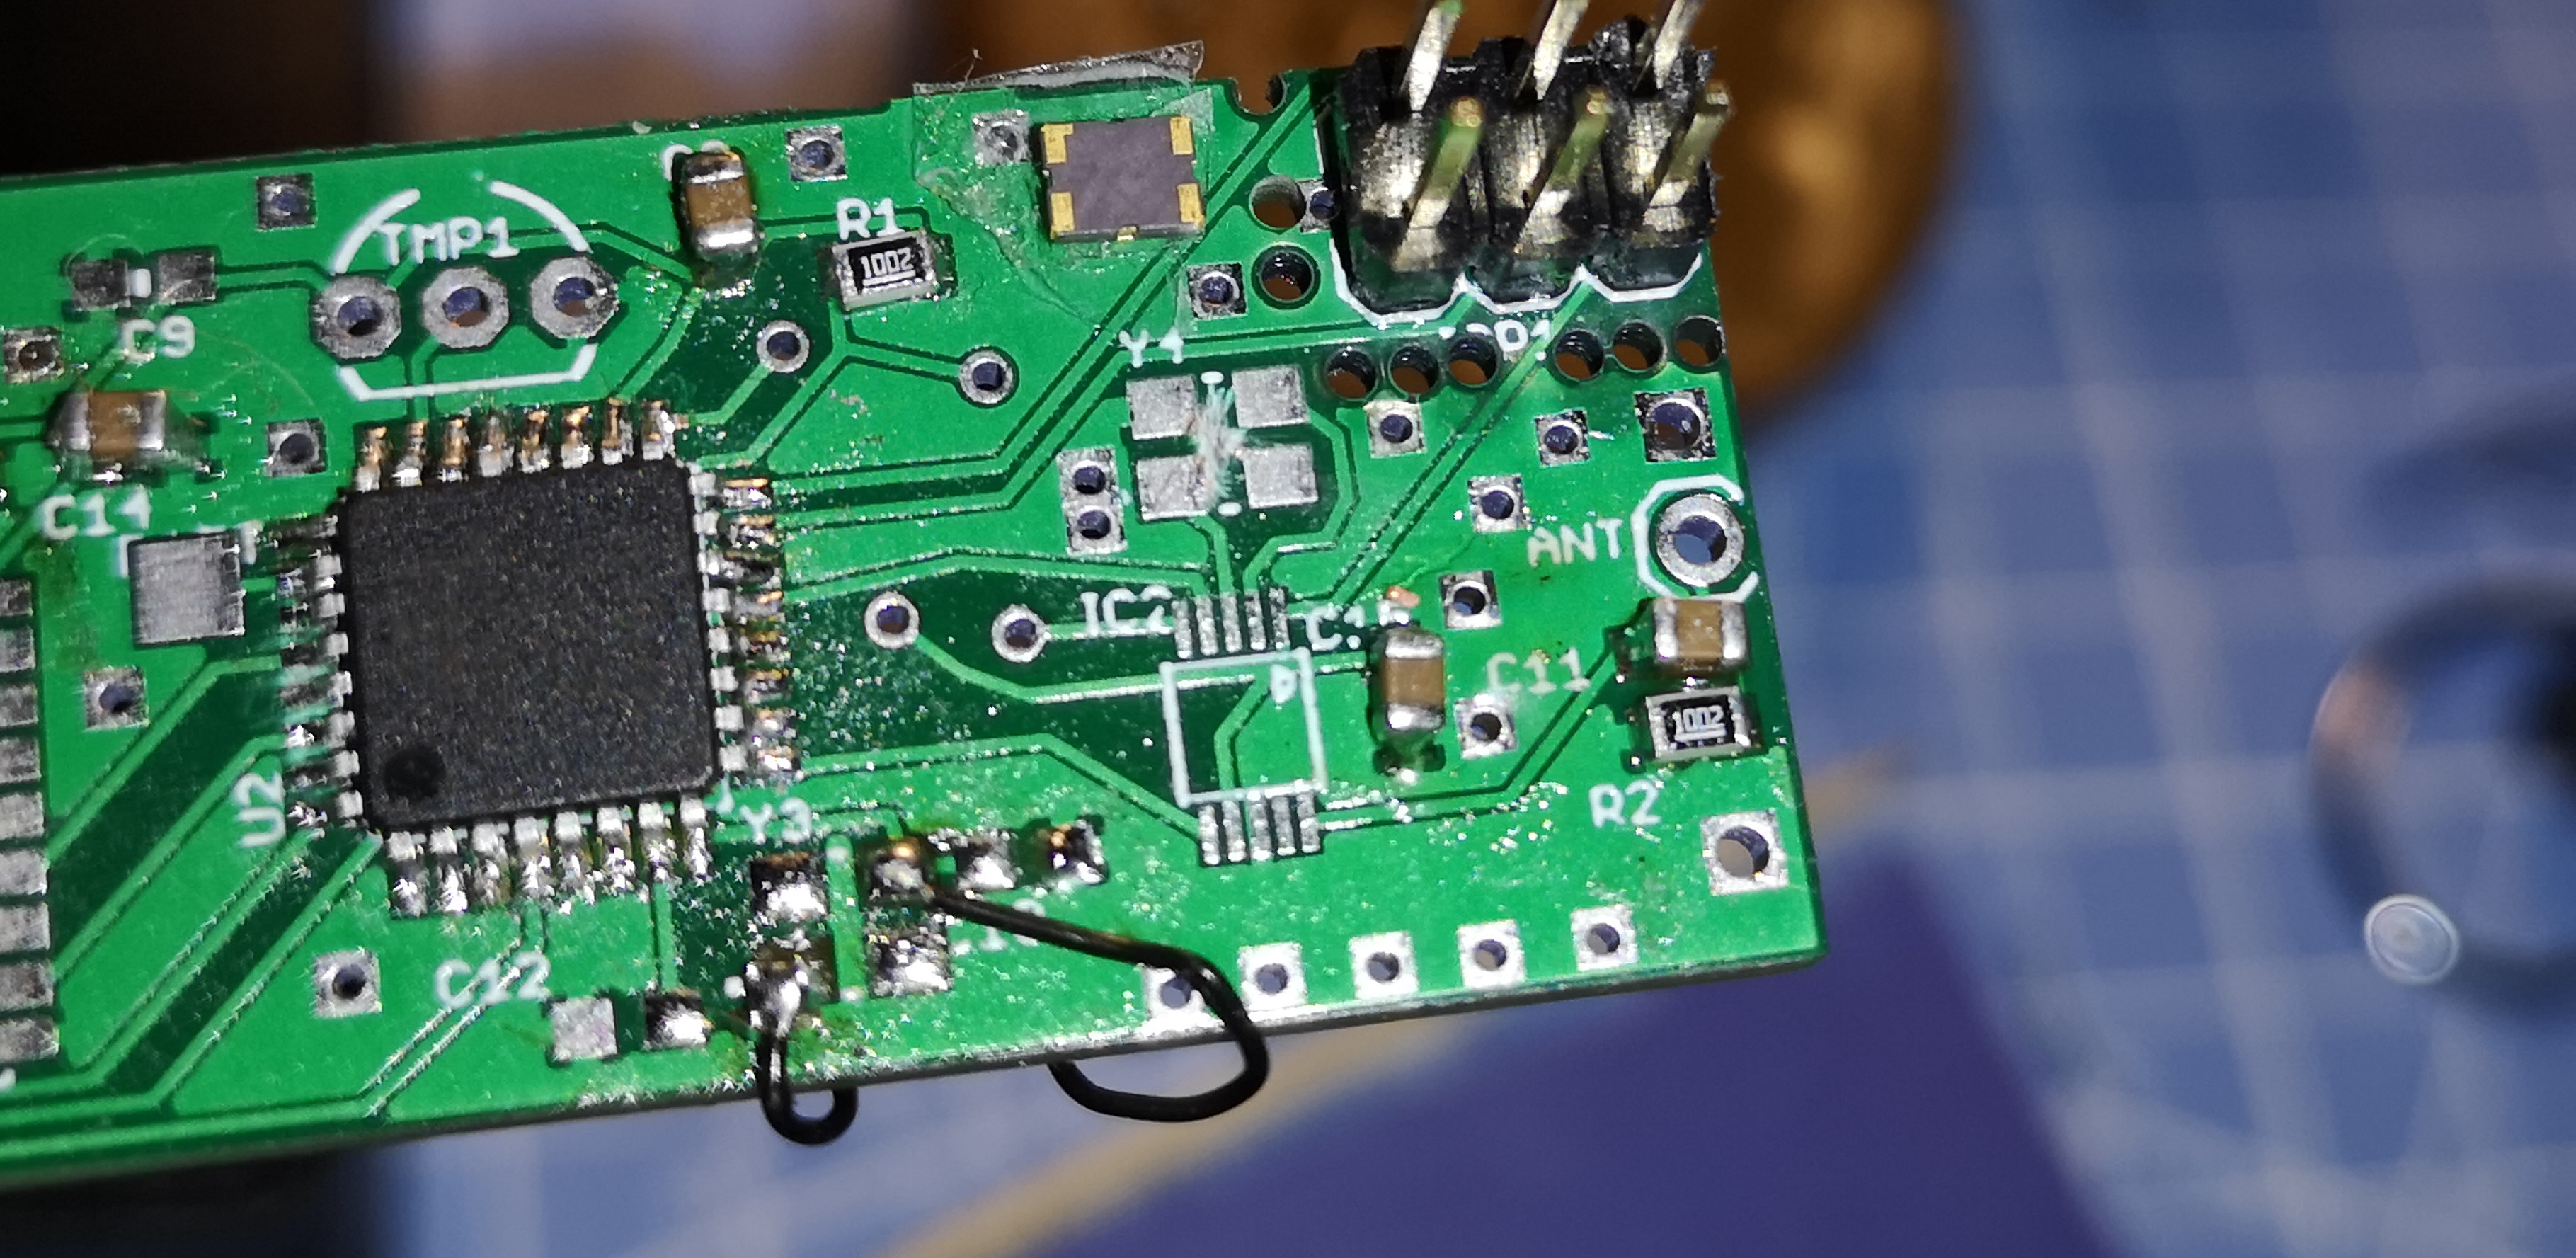
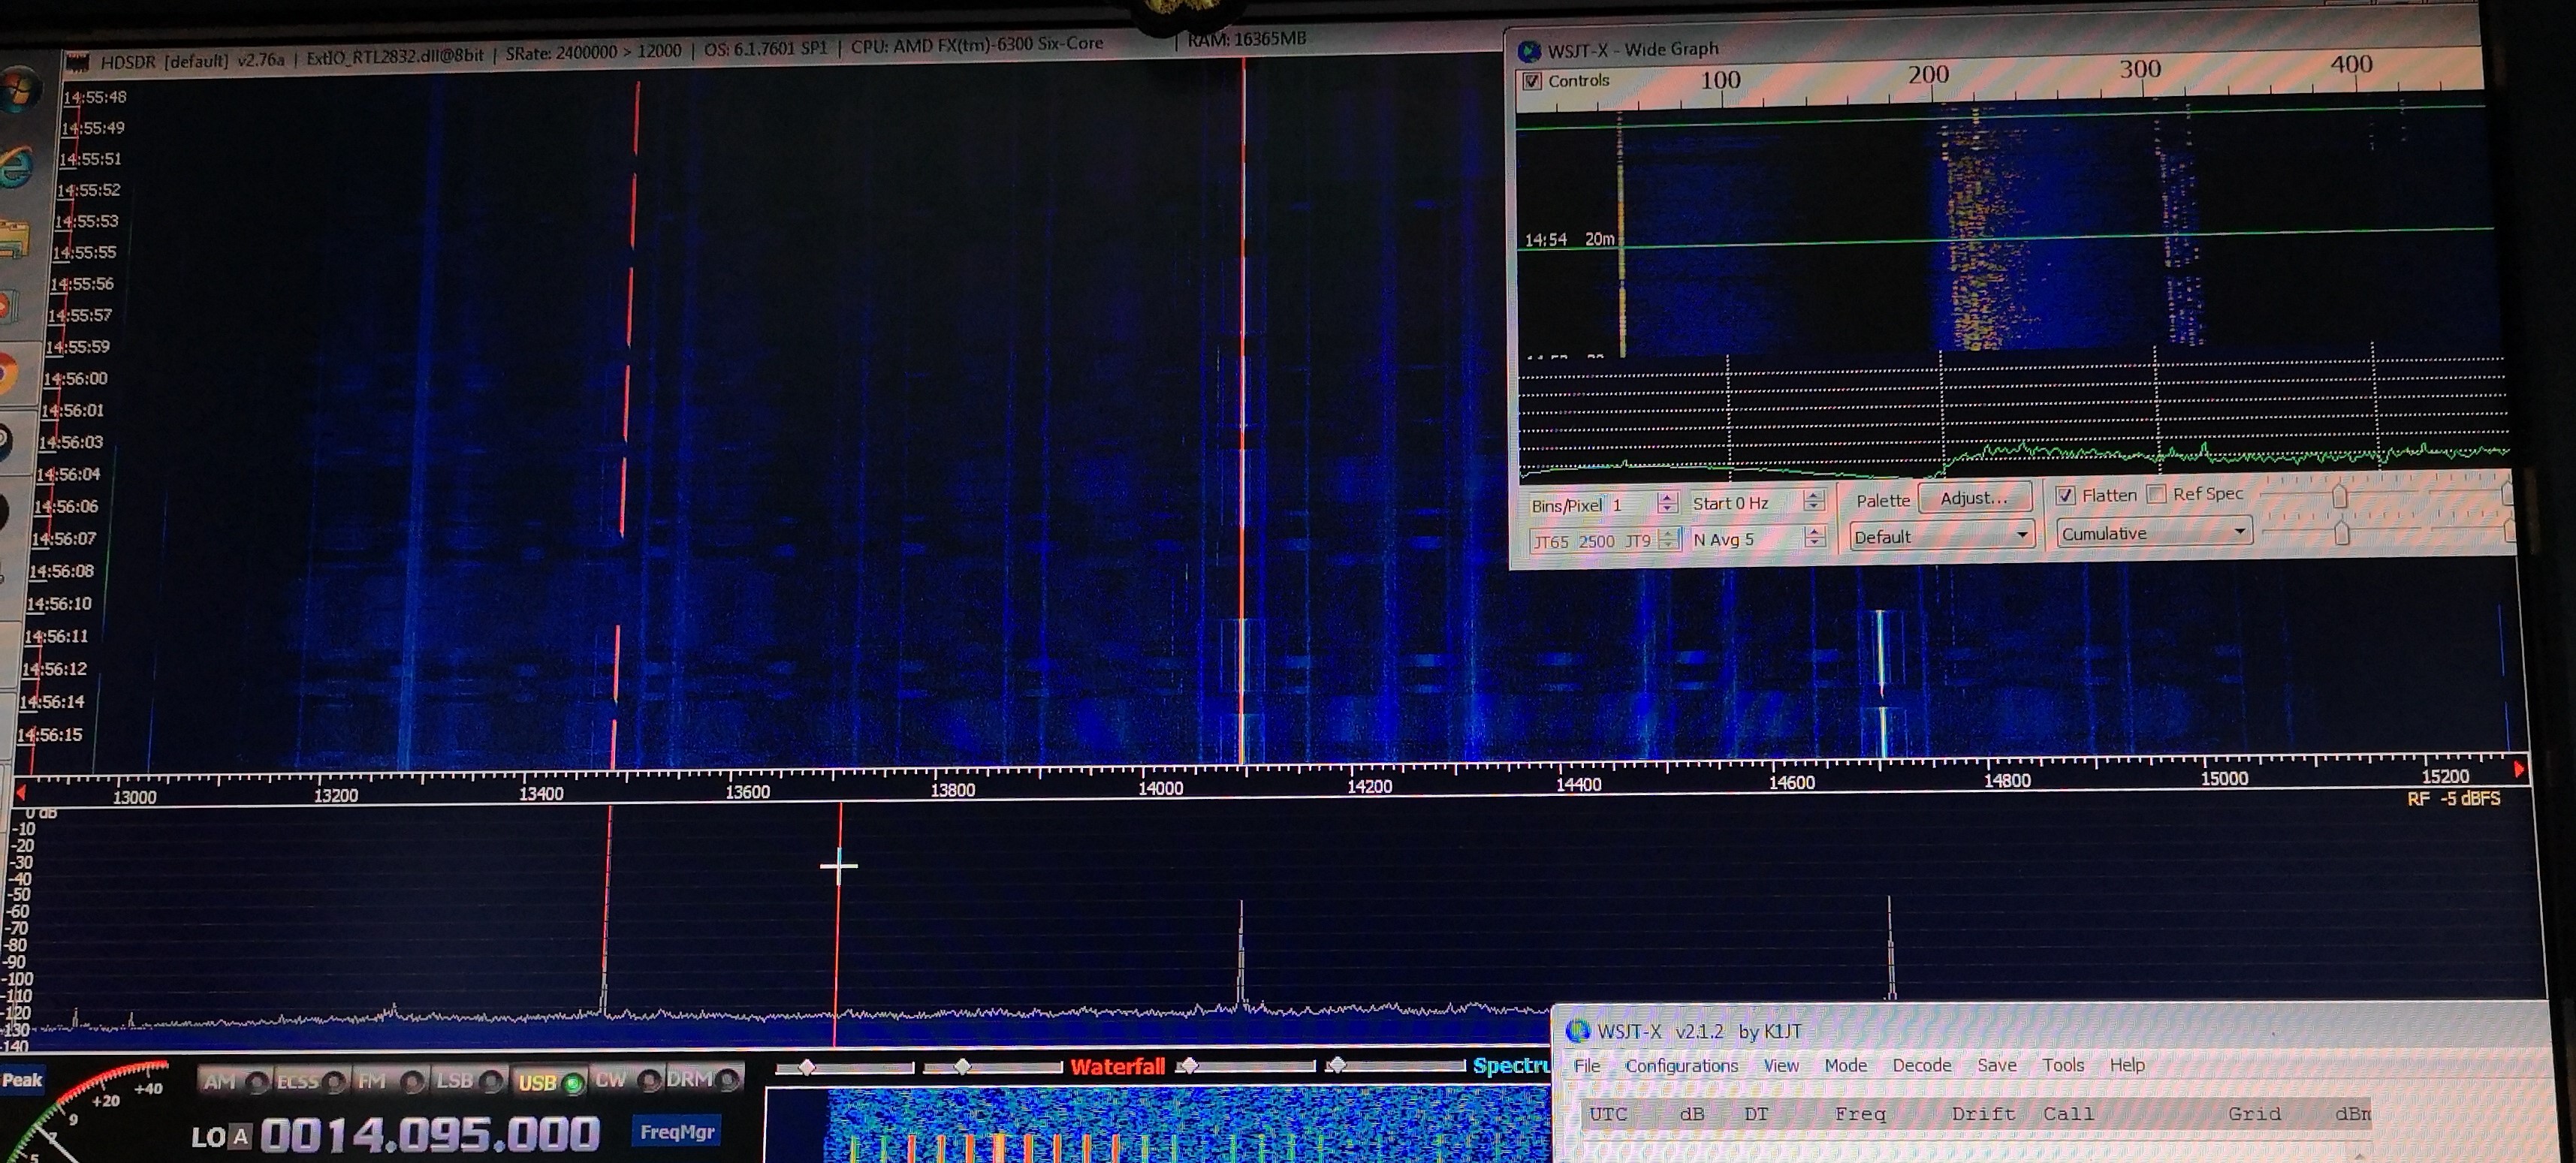
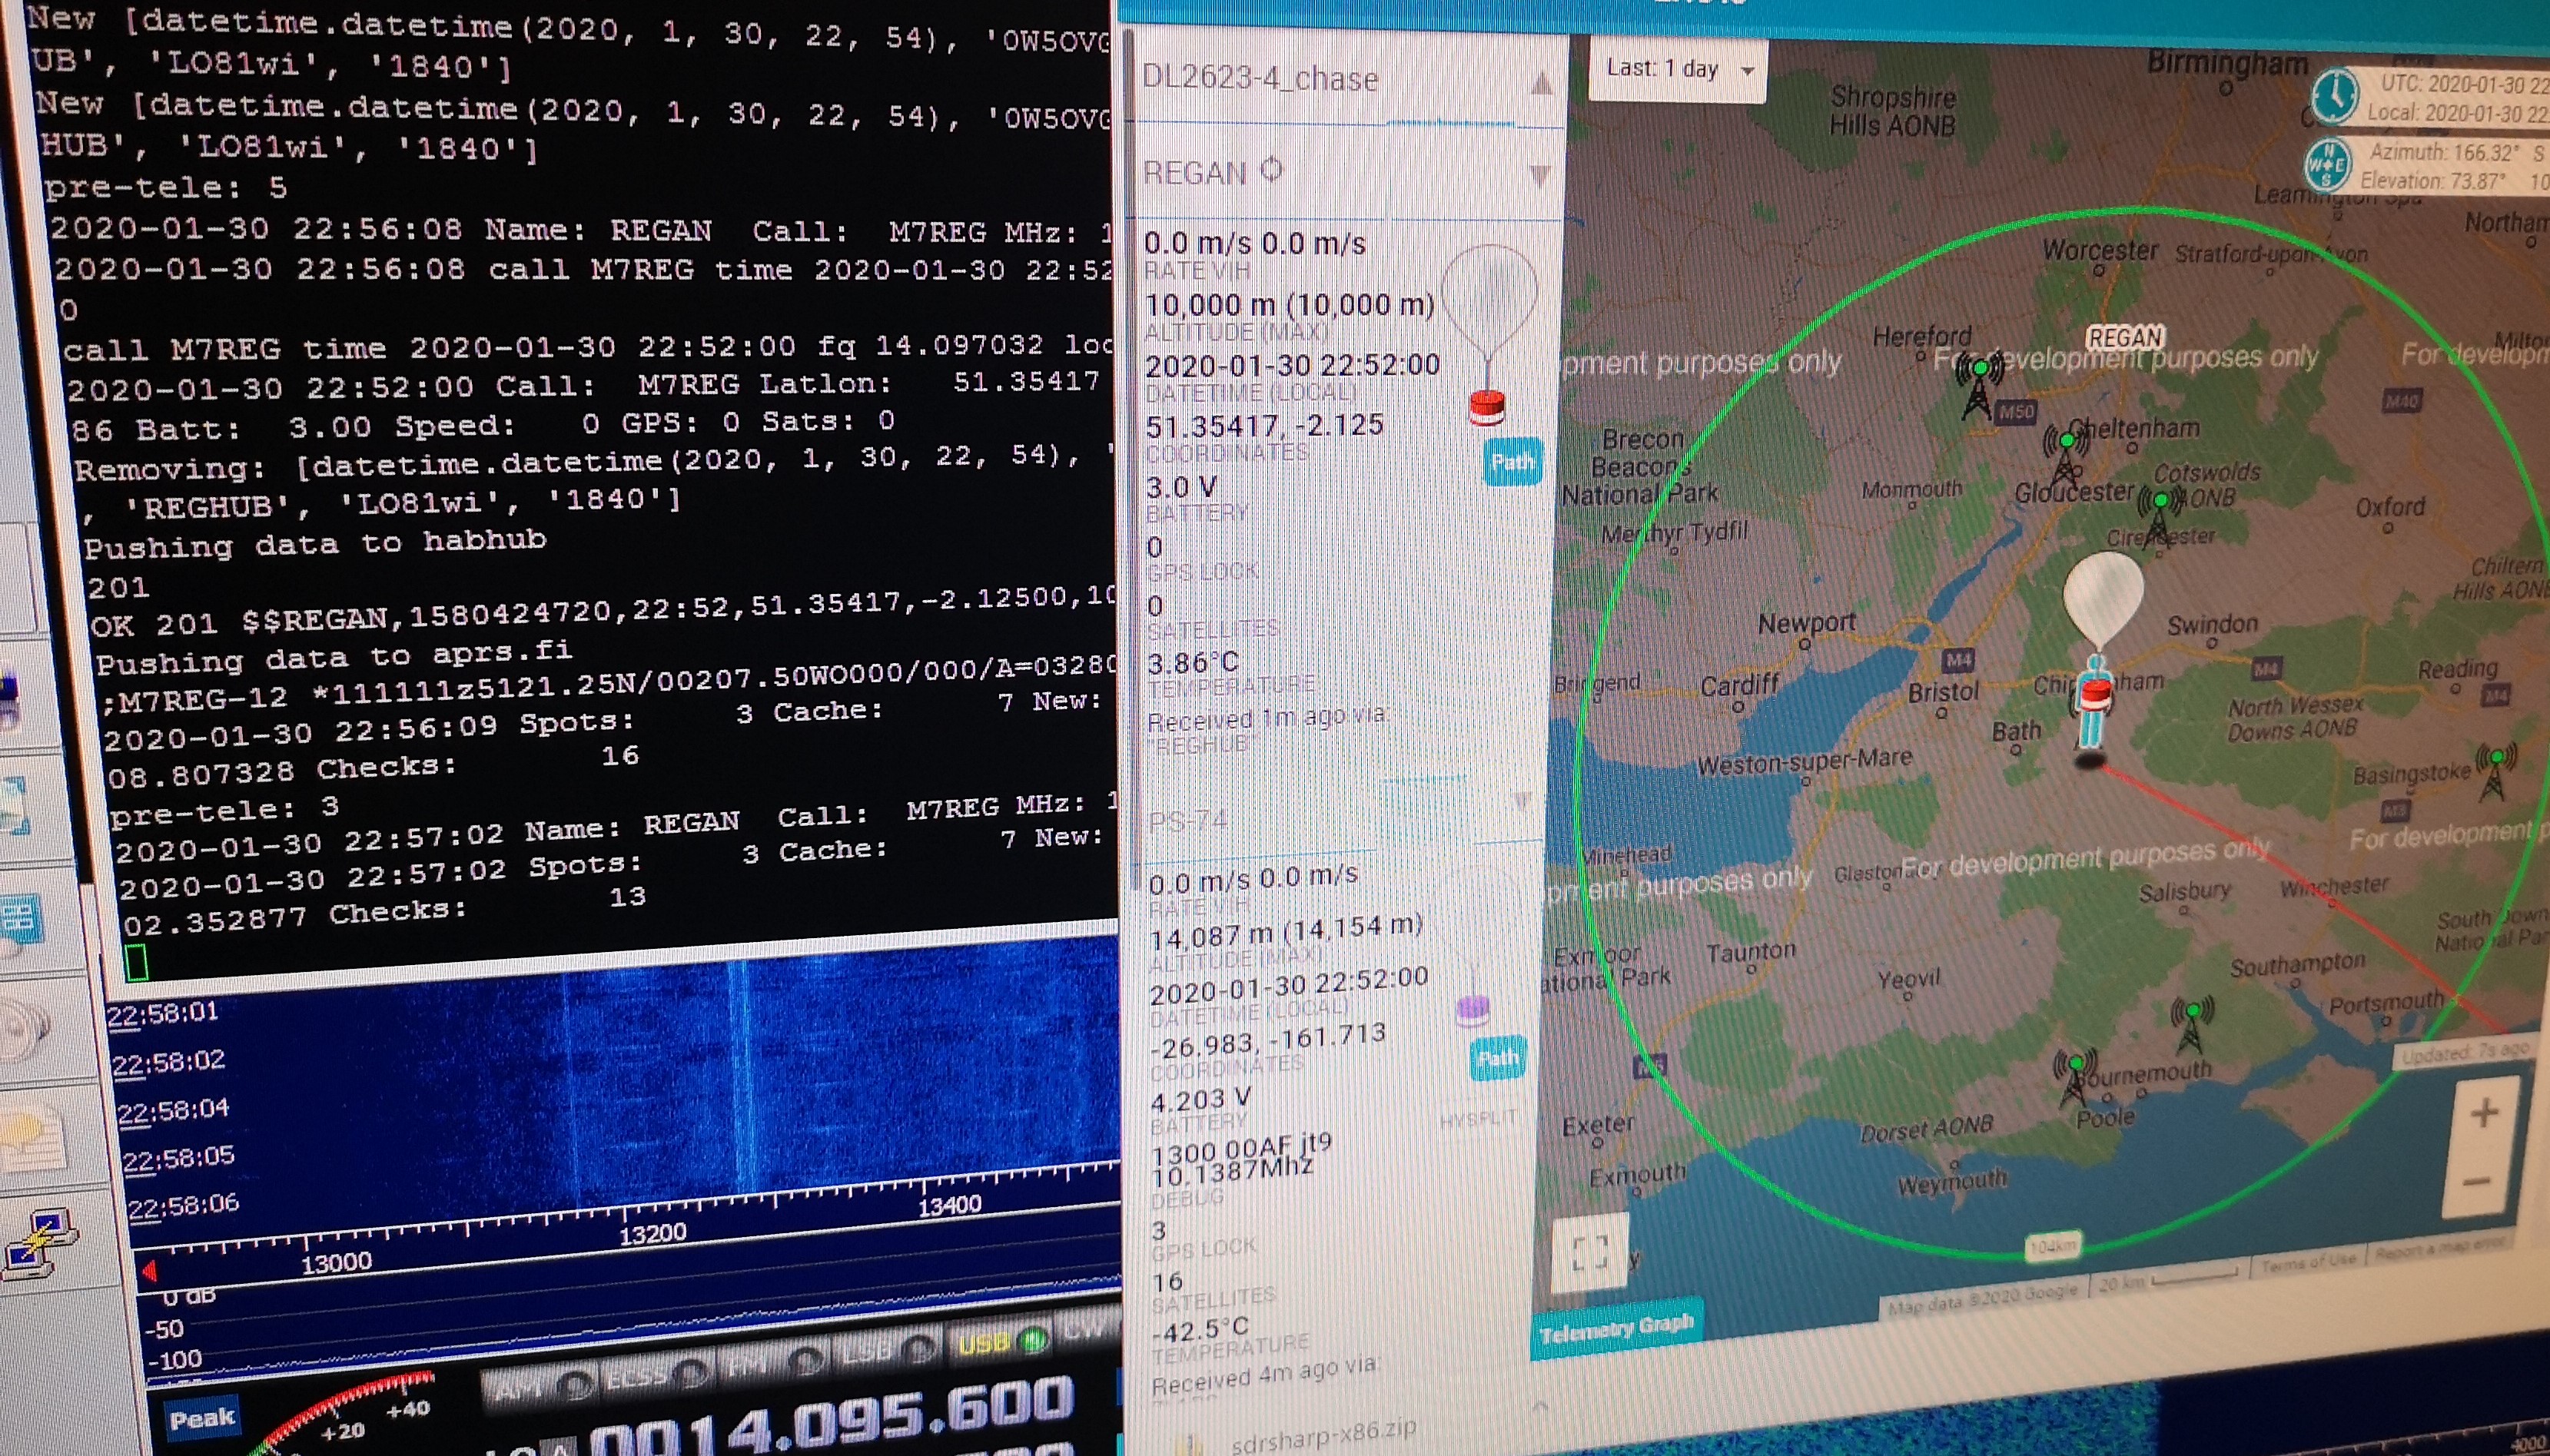
I connected a small length of wire to where the normal antenna would go and fired up the SDR once again tuning into the receiving frequency to see how my soldering skills held up and to see if it transmitted CW. Sure enough, I could see transmissions on the waterfall. Now that I had confirmed the tracker was working ok it was time to reprogram the actual telemetry firmware for use during a flight.
With everything up until this point working, I then moved onto installing the GPS and the GPS antenna. This comprised of a 45mm piece of single core wire. I found it easier to glue the GPS in place before soldering and then it was a case of dabbing on a small portion of solder paste and applying the iron.
With the GPS installed I needed to get my rig setup listening after about 20 mins I could see my call-sign being received. A script I was running was uploading that information to Habhub and aprs.fi. I left the tracker running so that it could calibrate and while that was running I started work on the next one!
With a small fleet built, all that is needed is some better weather in the attempt to get one in the air with the hope that it stays up long enough to orbit the world at least once!
Thank you for taking the time to read my blog. If you are looking to collaborate on a project or just want to get in contact, feel free to drop a comment below, send me an email or find me on Twitter.
If you would like to contribute towards future payload builds and launches, please support me by buying me a coffee: